
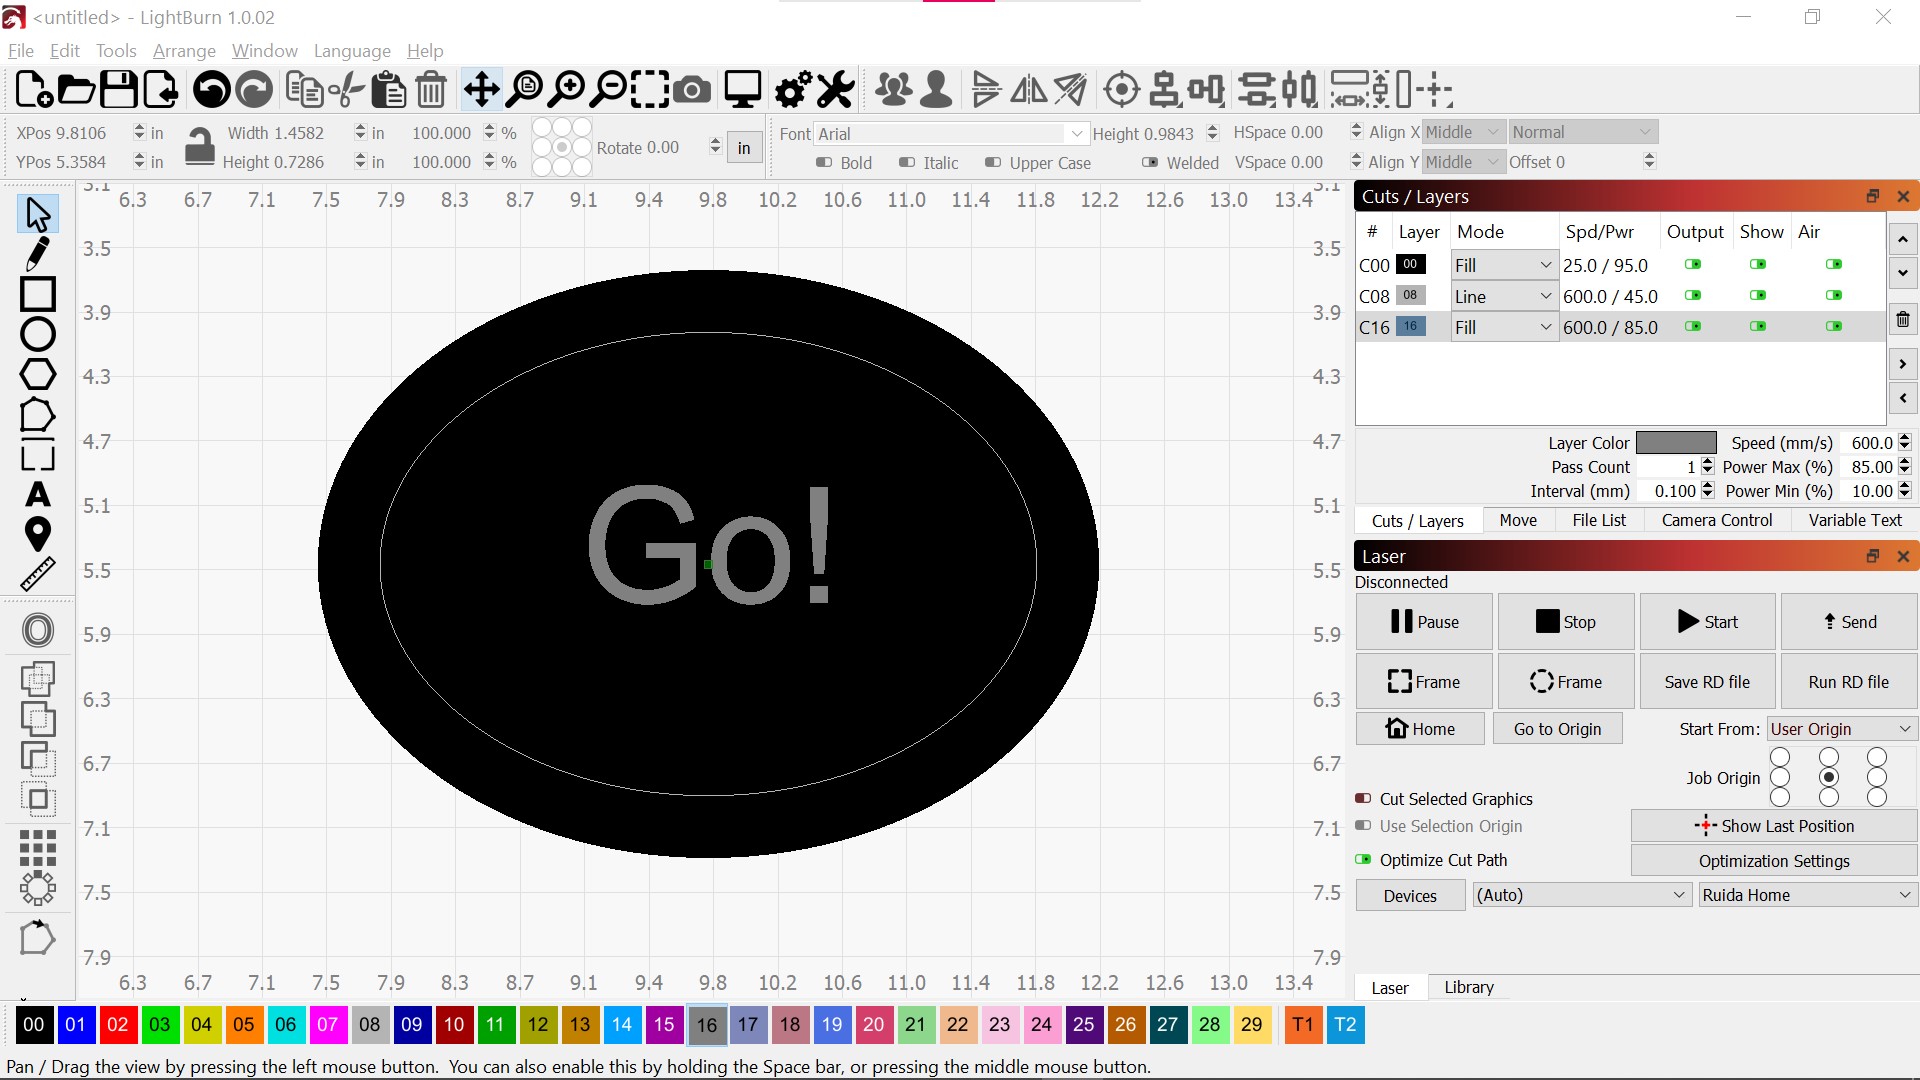
I’m trying to make a tile for a school teacher, it’s of his son’s band logo which has the band name over a black album with some album track lines on it. See pic below. I’m trying to extend the album track lines as unburned or different burn power(gray) where they extend over the blackness of the album itself. I can probably do this in stages by creating a few designs and burn one after the other but with all the editing features maybe there’s a way to do it in one design file. I could probably do it in GIMP or Inkscape and export as an image but seems like Lightburn editing features might work. Ideas?
theGoHeads.lbrn2 (81.1 KB)
Doug,
While this isn’t a complete solution, I can move you down the path a ways.
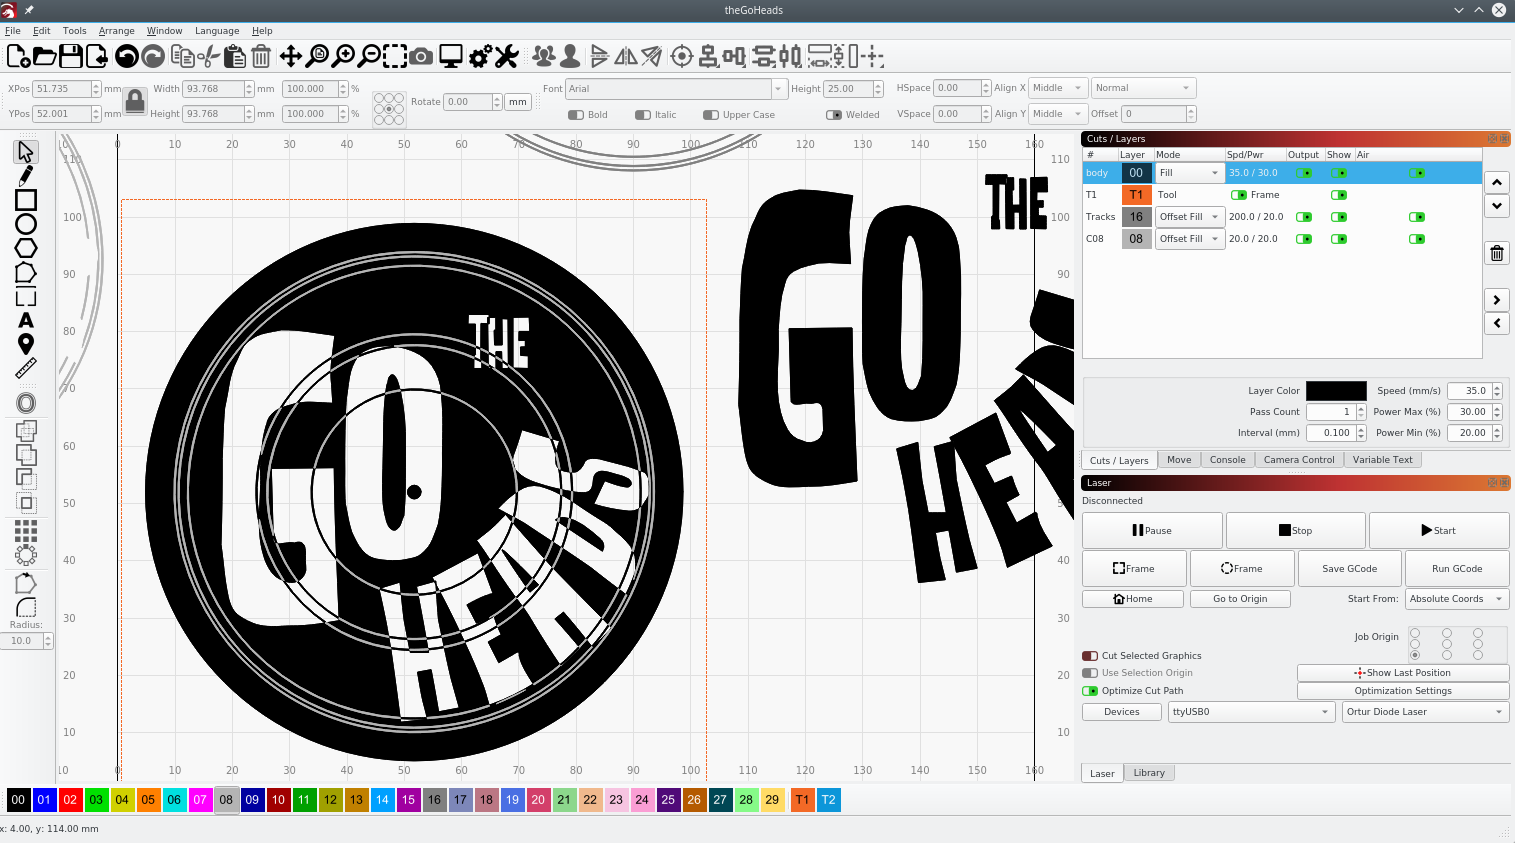
When I look at your rendering I think I see the Preview of a Fill created with vectors. Certainly your design is easily made with vectors but to create the dark areas you’ll Fill, which is also how a raster image would burn … and in the case where you want the track lines to show, a grayscale burn.
I remembered that you can render fills on the screen with a Configuration toggle.

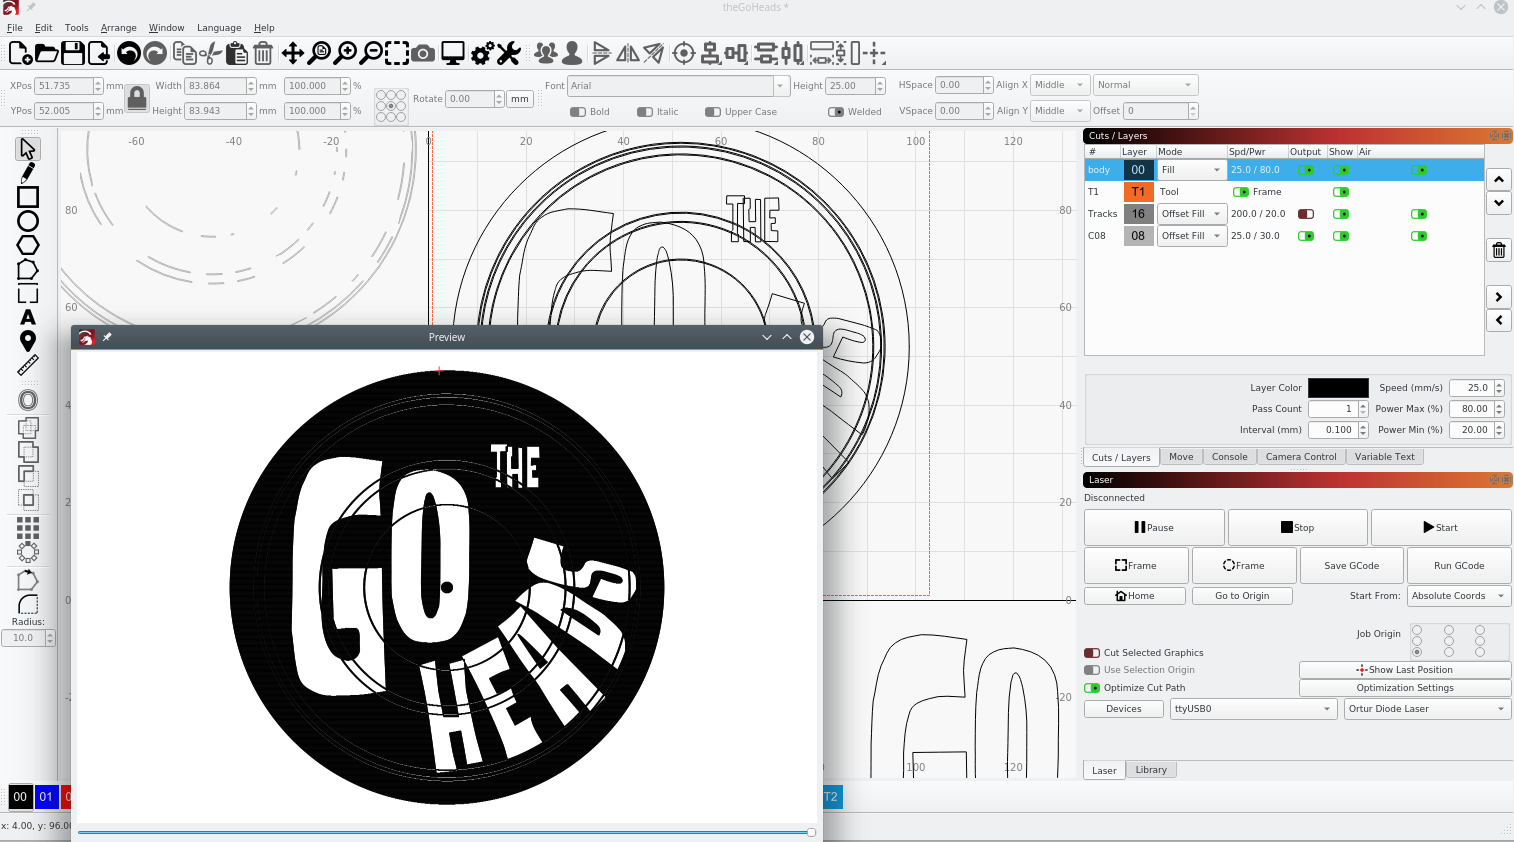
As you see below, this approach can render the kind of results you were looking for. In this form you could screen capture, save as a jpg and load it as your image to etch. Admittedly, screen captures won’t have the best resolution but I haven’t seen a way to export the rendering as a raster file. Hence, this is an imperfect solution.
1 Like
Thanks Travis, I will take a look at that. I have been trying to stick with vectors for many things just as I stick with parametric modeling in CAD because it provides flexibility with what can be done with the design later. I’ve contemplated going back to Inkscape and doing the design there and exporting an image but still hoping to be able to keep a flexible Lightburn file since that’s where I’ll first go when I’m considering reusing a design.
Another user pointed me at taking my track lines and doing an offset so now every “track” is the area between the vectors. Then they filled the text lettering and did a boolean followed by adding back the vectored text to close all those open pairs of track lines.
But the goal is to have track lines going through the white text as black tracks and when the circular track lines exist in the blackness of the actual album they shift to a gray color. Originally my though was to have the track lines as a vector line, break them apart using the text vector and then select all the track vector lines outside the text, duplicate them, subtract them from the album, add the duplicate as a layer with lower power settings.
I like the challenge and hope to learn different tricks since I think it’ll be a handy skill later on.
sorry, I had thought I also attached the Lightburn source file to the original posting. I edited it and attached it.
I made the track vectors double lines with the offset tool and was able to use boolean operations on the track group and the text group. Then changing the display setting as @SDFWA the display looks correct but the output doesn’t render/engrave the same way. Getting closer though.
I figured it out!
I was missing the fact that the “alternating lines” effect for fills only applies to the line segments in the layer. DOH! It’s the effect of putting a circle in setting it to fill, then inserting another circle within the first and now you get the center of the 2nd circle being white. Put a 3rd circle inside the 2nd circle and now the inner area of the 3rd circle will be black. Alternating regions cause alternating fill patterns.
So I just needed to copy the track line segments in the “black” area, paste them and assign them to the same fill layer as the outer circle. Now that’ll make the one pass skip those track lines and the gray layer for those track segments can engrave with a lighter power inside the track segments to give them a gray look instead of white.
theGoHeads.lbrn2 (181.1 KB)
1 Like


Indeed but as long as you do it all within the same layer. Dang that took too long for me to figure out!
I attached the latest Lightburn file if anyone wanted to look at it.