Bellus3D Facial Scanning for 3D Printing and CNC

I think we witnessed digital wizardry tonight!

Lem started with an iPhone app to scan his face. Took that file through a software chain to produce a multi colored 3D print using filament from his Palatte2 filament splicer. As the pièce de résistance he took that same facial scan and ran it through Fusion 360 to produce the gcode to mill his face with his Shapeoko. Amazing!

https://youtu.be/yPPZn9xZWMw

00:14:31 Paul Schankin: ‎Bellus3D FaceApp on the App Store
00:20:08 Doug LaRue: Here’s a way to do something very much like that with a free desktop app called Blender - 6:50 - https://www.youtube.com/watch?v=kBQcNBPRkh0

I really enjoyed the session since it included so many other cool and informative products and topics.

I’ve been interested in converting physical objects to virtual for some time and worked with the guys at FabScan 5+ years ago. That project uses a line laser aimed at an object on a rotating table with an rPi/camera taking pictures. It then extracts points out of the line deflections and generates a point cloud which can be saved as an STL file. It worked pretty well but did require lots of initial fine tuning to get the scale setup. New versions have calibrations and work much better.

I’ve also done some work a few more years back with an Asus XtionPro depth camera. And after researching Bellus3D I learned that it works by using the same PrimeSense technology found in my Asus XtionPro(and Microsoft Kinect) only designed for close range.

And Travis got me into learning about Photogrammetry maybe year ago when he built a scanner himself and recently I’d renewed that interest trying to find a way to customize a 3D printed face mask(the Montana Mask ) to fit the face better. That’s where i found the Blender plugin but like Bellus3D it’s only for faces.

Meshroom is what I’ve been playing with these past few days and it appears to work well but requires lots of processing power. My lapotp has 16GB of ram and an i7-5500U CPU with a very low end Nvidia graphics card and it still takes 1-2 hours to get a model from 40 pictures.

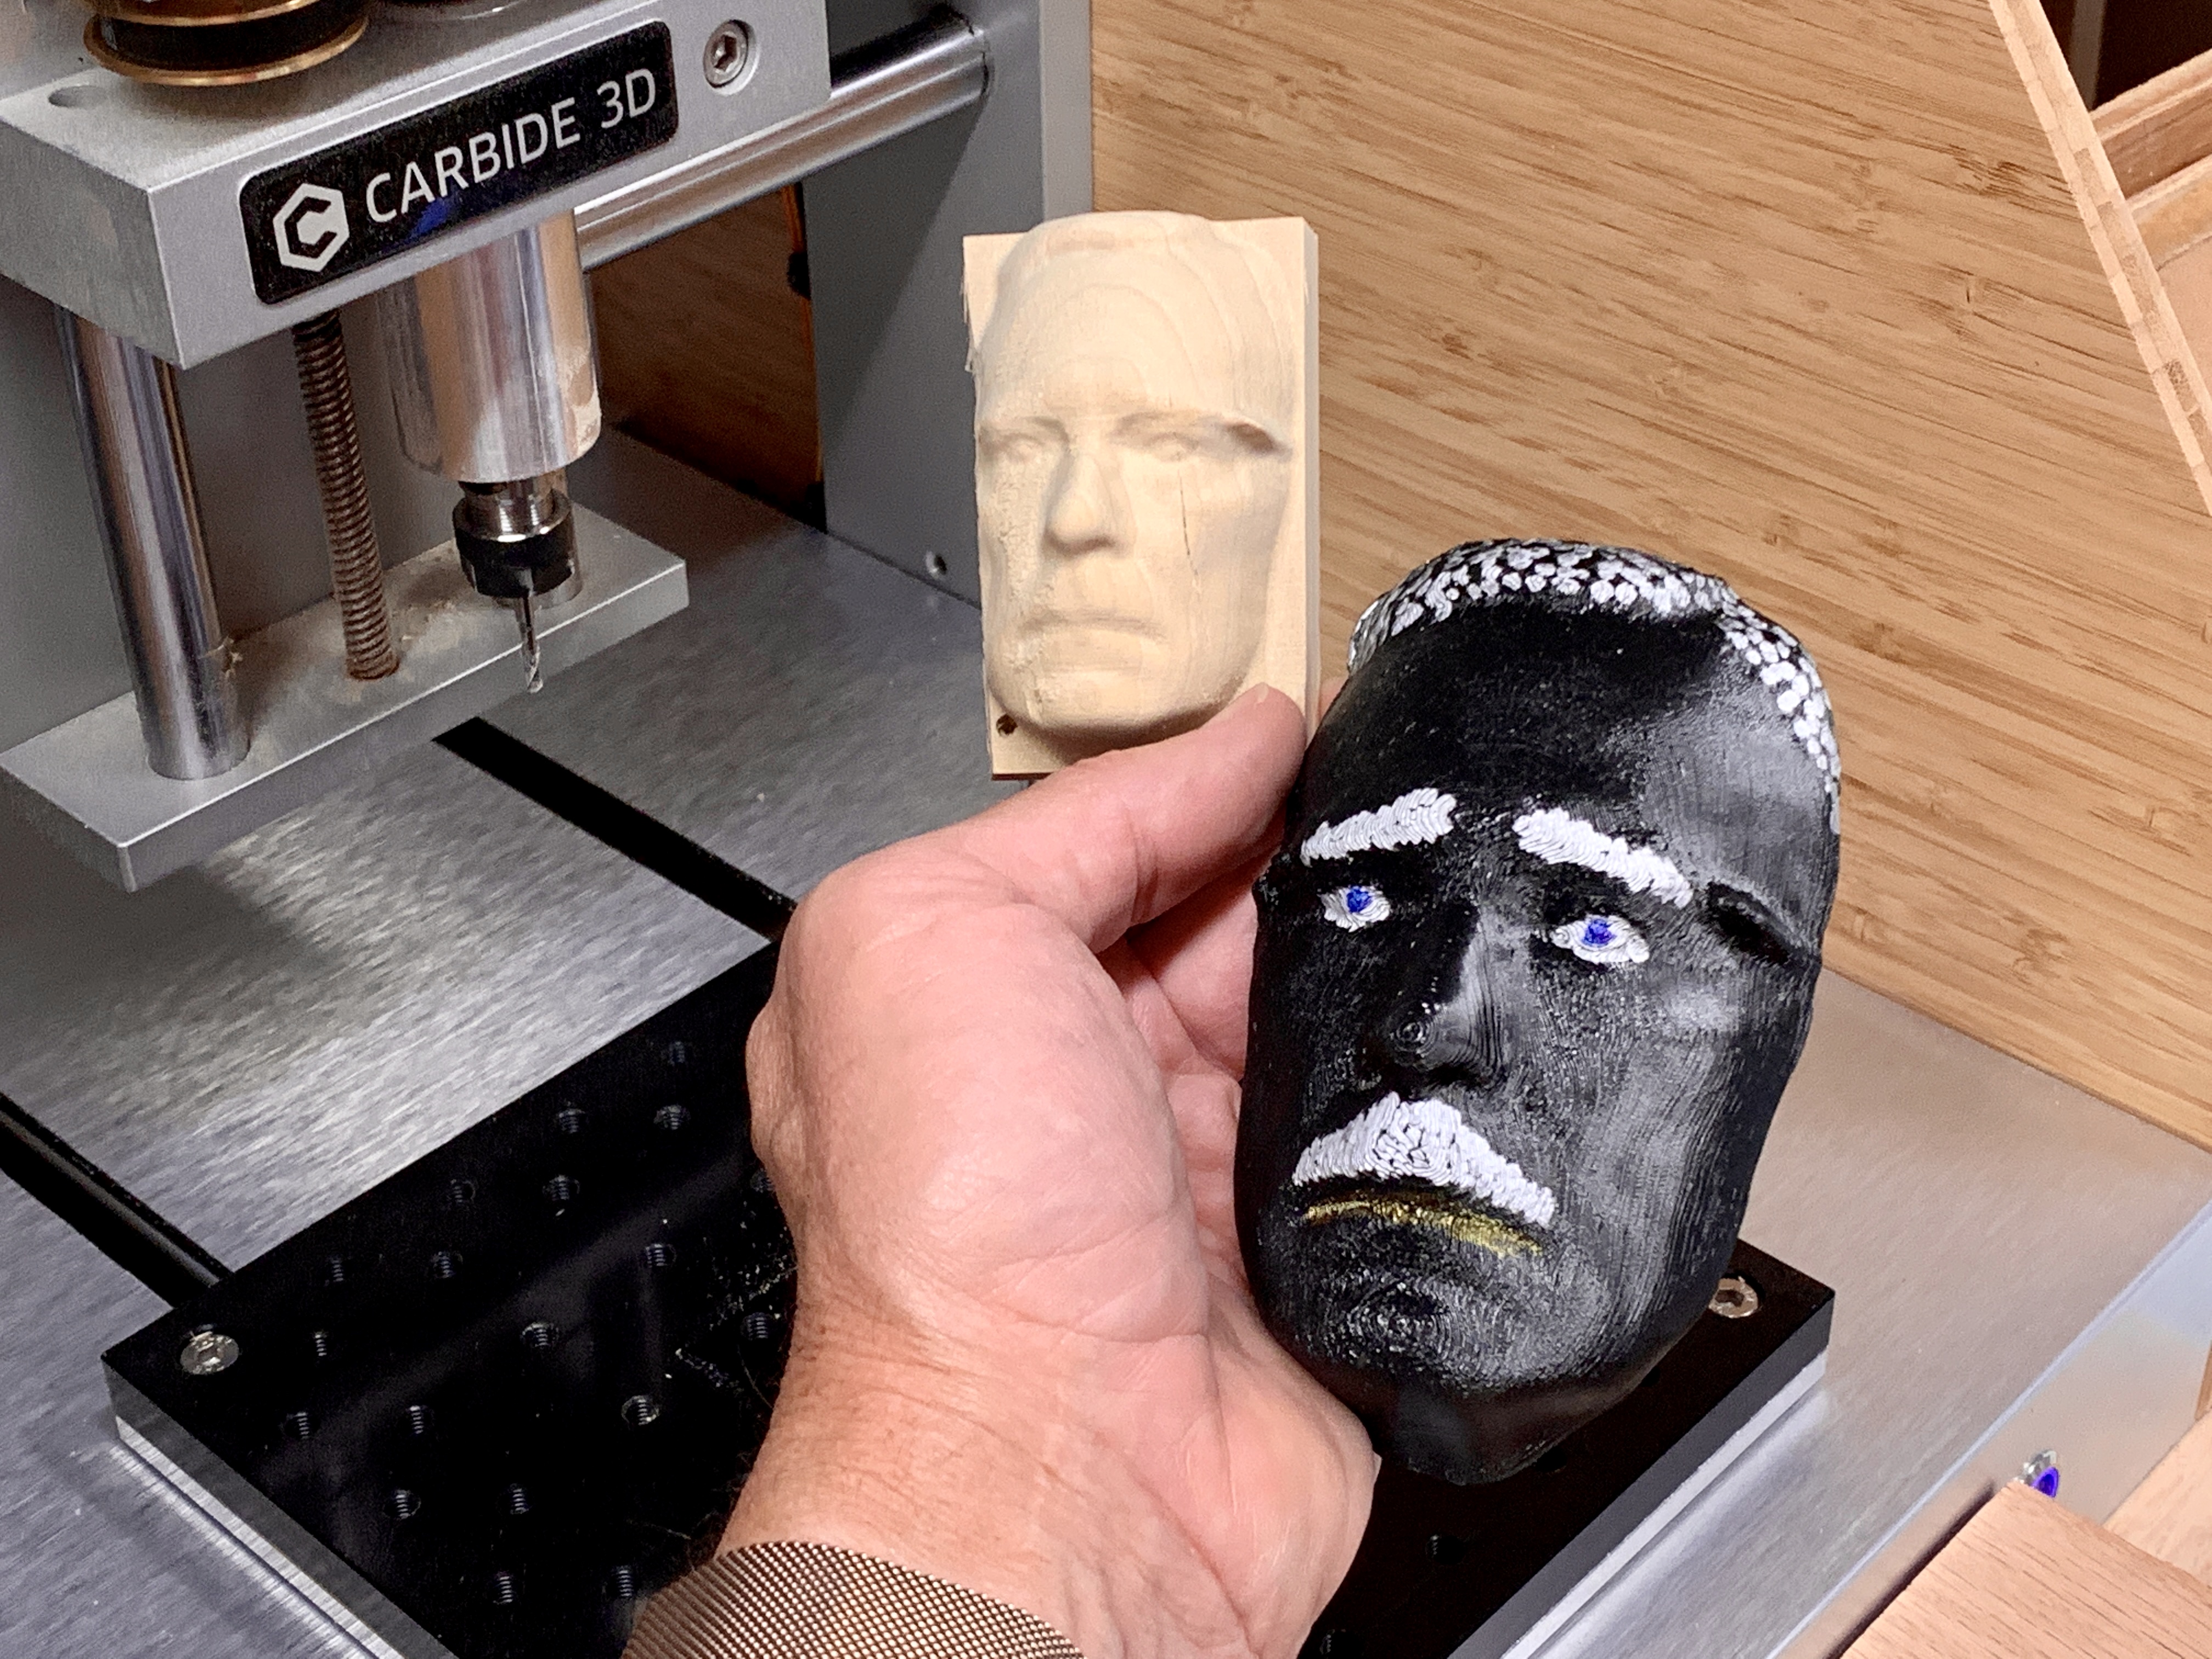
As Lem showed, getting a realworld object into the computer allows 3D printing, CNC’ing and possibly even laser cutting. So maybe a topic we can expand on later. I’m game if others are.

Thanks Lem!

Doug

1 Like

Here is the Fusion 360 project as milled on a Shapeoko. Other than the material being slightly misaligned, it came out pretty well!

2 Likes

I am glad you enjoyed the presentation.

I have toyed with the idea of building a 3D scanning booth like the one shown for awhile now, but using low cost Raspberry Pi cameras. A new higher resolution Raspberry Pi camera (12 MP) is coming out soon (I have one on order). When it arrives, the plan is to see how well it works for photogrammetry.

–Lem

2 Likes

I’ve been amazed at what I’ve been able to get from Meshroom using 60 1.4MB images from my old Nexus 5 phone camera. It has higher resolution but in that mod the shutter time is painfully slow. So even with relatively low resolution I’m able to see cracks in a design statue in the scanned mesh.

My vision is of nice desktop scanner would be:

  • 3 rPi’s positioned vertically and with adjustable angle and vertical positioning on WiFi network
  • RGB LED light strips horizontally between cameras and a row vertically to the left and right of the camera rig. Maybe physically adjustable but definately color balance adjustable over WiFI( ESP32 ).
  • 250mm diameter turntable with a Photogrammy Scale pattern on it.
  • all inside a “U” shaped ‘box’ which extends under, behind and slightly above the turntable wide enough to prevent any view beyond it by the camera(s).
  • One of the rPi’s might even drive a stepper motor to turn the turntable 30 deg so the whole image capture mechanism is automated.
  • Meshroom generates meshes from there.

This is cool just just too big for me needs:

1 Like

Can you imagine if Design in Wood entries could be viewed in their 3D glory?

1 Like

Have you guys seen the open source Ciclop 3D scanner? It uses a Logitech webcam, laser light sources and a turntable to scan items. The developers are no longer supporting it, but it could still be a good way to go to save some money. Here is the Thingiverse link.

The one I built on Thingiverse is called OpenScan.
Here’s the basic V2 construction but I used the RPi camera.
You can buy some or all the electronics on the OpenScan website.

You may remember seeing when I brought to a Saturday Digital SIG.

@lemdavis I’d not seen that particular laser line scanner but 4 or 5 years ago I found FabScan and built one of the original(2nd gen really) designs. It’s still maintained too. https://fabscanpi-server.readthedocs.io/en/latest/first_steps.html#get-the-latest-software

I got it to the point of getting a duck scanning but couldn’t get the scale correct. Back then it was lots of tweaking of measurements since it was difficult getting exact angles and distances. But today they use a more robust design and IIRC there’s a calibration image which solves all the math and measurement details.

My current plan is to continue with Meshroom(Phtotogrammy) and last night built a lighting system. Wiring up 2 switches now and will try hot gluing it onto a piece of cardboard for a trial run later. It’s 3 of the Adafruit NeoPixel rings(12 LED, 16 LED, 12 LED) so have RGB capability(sw1 changes mode) and it’s very bright so switch2 provides 10 levels of dimming. Testing.

Here’s the first test. first push of the Mode button switches from Off to White. 2nd button dims via 10 steps and then back to full power. Mode Cycle is: Off, White, Red, Green, Blue, Yellow, Magenta, Aqua, 255/127/127, 127/255/127, 127/127/255)

https://youtu.be/cOsJS_GRyRg

It works so well!

1 Like

I see Travis in Carbonite in the future. LOL
Star Wars reference…