Collage of tile using GIMP

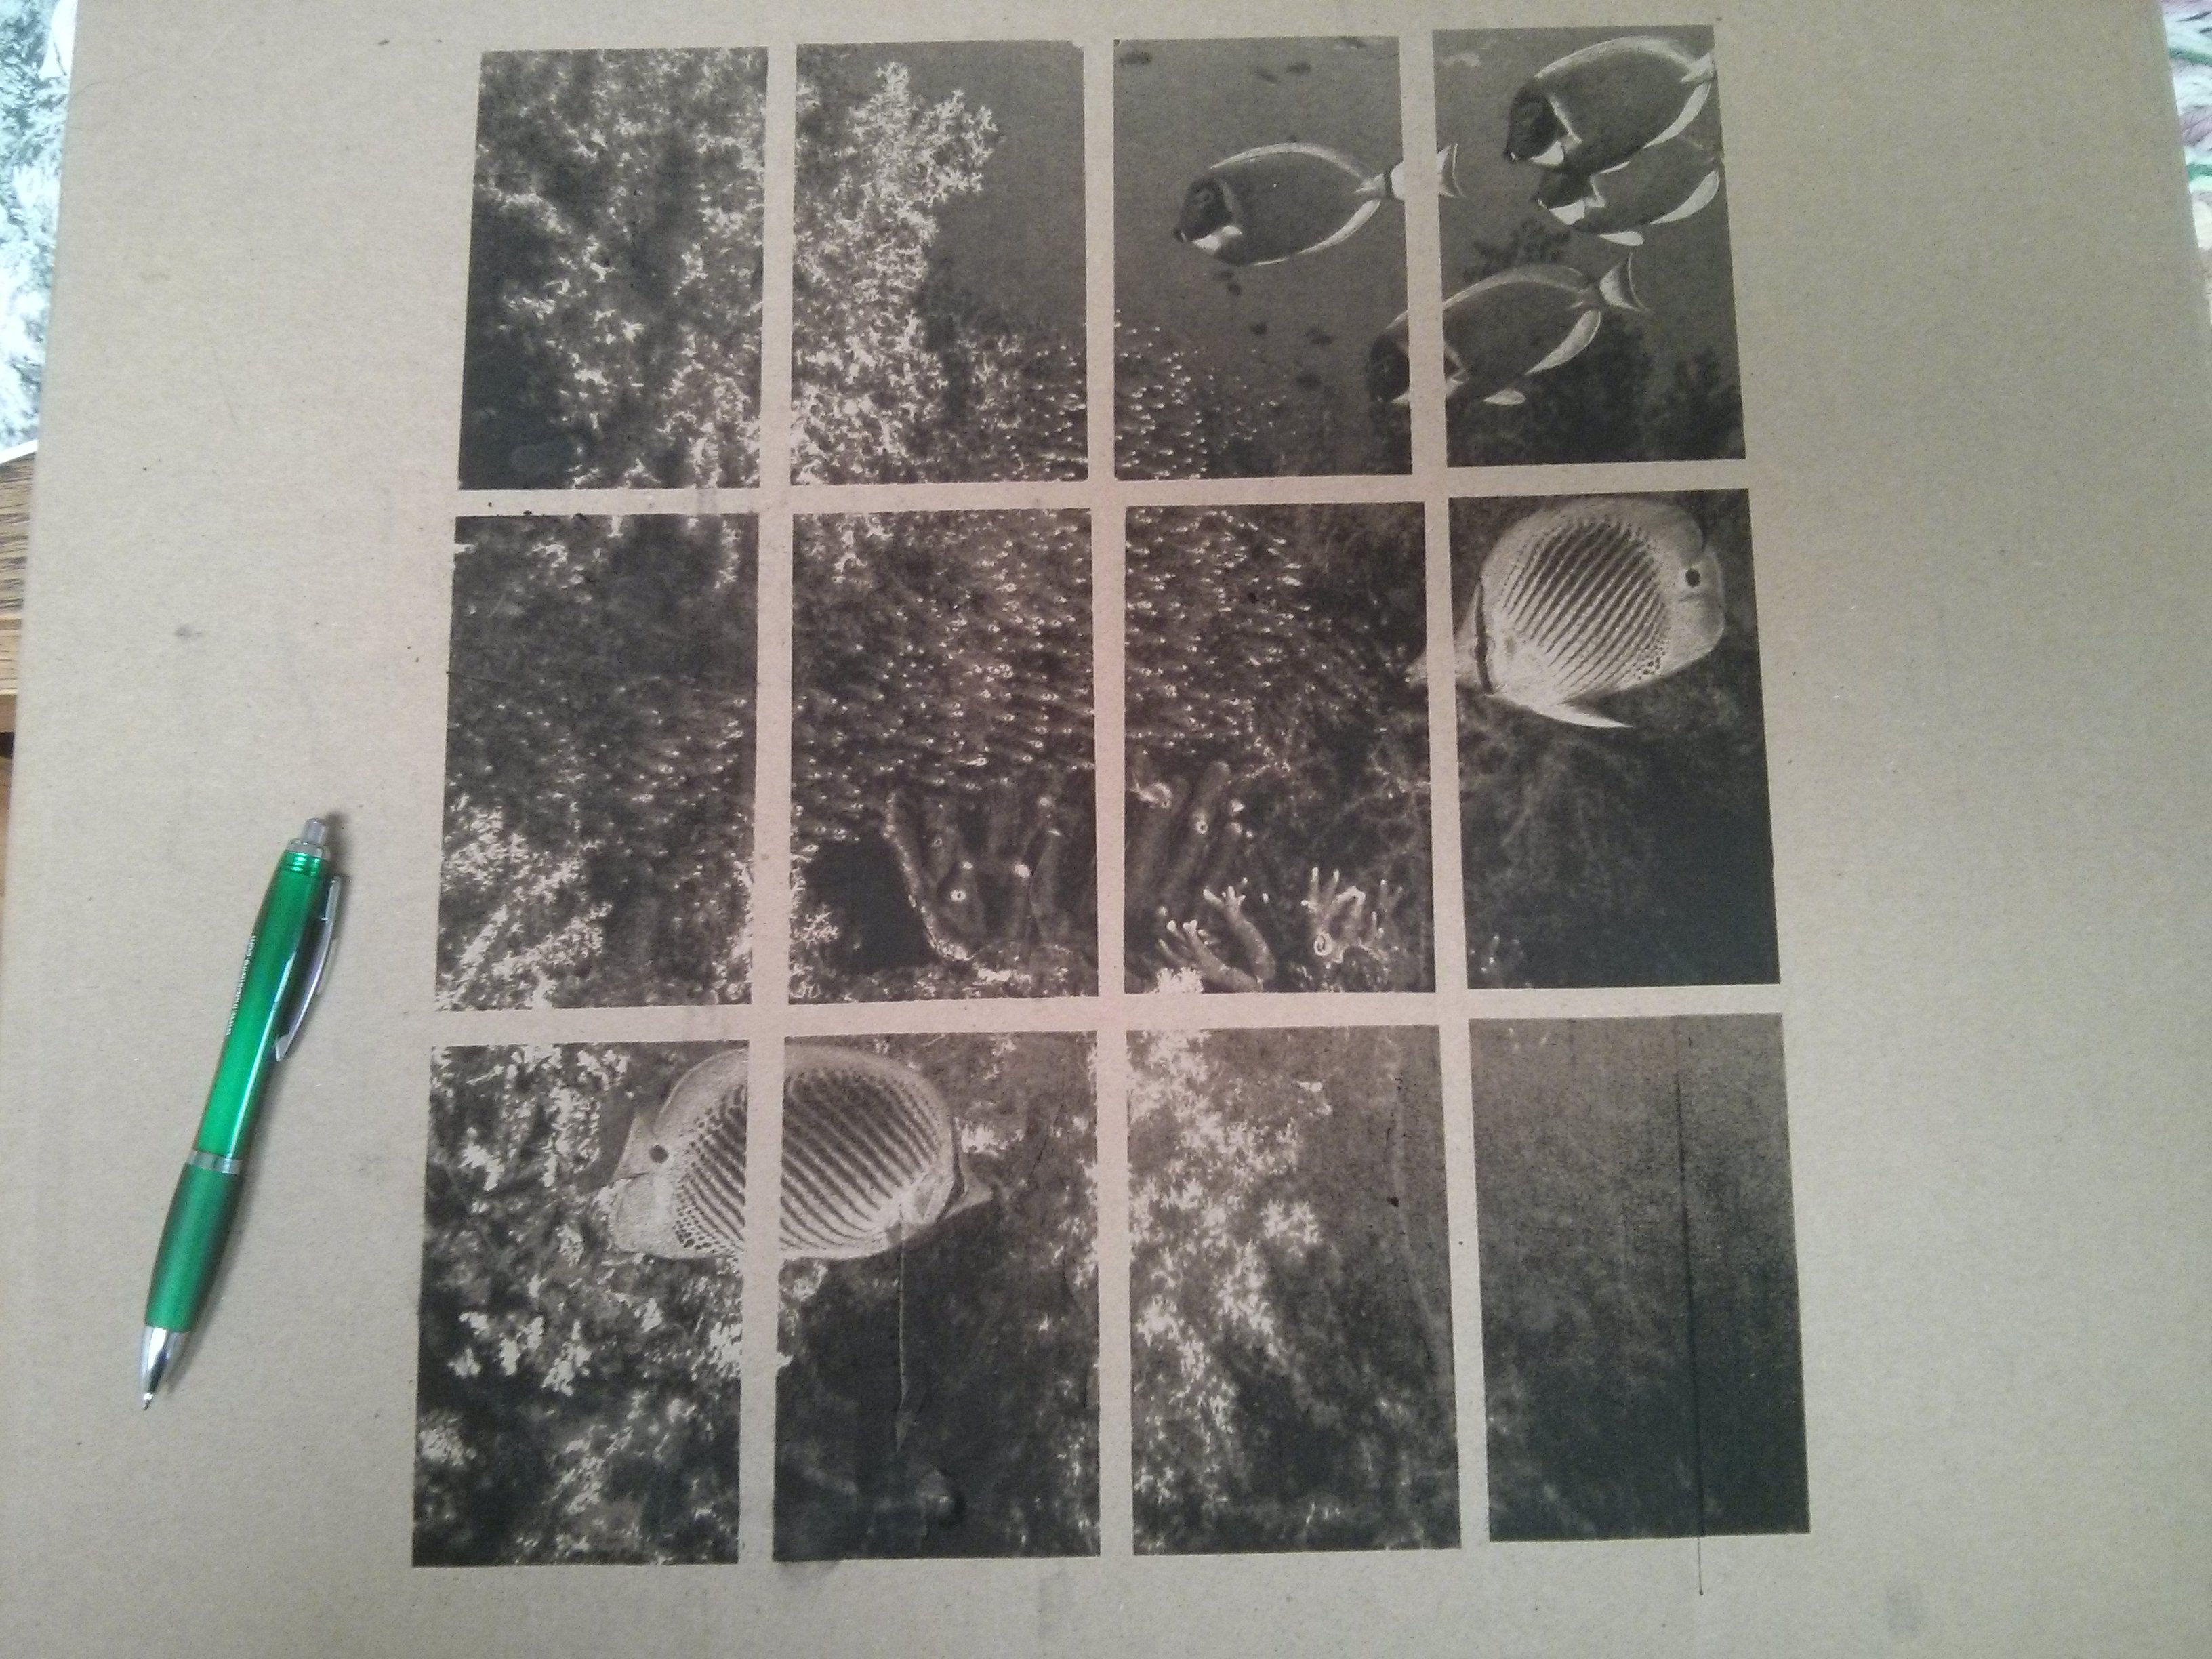
I had some big flat boxes and thought they a good test platform. So I scanned in a large calendar, trying its B&W mode at 300DPI. I then opened the TIFF file in the free GIMP photographic editing software to cleaned up the seams. To make the tiles I found I could setup “guides”(found under Image menu) and then setup guides at 25,50,75 percent Horizontal and 33 and 67 percent Vertically. Using the Web->slice filter produced the 12 images saved to disk.

At 35mm/s and 35% power it looks good on cardboard.

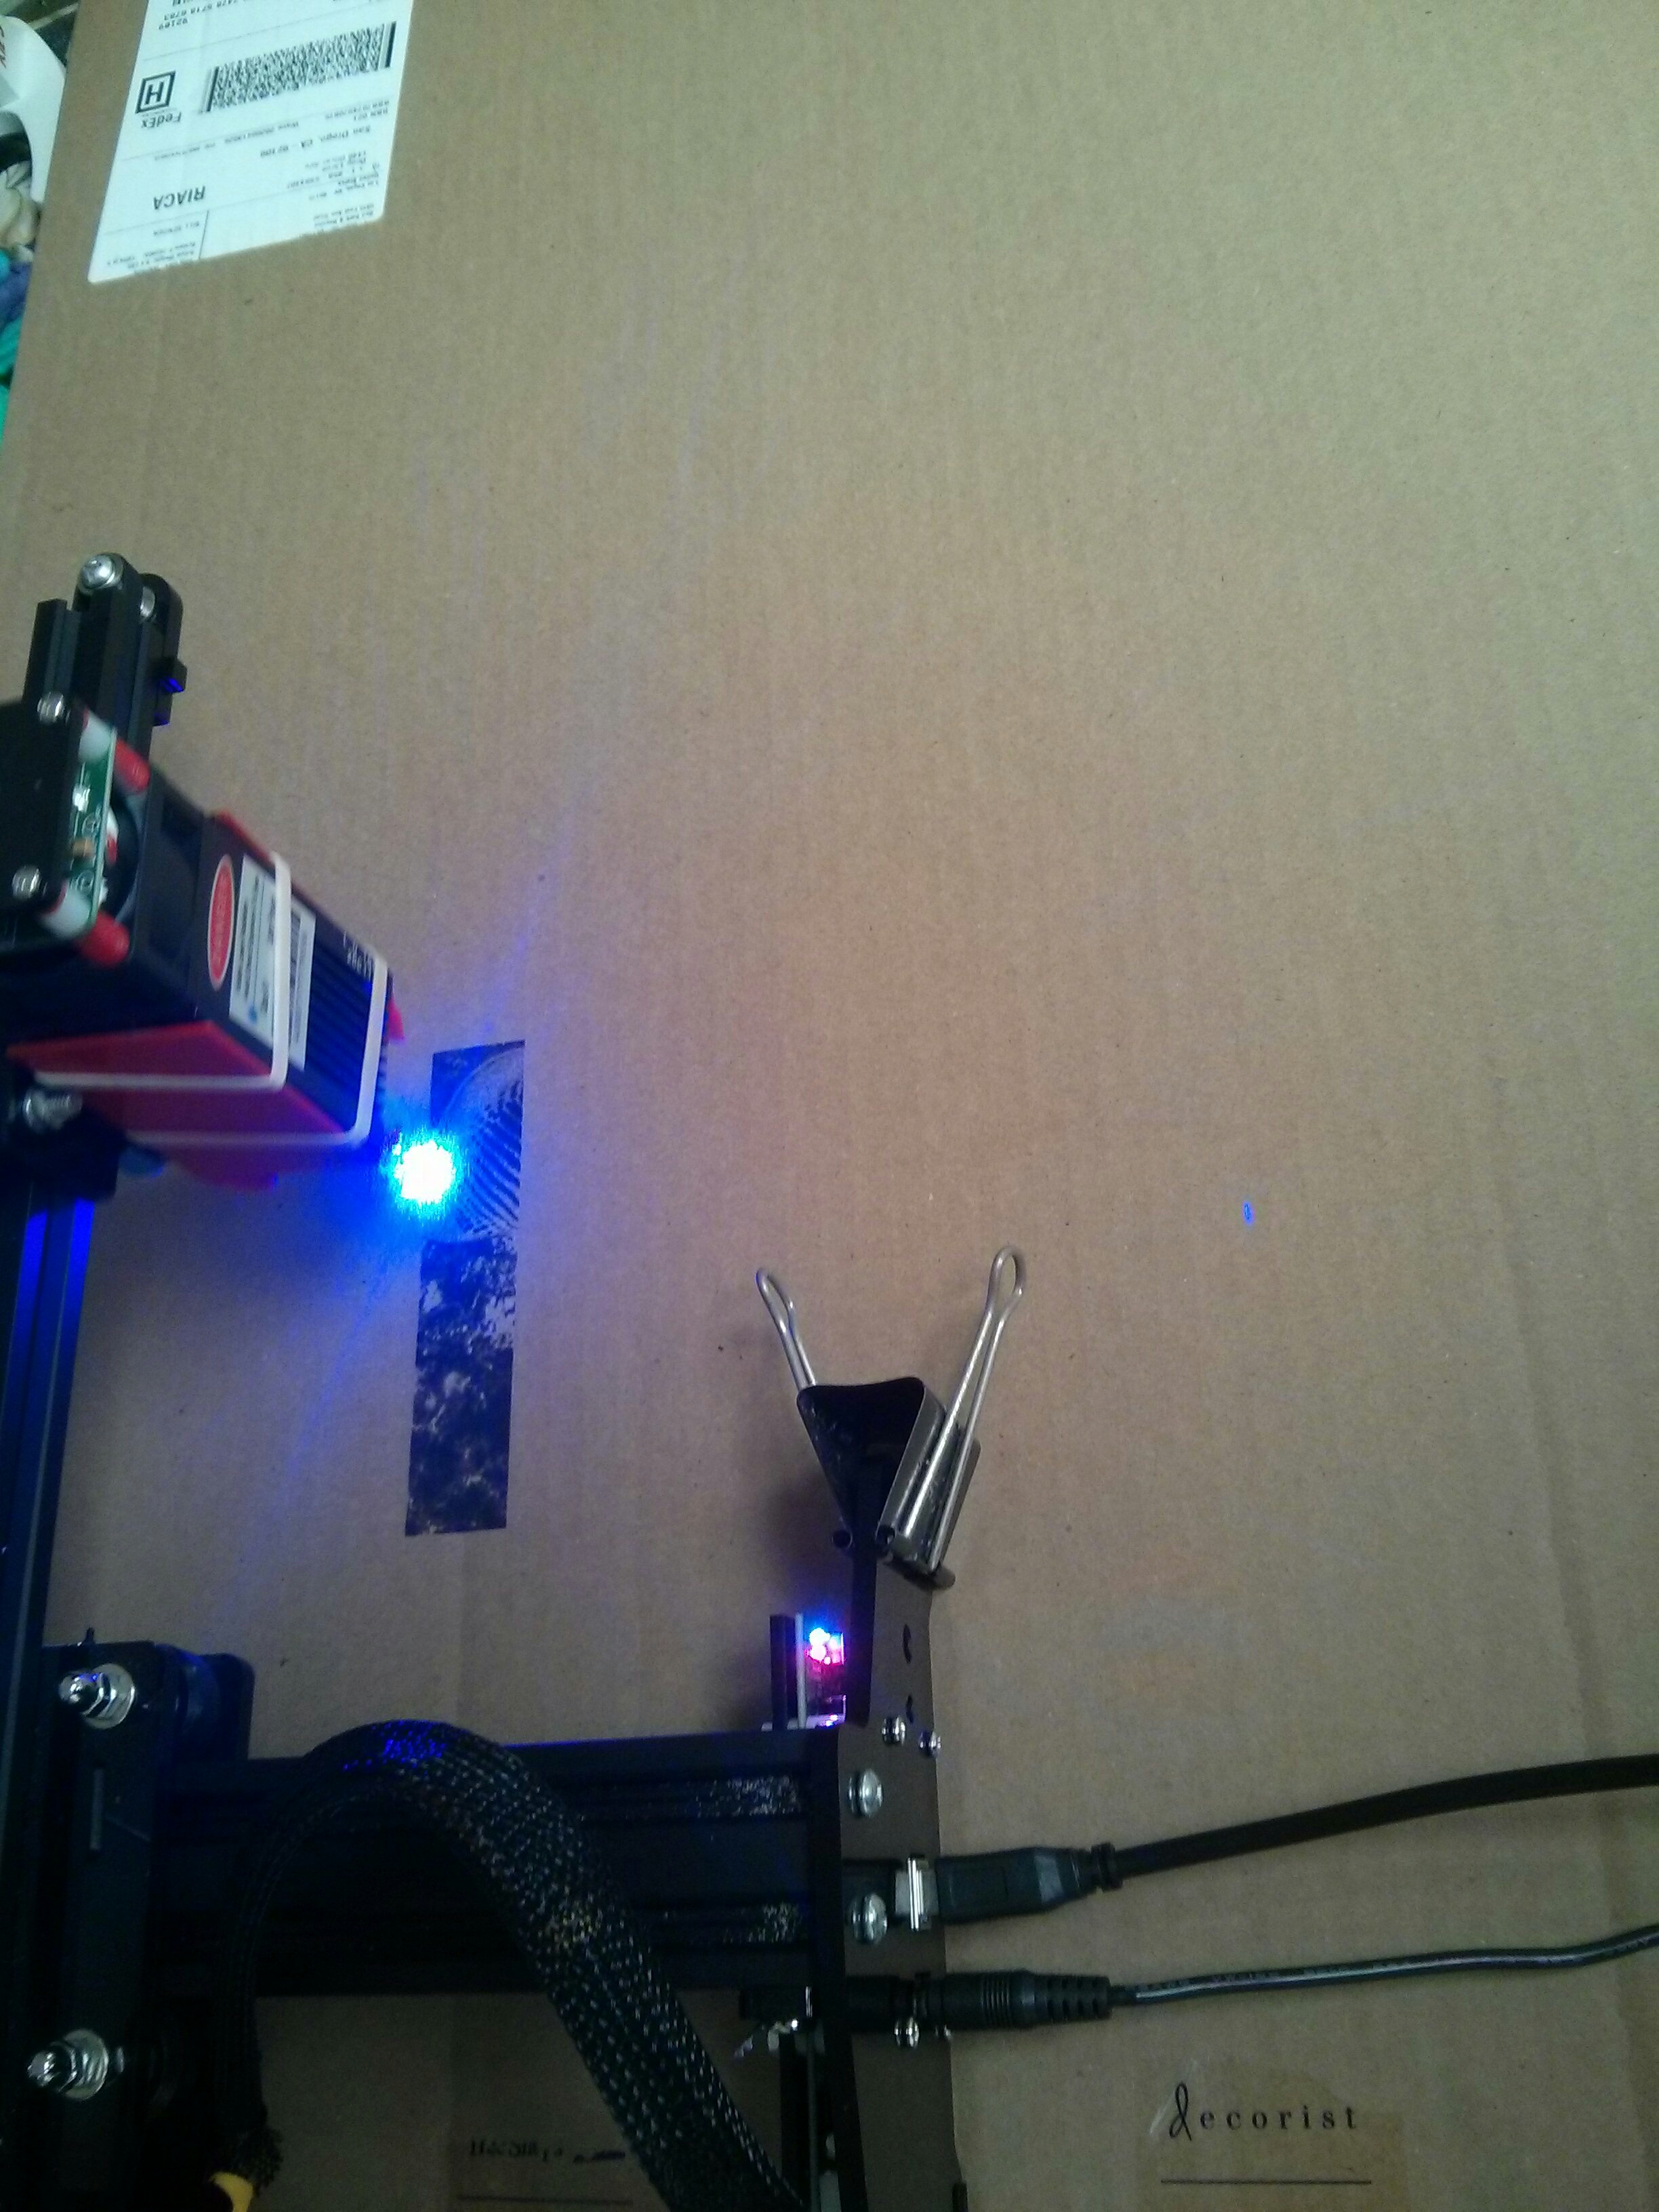
Focus was set to the working surface so the Ortur is sitting right on the etching material/box.
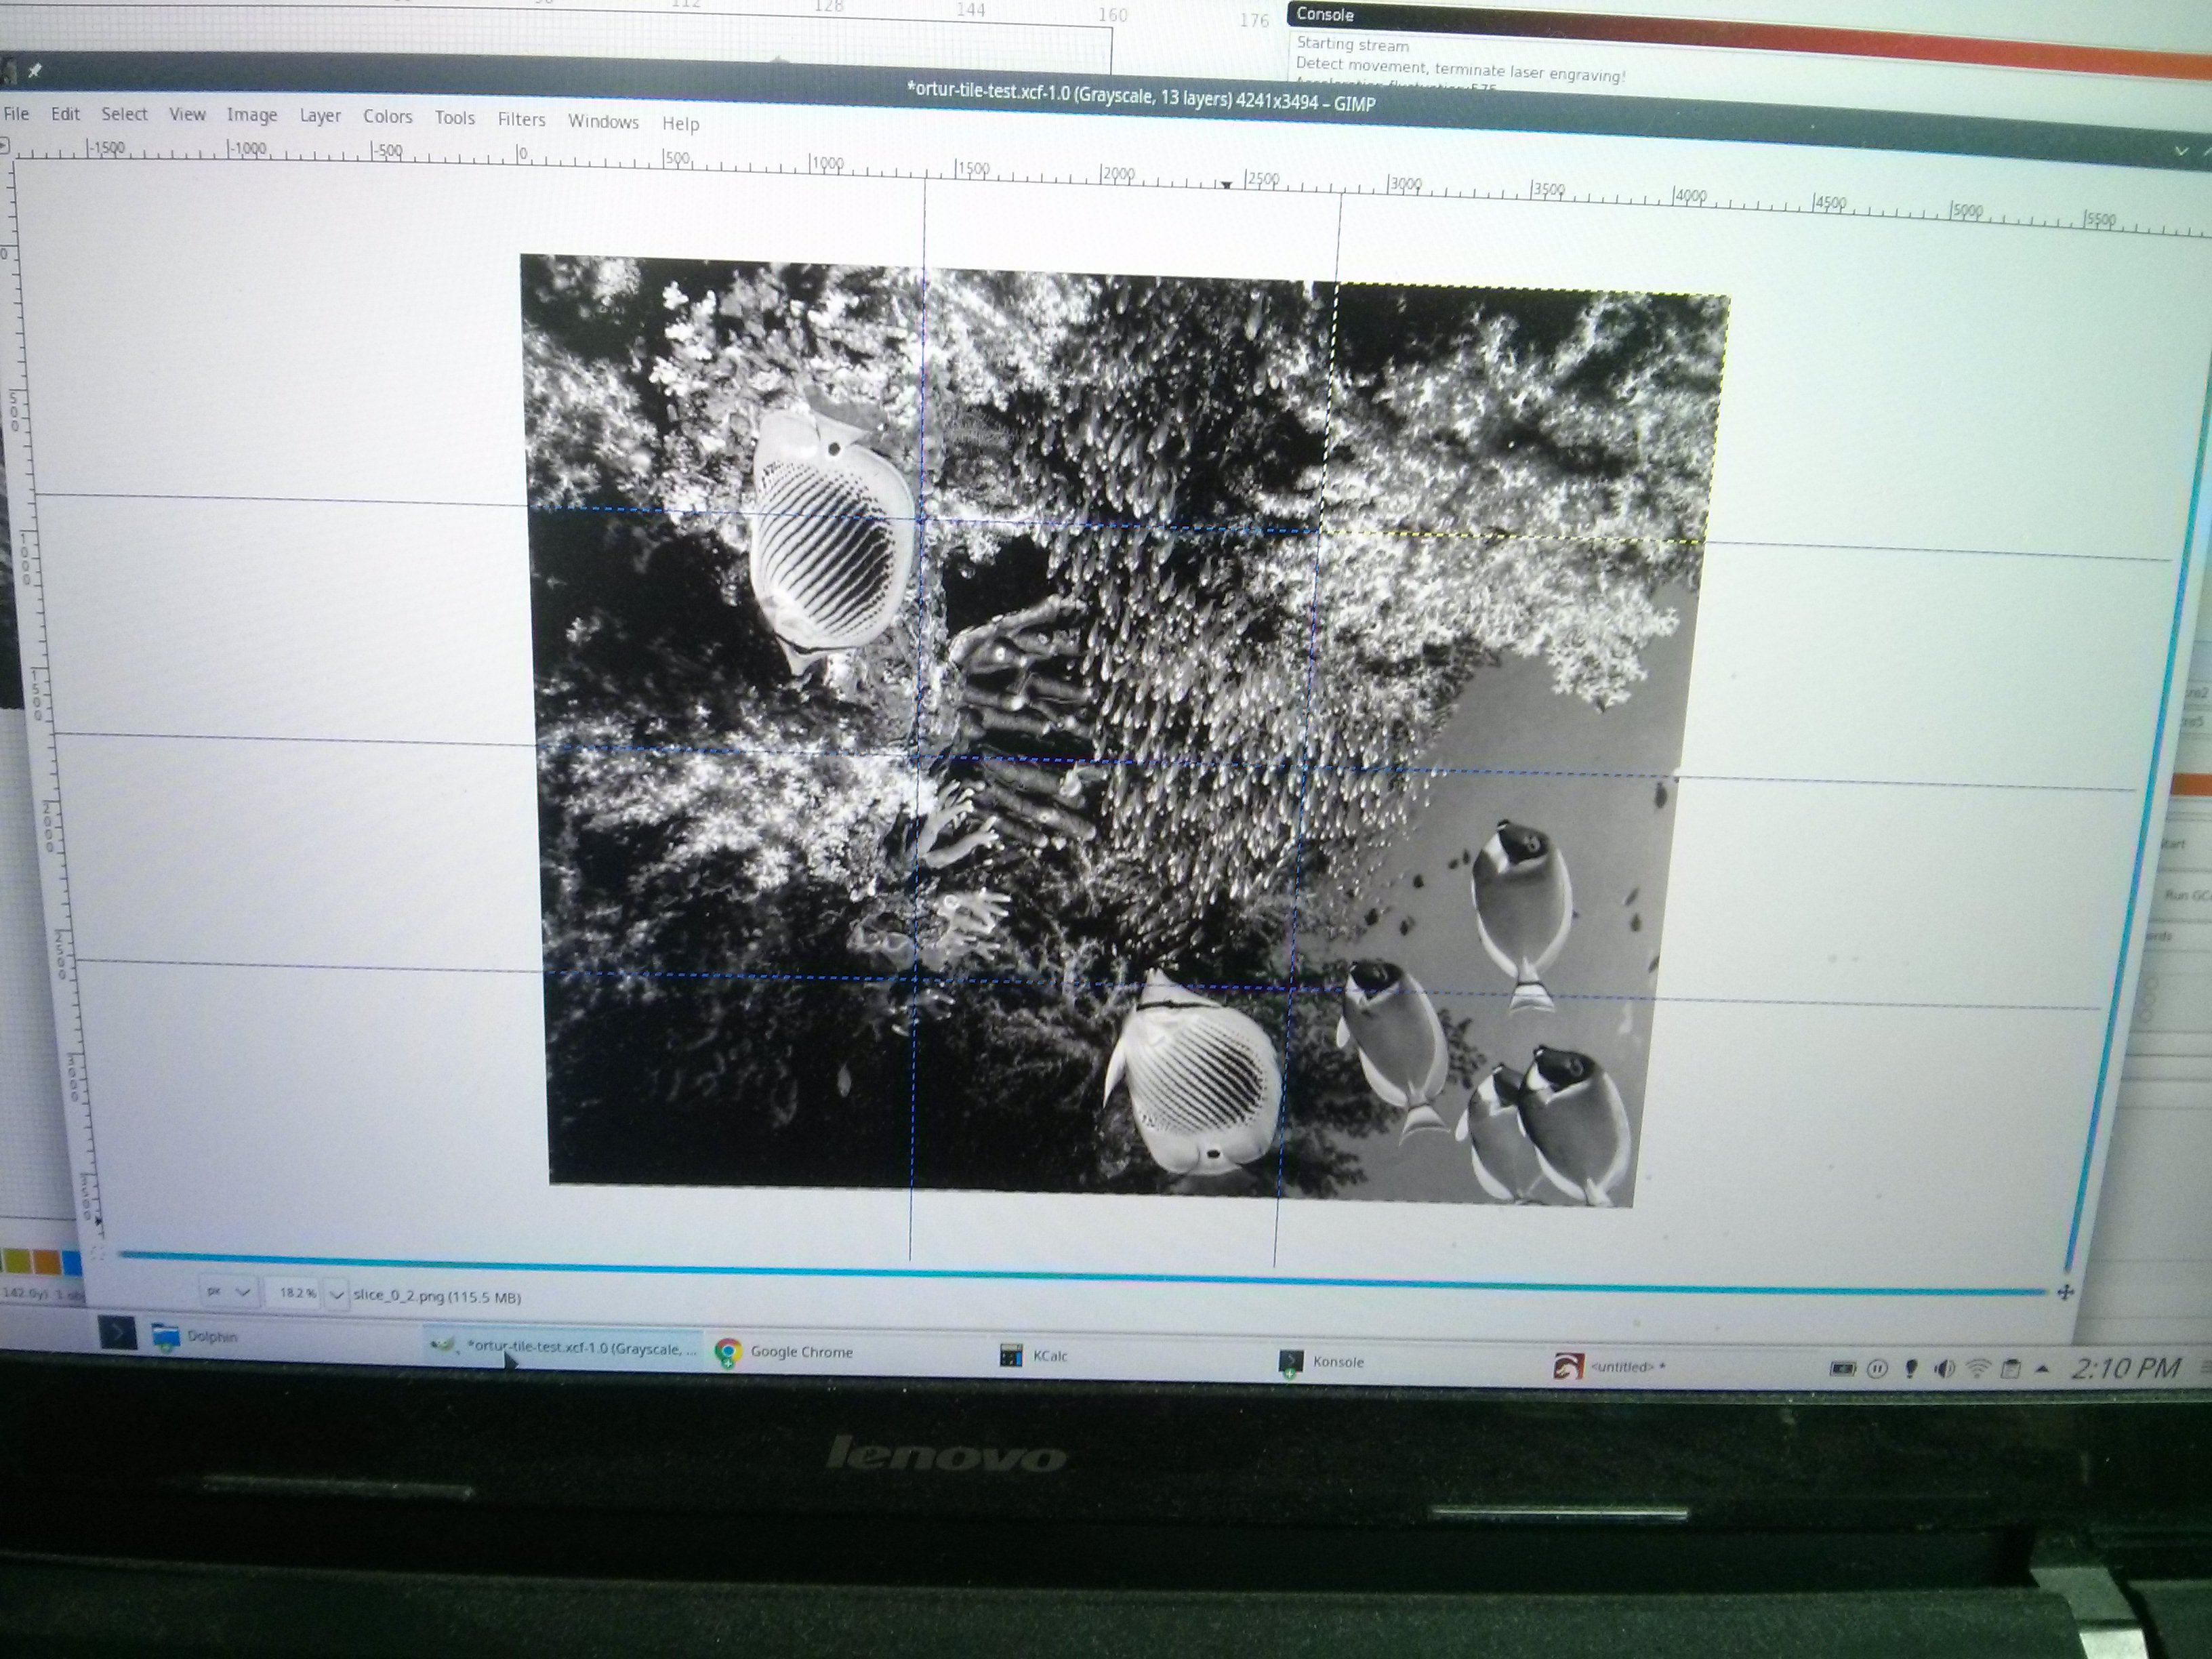
Image 0_0.png

Done

1 Like

alignment was the tricky part of this after I generated all the images. It was pretty easy to use the grid in Lightburn to insert the next image at the exact same location as the previous so moving the Ortur was the tricky part. Looking back…

Maybe adding the 90 deg leg brackets might help with alignment where a piece of paper the width of the final image could have markings for the holes in the leg brackets. Then, with more markings the length of the images + gap would allow another piece of paper be put down for the next row of engravings.

This was just done on cardboard but I could see a nice piece of veneer or wood used, lacquered up and then framed up.

This would also help with preventing any soot from getting on the legs of the Ortur and marking up the work. You can see some of the marking in this photo.

That is amazing! What a brilliant project!

-e

Doug, those are amazing results.

It’s hard to realize the etching potential of:

  • low power +
  • right power range +
  • correct material.

However, I think you nailed it. Super well done!

Hi Doug and Others,

I’m curious to see the dynamic range of these Ortur lasers when doing grayscale etching. Would someone be willing to etch this test pattern on a piece of baltic birch plywood? Note that in addition to playing with the speed and power, I’d also suggest fiddling with the Gamma setting in the “Shape Properties” box for the particular image in LightBurn. I found that Gamma=0.5 gave me the best linearity (in terms of depth) when 3D engraving on the shop’s green laser. Etching might show similar improvements.

Thanks,
David

Hi David, I’d recently played with the Ortur on tile and made a test patturn which included some dithering and some grayscale. The gray scale didn’t turn out so well but I’m not sure why yet. here’s the post with pics. All the gray scale clipped at the same level - Ortur Diode Laser Testing

A better way to align the ‘tile’ segments would be to use the new Lightburn feature called “Print and Cut” which has you putting 2 targets outside your design and lining those up using the Print and Cut feature.

Oz, the developer of Lightburn, put up a video to show Print and Cut( https://www.youtube.com/watch?v=n__saOKVupA ).

What is cool about this and our little Ortur diode lasers is that now they can cut or etch much larger areas with a continuous/large pattern. . If you don’t have the Ortur set so it can focus on the base, then it can make long parts in the X direction. If like mine, which can focus on the base, the whole machine can be moved and it can now cut any sized design.

Very nice feature as it eliminates having to do this all yourself in the design and as you might notice, my eyeballing wasn’t always accurate. With this ‘target’ feature small piece of masking tape could be used for temporary locating of the target etching without effecting previously etched areas.

1 Like