Flattening Bit as an End Mill Bit

I’m looking to create a logo sign that is around 18"x18". The sign will have 3 layers of text/objects, kind of like a text-on-text sign. For the top and middle layers there are a log of around that needs to be cleared out. Because of this my design using a .25 EM shows to take a couple of hours just for that pass.

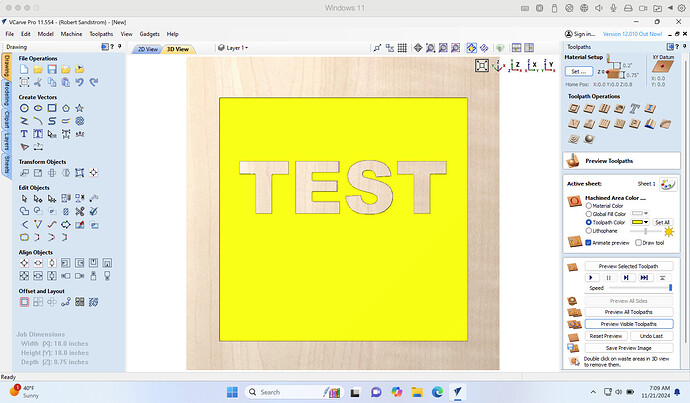
So, I’m thinking I could use a flattening bit to mill out this area. I have defined my flattening bit as a 1" end mill. The cutting blades are .25 in so I currently have the pass depth set to .12". I have defined a pocket tool path with this 1" EM and a .25" EM. The middle layer I have the same plus a .125" EM.

With my current VCarve Pro project using the 1" EM I have cut the estimated time from about 6+ hrs to about 2.5 hrs.

Does anyone have any experience using a flattening bit as an end mill. Are there adjustments I should make to my tool definitions or any gotchas to be aware of. I have had limited time in the shop (because of my own schedules) and the shop CNCs are the only ones I have access to. So I’m trying to maximize productivity while in the shop. But I can play with some practice pieces.

Jeff…wishing you luck with your project. For what it is worth - here would be my input based on personal experience and what some of the instruction I have received. I would avoidd using a flattening bit to take the place of an endmill as you are thinking about. I would look for another solution. First I’ll say why I would avoid and then I will give a suggestion how you may achieve similar time reduction results.

The reason for not using a surfacing/flattening bit is that based on their design they are not really designed for plunging, especially at the depth of cut I see in the discussion above. Additionally the chance of burning the wood because of the bit being almost stationary against the wood when plunging and during change of directions during the pocketing tool path.

My recommendatiion for another way to approach would be to use a combination of a bowl bit and end mill in the pocketing tool path. Use the bowl bit as a clearance bit and the end mill as the finishing bit.

I will try and attach pictures of the toolpath setup and the results. If you have any questions reach out via email or phone call.

Here is toolpath setup

Here is result

2 Likes

I use flattening bits to resurface my spoiler, plane slabs, and prep stock that will have detailed vcarvings. My biggest advice would be to be conservative with your depth per pass. If you’re too aggressive then you can dislodge your workpiece and, worse still, get your cutter jammed into your stock. It’s happened to me and it’s scary. This extends the cut time but you could recoup some time with a more aggressive feed rate if you use the Shapeoko HDM.

That said, there are bits designed for aggressive surfacing. I’ve really enjoyed using RIP Precision Tool’s Slab Slayer. Its design allows for aggressive cuts and leaves a clean surface. At the other end of the spectrum is a two-cutter inline designs such as a bottom cleaning bit. These guys are only good for skimming the surface.

A middle of the road bit I also use is this surfacing bit. It’s cheaper, it uses replaceable/rotatable carbide inserts and cuts both side and surface. It’s no Slab Slayer for aggression but it’s more useful for more situations.

Bottom line, what ever you get, try it first in scrap on only when comfortable on your project.

I’ve used a 1/2” end mill to get close using a 40-50 overlap to quickly level out, then either a very sharp bowl bit ( I like those) or flattening but no more than .01 max cut and 10% step over to get a final flattened ready for inlay or detailed v-carving.
I use older bits for hogging out,

Other factors like the backside and spoilboard can play a factor depending on the design. But bear in mind the weather and how much time you take creating this may cause more movement in the wood than a surfacing. So there is always a balance.

Best of luck hope you’ll post your final results.
Ian

1 Like

So I’m taking the advice to get a bowl bit. I’m getting a .75" bowl bit. I’m also using a .25 EM and a .128 EM. I have both up cut and down cuts on the EMs. For each layer I have the bowl bit hogging everything out, then the .25 EM and then the .125 EM to finish up the layer.

What I’m wondering is if it would be a good idea to reverse the bit order or at least using the .125 Down Cut EM for the 1st pass to get cleaner top edges before milling out the rest of the area. Or do people just keep that as the last bit to clean up the edges at the end.

I’ll experiment with both but looking for personal experience and preferences.