Laser Marquetry using Kerf Offset Feature

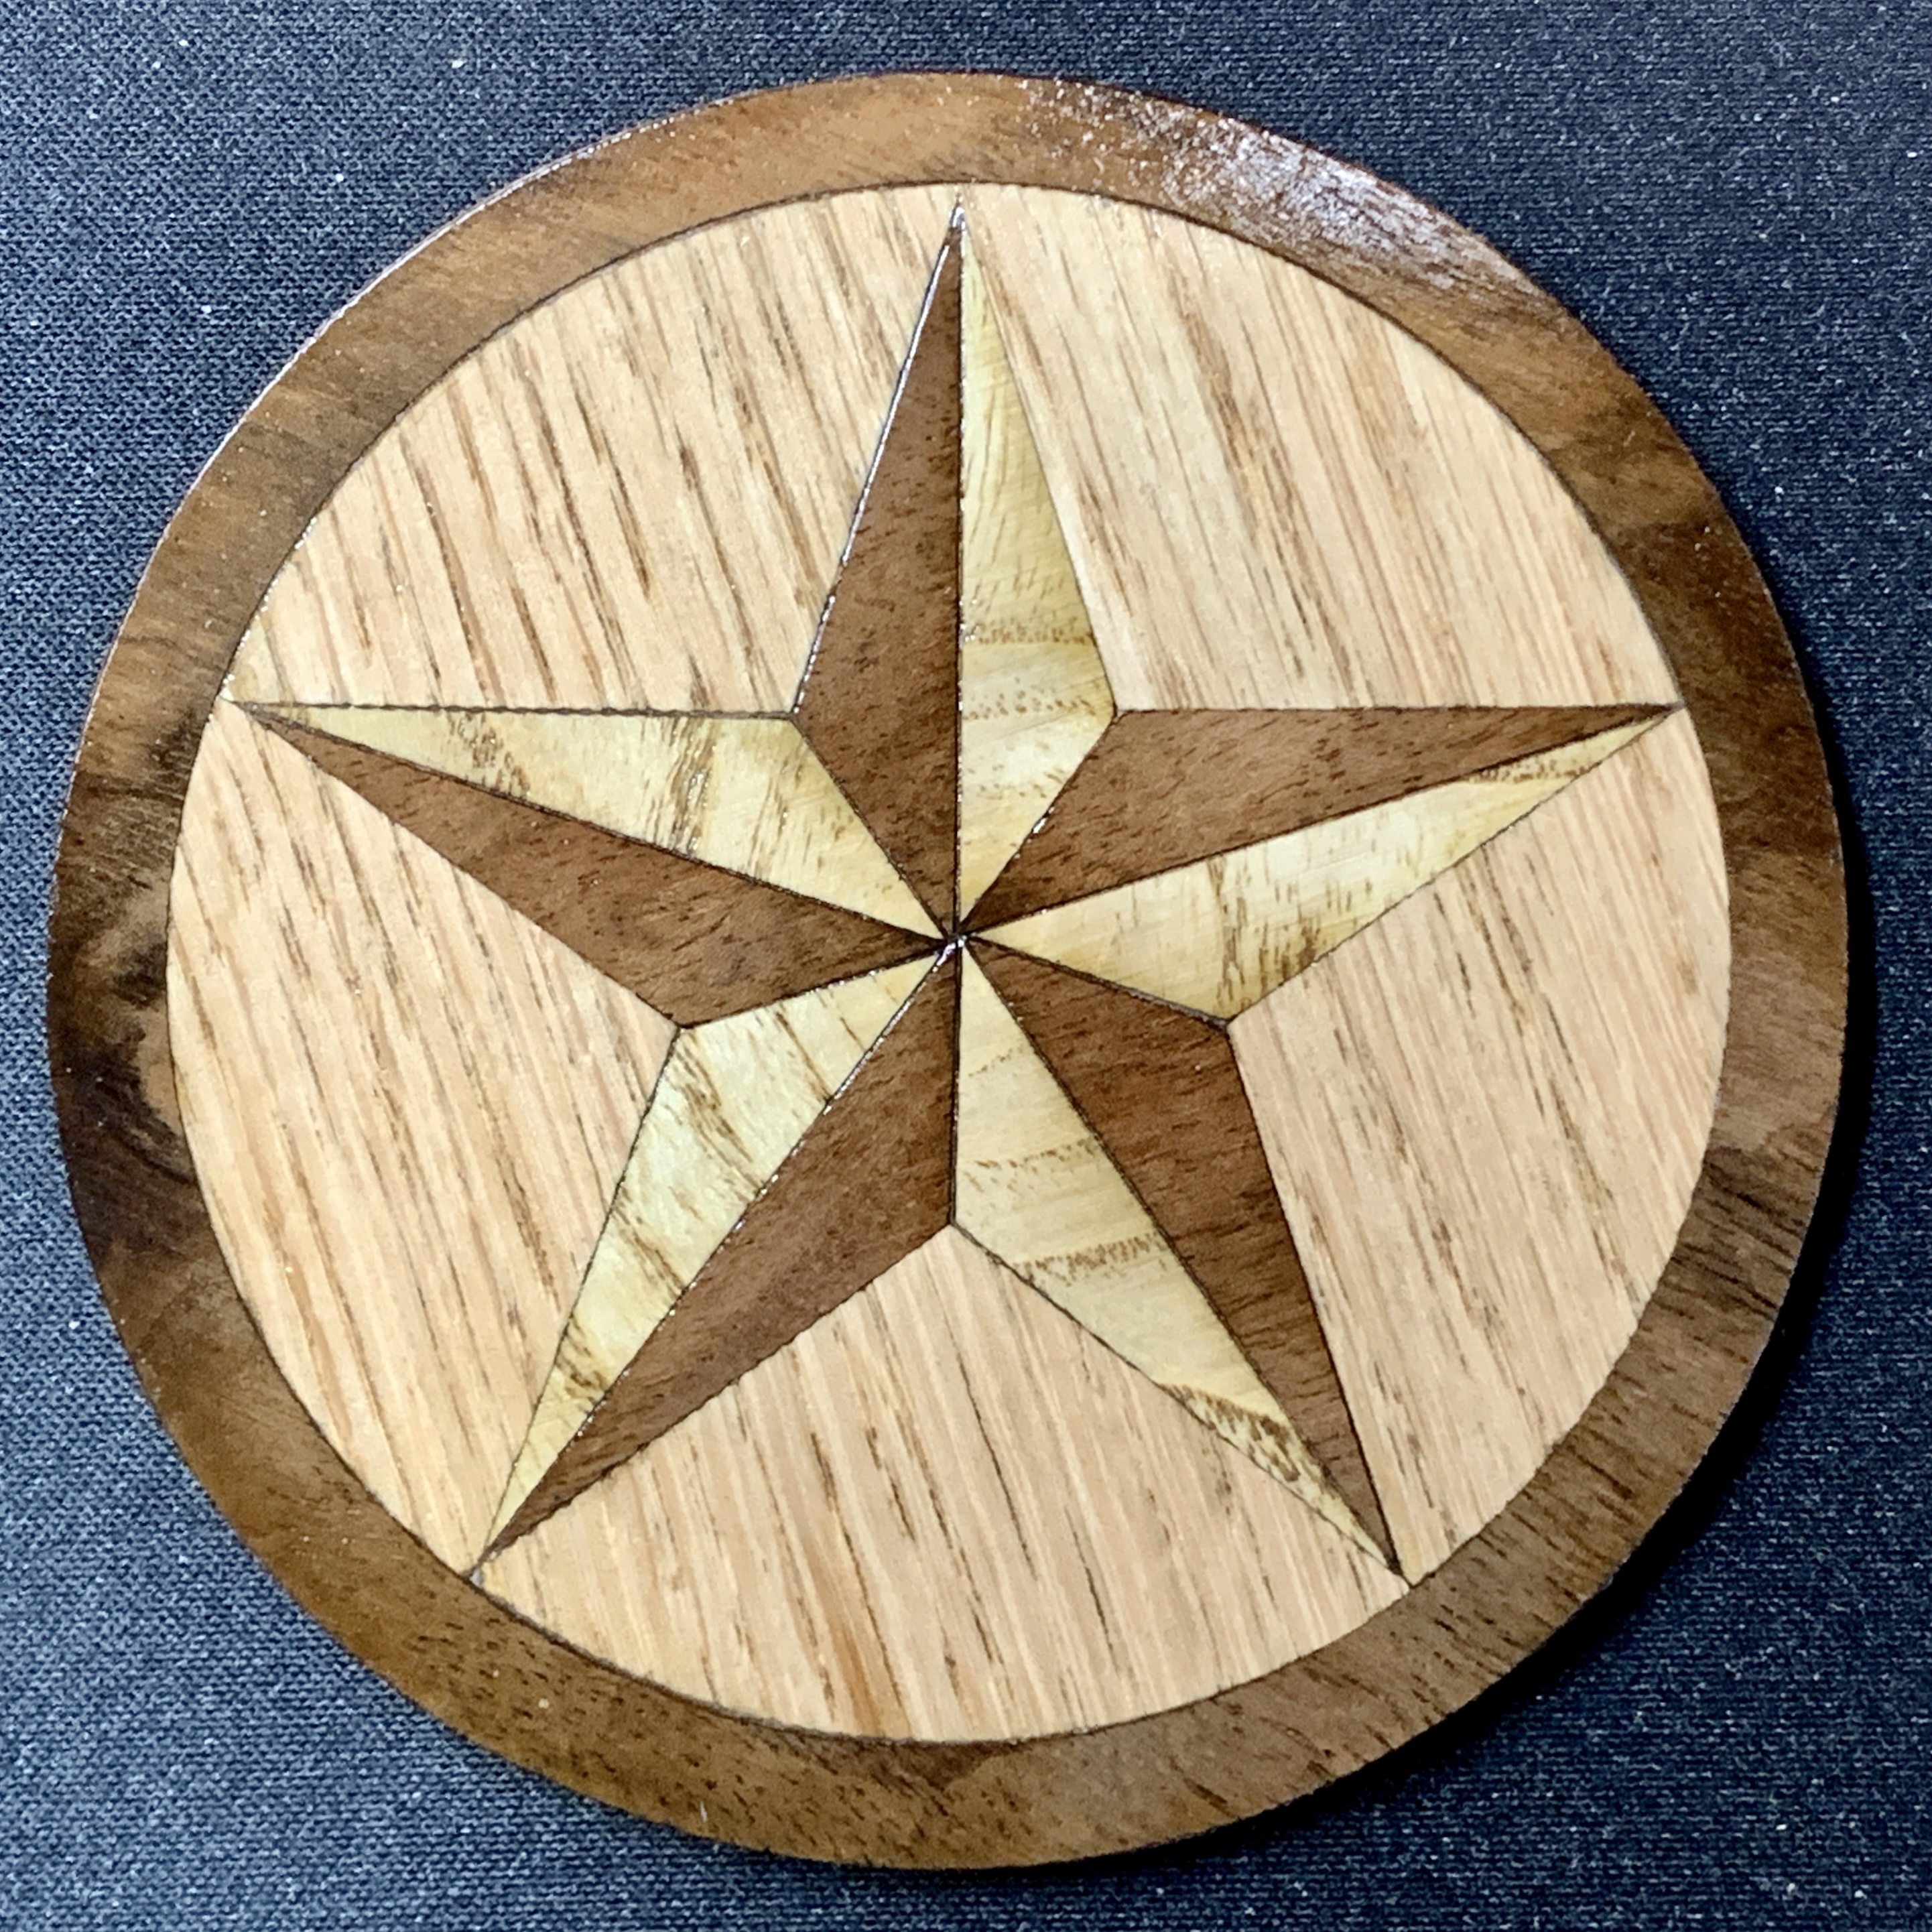
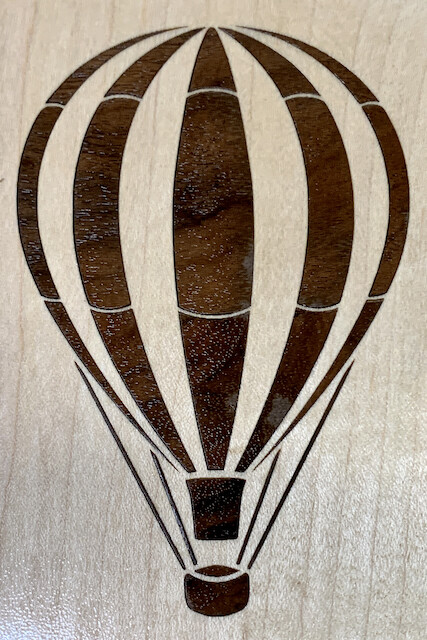
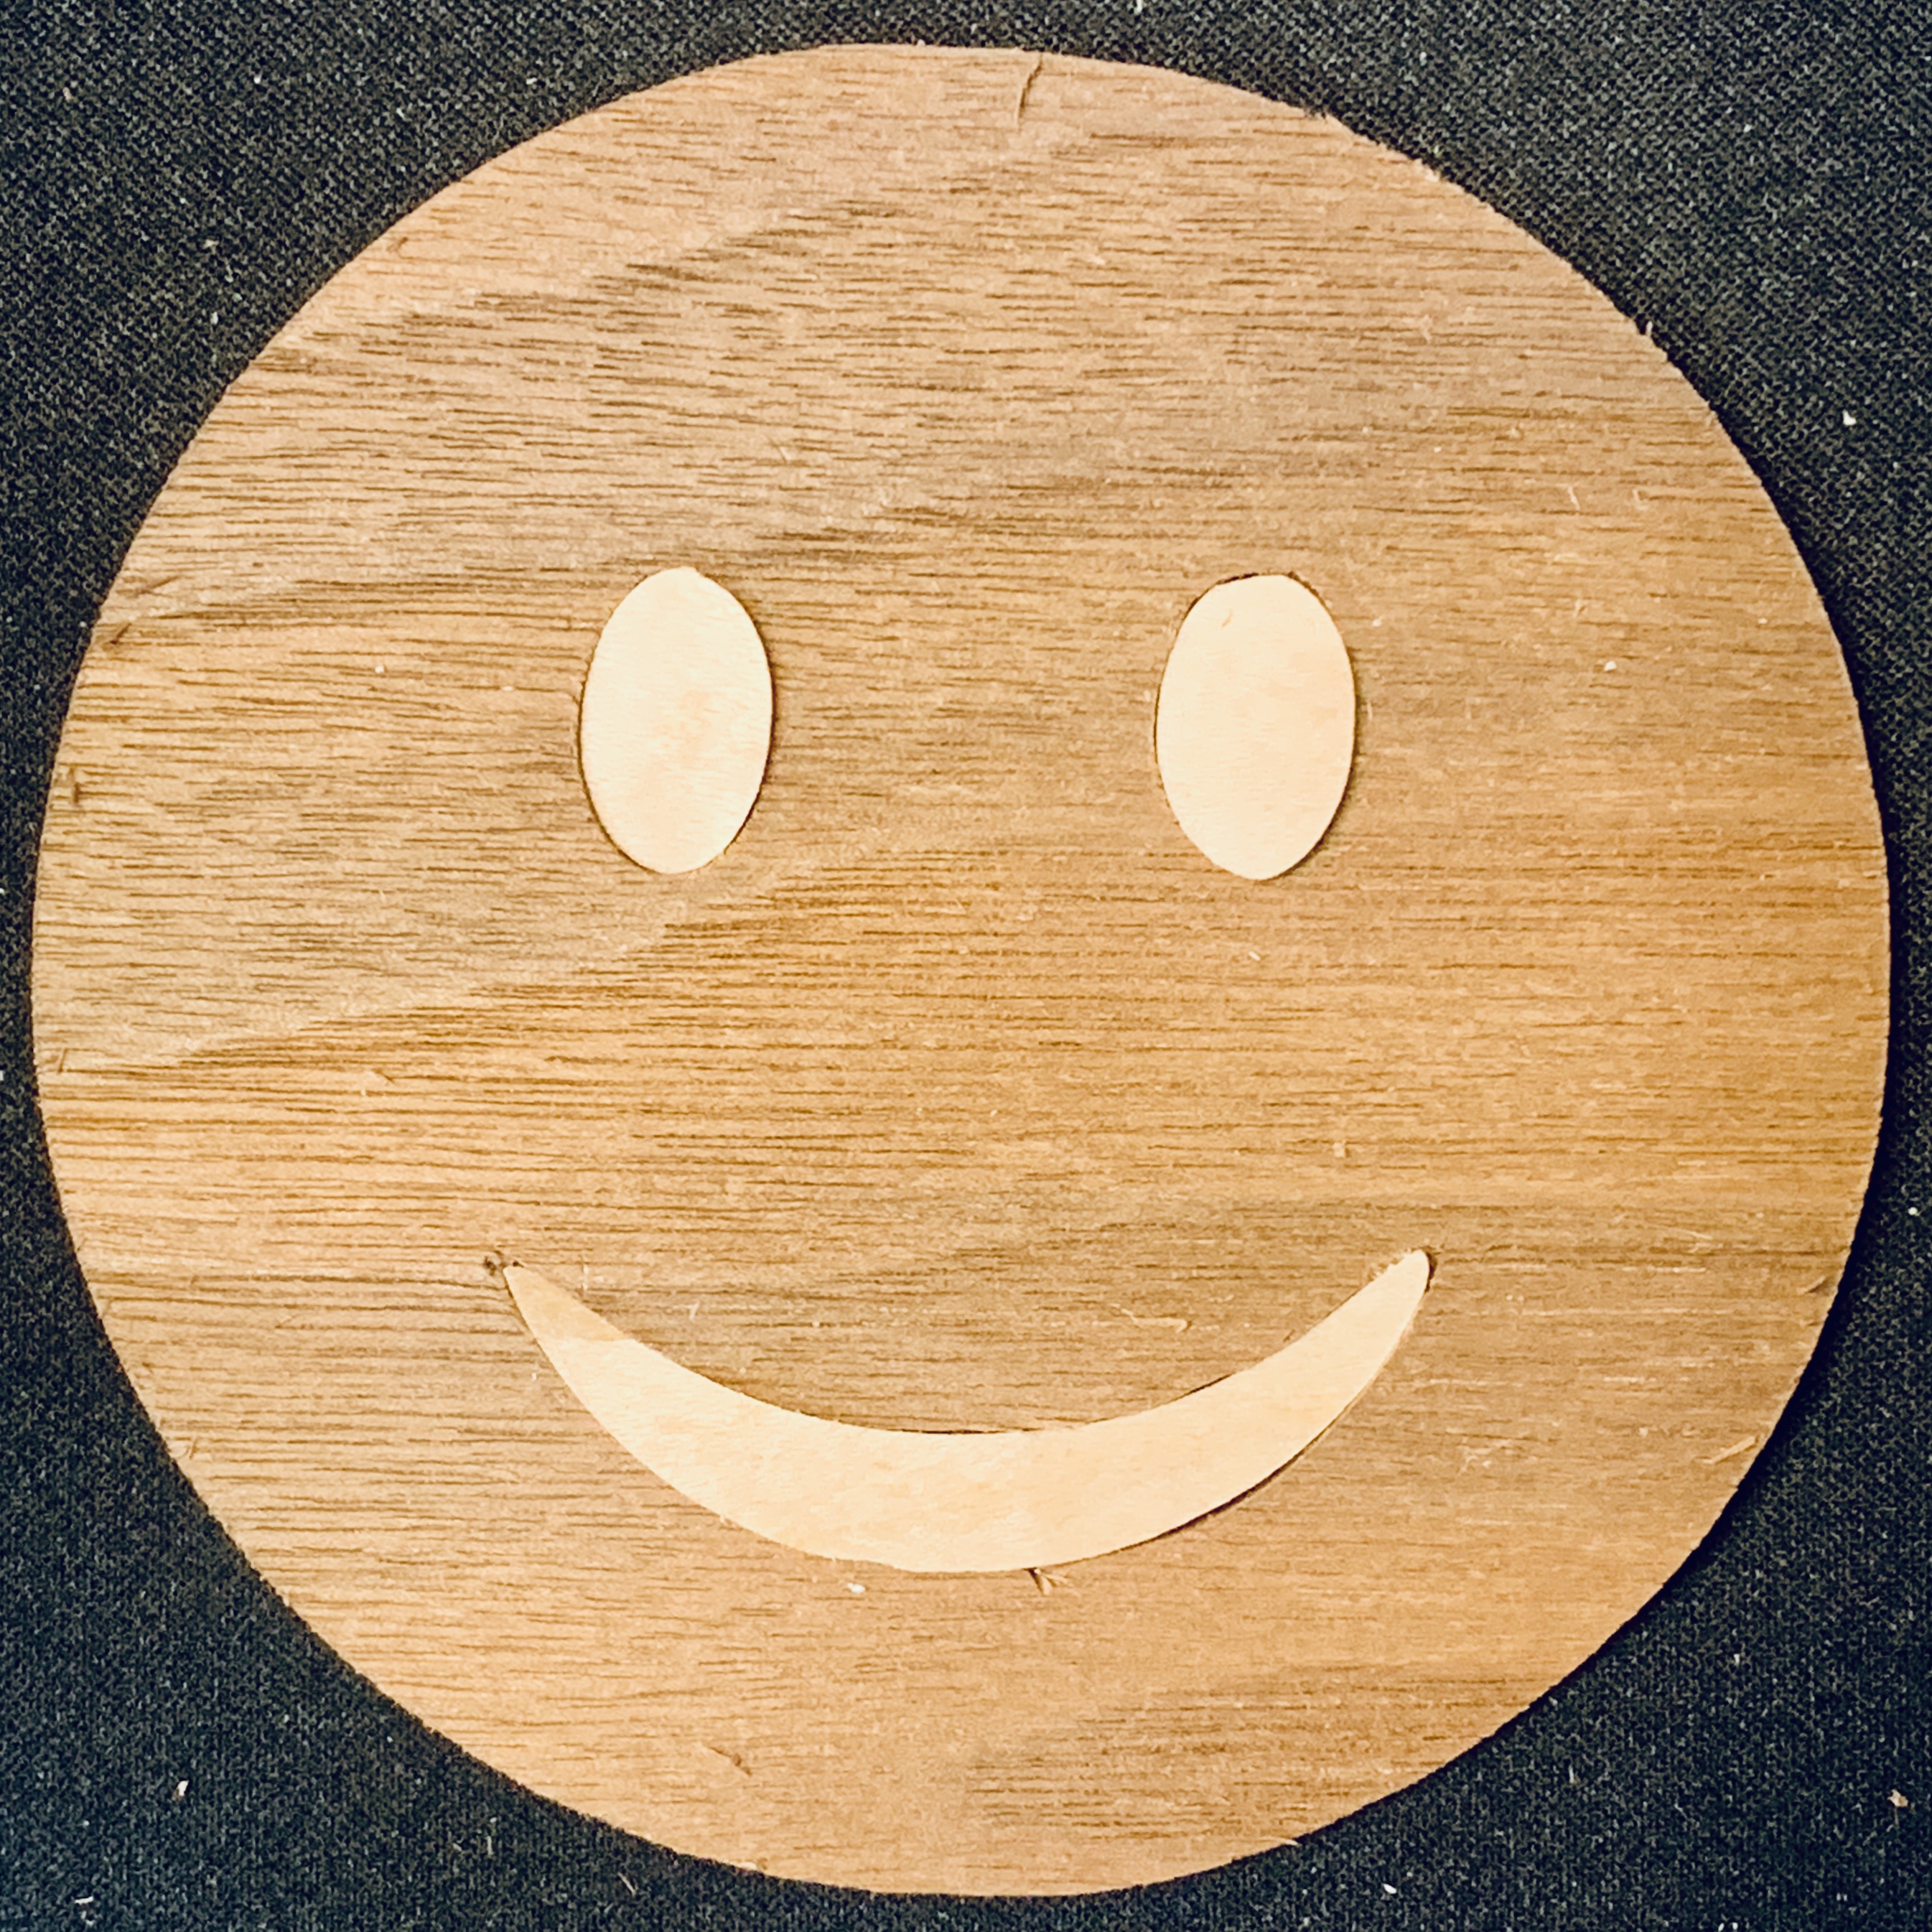
I just posted a video showing a CNC using a Drag Knife to cut veneer for a simple marquetry project, a two-wood smiley face. The results can be seen below and in this case it worked OK, I had a feeling the laser could do better.

In the past, the two issues that kept me from being excited about laser marquetry were: smoke staining and kerf (the gap resulting from the laser burning off wood). Our new lasers arrive in June and should have better compressed air to clear away smoke and reduce staining. Lightburn now has a Kerf Offset feature to deal with the fit issue associated with kerf.

My home setup already addresses these issues so I thought I’d give it a try.

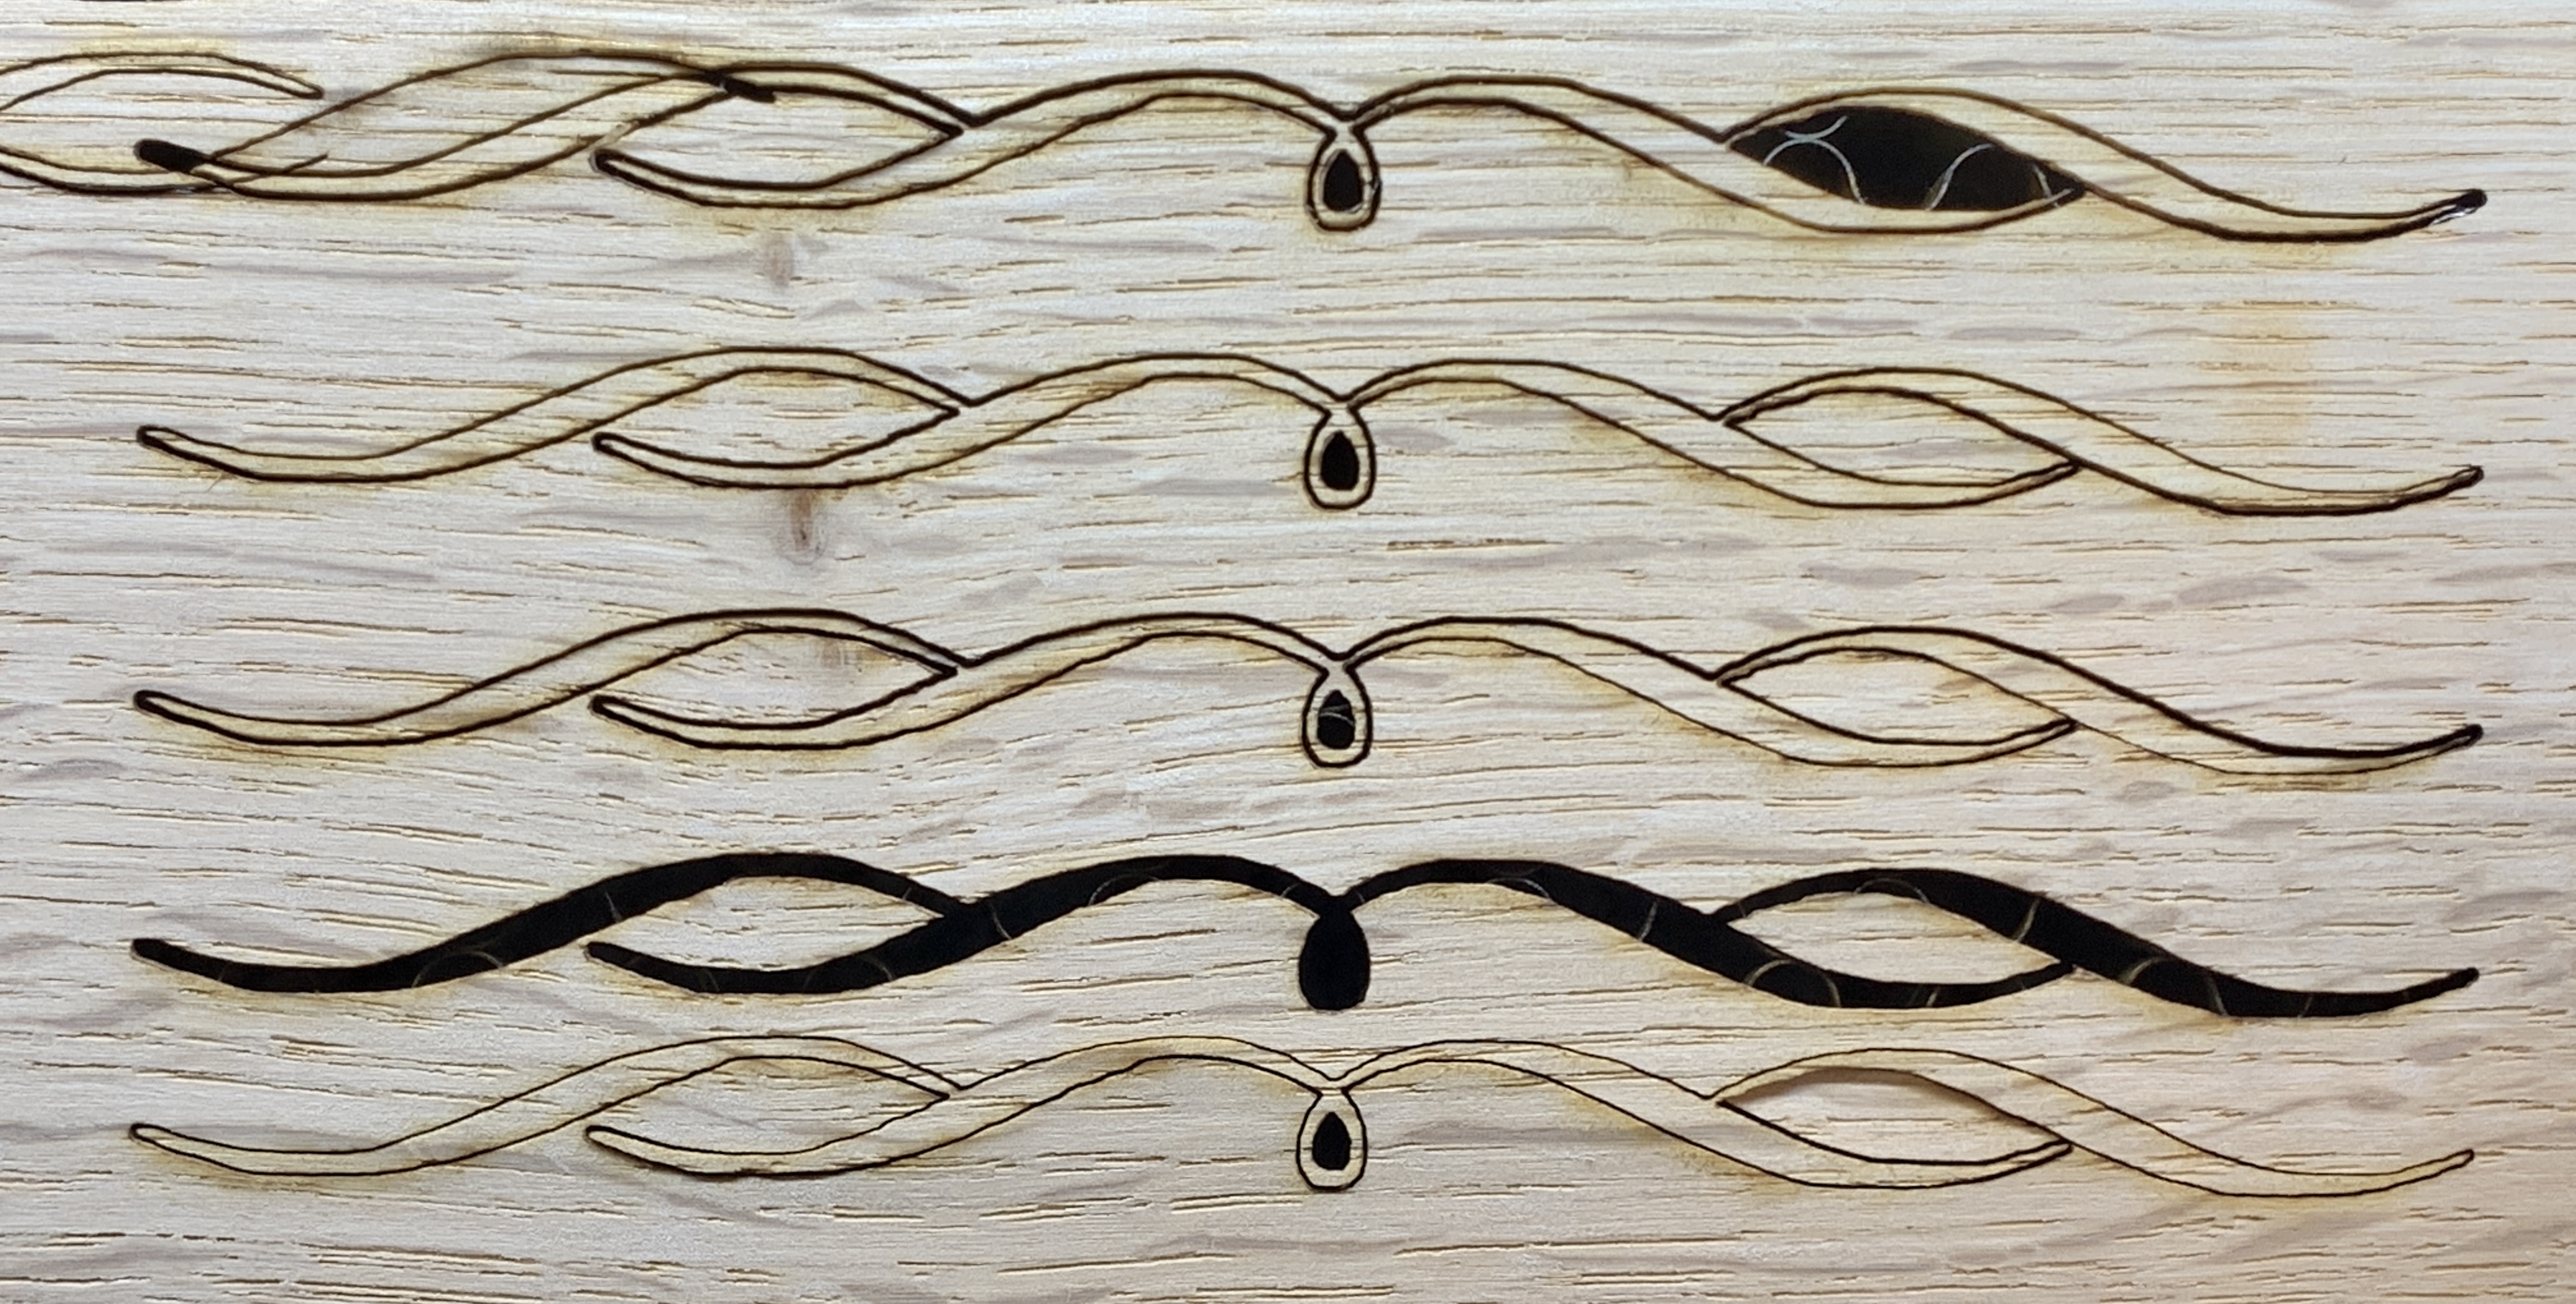
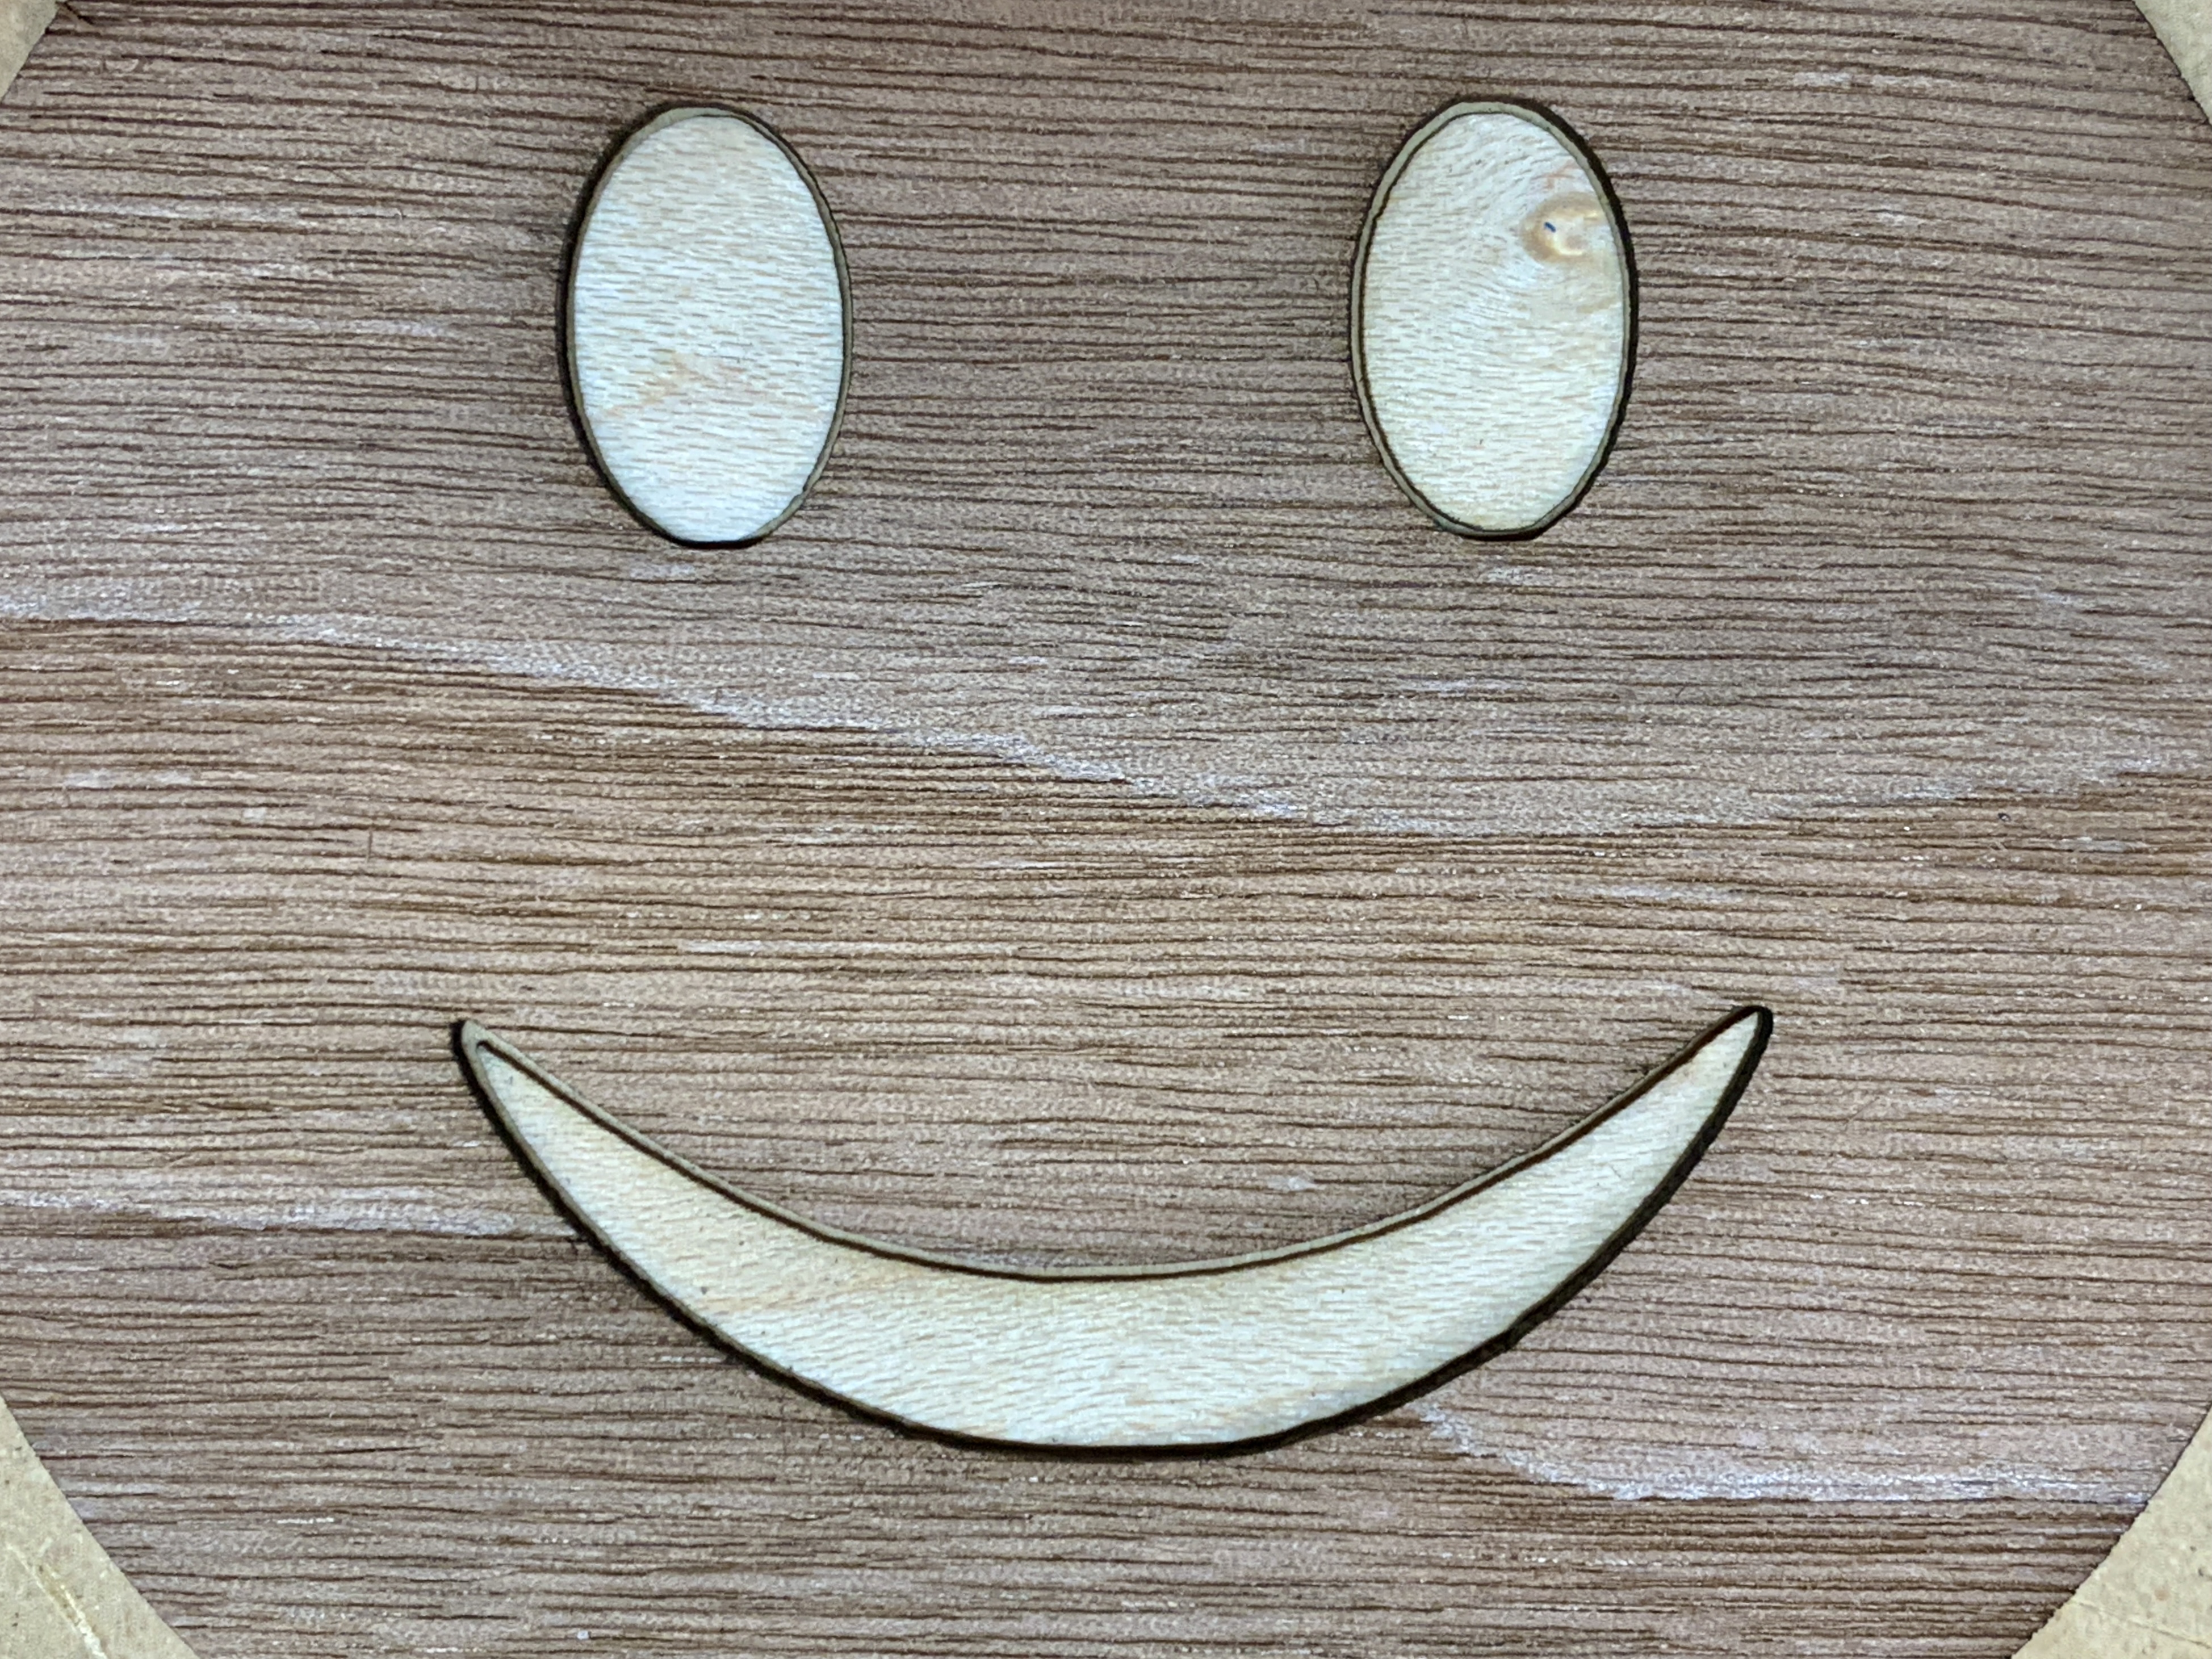
This first picture shows no staining due to compressed air. However, if you look around the eyes mouth you’ll see the gap that results from burning away wood while cutting. This picture shows no adjustment for kerf so it wouldn’t be acceptable.

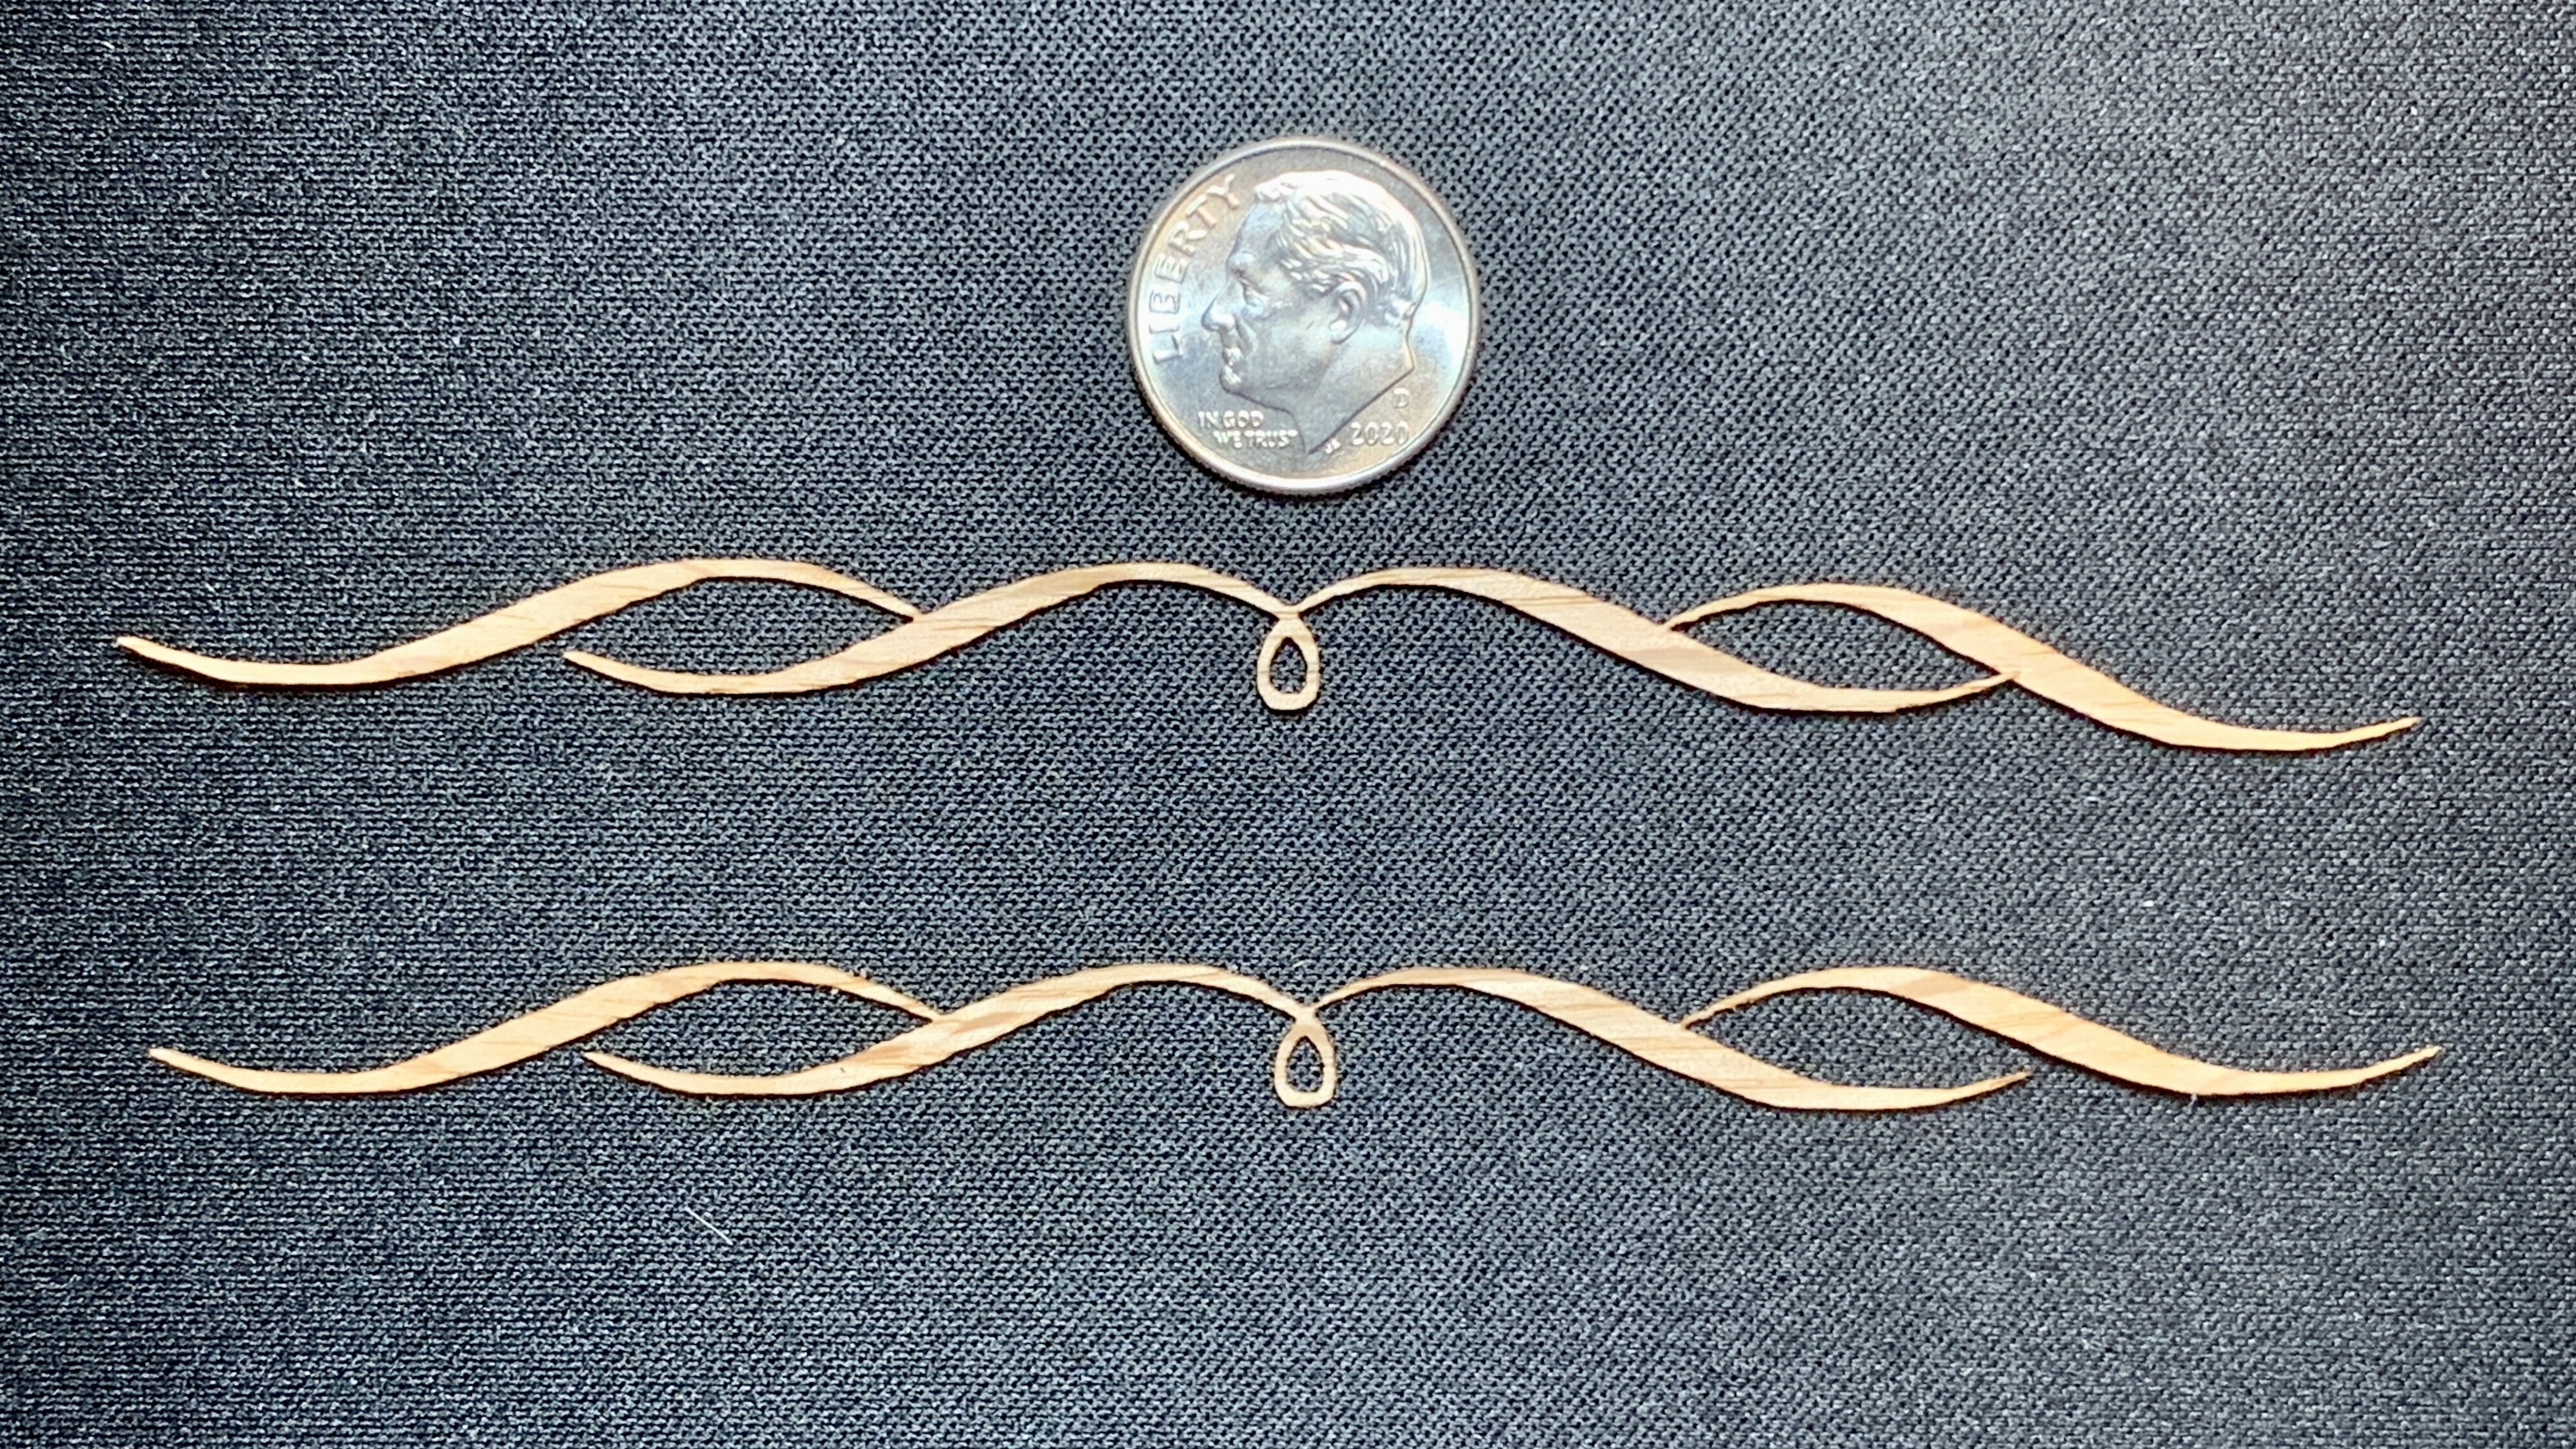
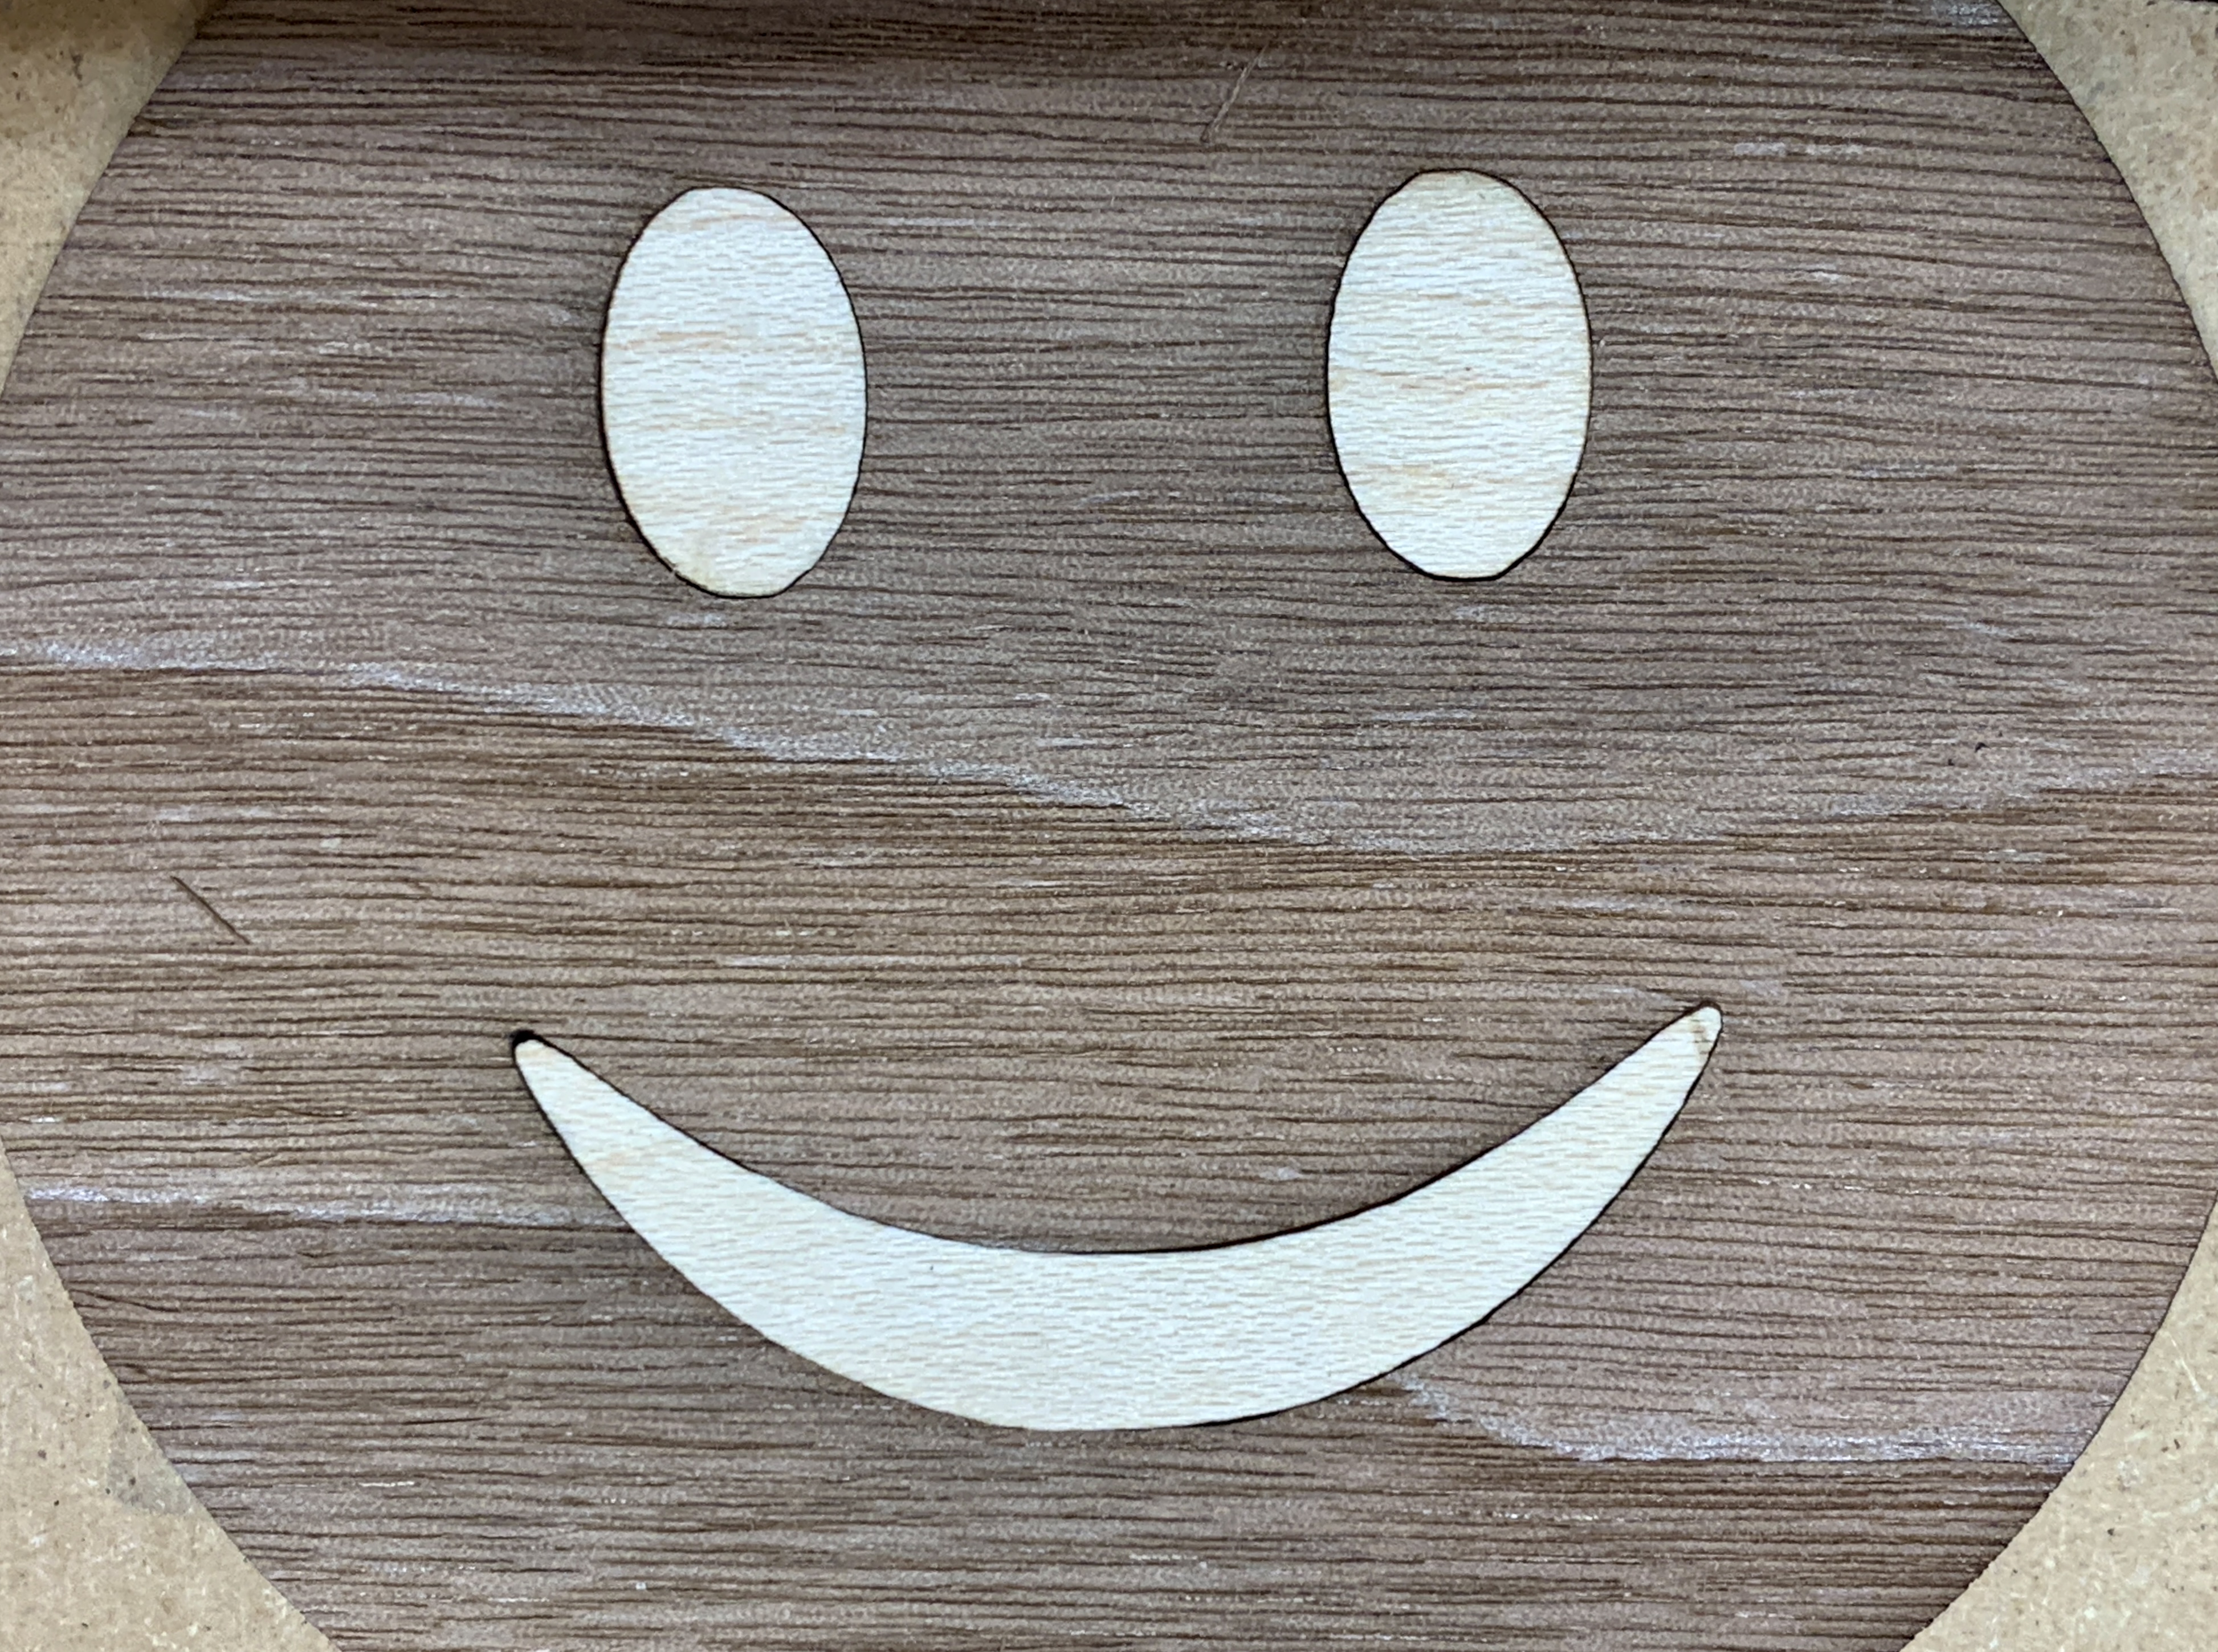
This second picture shows the benefit available from Lightburn’s Kerf Offset tool. After a couple of test cuts I settled in at an offset of 0.035" [edited] and, as you can see, the pieces fit perfectly.

Conclusion?

With our new Thunder Lasers and the latest Lightburn we’re ready to do laser marquetry!

2 Likes

Laser for marquetry looks interesting, and the compressed air appears far superior to a mask for eliminating smoke marks. I’m guessing 0.35" kerf offset is a typo. Or am I missing something?

Ya. Zeros can be important: 0.035”. :grin:

1 Like

Don’t forget that you can edit your original post so when someone new reads it, they see the correct kerf setting and don’t go trying 0.35" of kerf offset.

Just starting to learn more about my laser and figuring out how to use the LightBurn Kerf tool. Just made a rudimentary box for my CNC bits and had to do quite a bit of experimentation to get the tabs to fit together as I wanted them to. Do yo9u have any good resources on learning about the tool to help me not have to burn up so much material while learning or like usual does that just come with the territory.

Thanks for sharing.

Rob, only because you said “boxes” I’m reminded of Boxes.py where you can define the character of MANY box types and download exact SVG files to use in the laser. One variable is called “Burn” which is to account for kerf which of course affects fit. 0.1mm is a good default but specific laser and material character can widen that. Give it a shot, it’s a cool site.

https://www.festi.info/boxes.py/

1 Like

I have visited the site and started playing around but need more time and experience using the site and hos to apply the kerf information.

Knowing you it shouldn’t be too long to mastery!

As Travis mentioned, boxes.py is a very nice tool for making boxes of many sizes but also THIS is what I use to get the right settings for the design. Granted, it does not adjust your kerf in your own designs but might help you find your kerf at particular lens distances and wood thicknesses.

https://www.festi.info/boxes.py/BurnTest?language=en

1 Like

I just saw the new laser delivery video, and I have to say I might have had a little emotional reaction to seeing you all coordinate that delivery and installation! WOW Congratulations! I am 100% interested in Laser Marquetry. Would go great with those shaker trays…

For those who haven’t seen it, here’s the link showing how we got these great beasts through a second story window at the shop into the new Digital Tools room.

Also, if laser marquetry is of interest then come to the Shop on Saturday, June 25!
We’ve scheduled demonstrations of all sorts, including of the two new lasers.
In addition, we’ll share plans for such themes as laser marquetry.

And we’ll provide a glimpse into how it’s done.

Paul Duffield just challenged me to produce smoke-free veneer inlays using the laser. I started with a one-pass cutting strategy and the results weren’t good.

Shifted gears and went to a lighter touch, a multi-pass cut with lower power (and less smoke). While a faint trace could be seen (top) it wasn’t something a little alcohol wipe wouldn’t easily remove (bottom).

Having found the strategy for success I challenged myself: design-to-finished inlay in 20 minutes. Below are the results.

We’ll demonstrate this one Saturday morning in July at a free event at the shop. Perhaps I’ll challenge Paul to demonstrate doing the same thing in the same timeframe with a scalpel. :joy:

5 Likes

Smoke-free wood burning is quite the challenge. Does Paul work at Benihana? This could be fun to watch and a little dangerous. LOL

Nice 20 minute project!

2 Likes

If you can adjust for kerf to do marquetry then you can adjust for thickness to do inlays.
This is a simple project I completed today just to develop my laser inlay technique.
Once you’ve dialed in your settings, cranking these out is a matter of assembly.

3 Likes

Why would the compressed air be superior to masking ( just learning here). Is it because of the extra work to apply and later remove the masking?

Masking is great and there’s nothing wrong with it with three caveats: 1) the tape MUST a good flat seal 2) you need to dial in your settings WITH samples covered and 3) it can be a real hassle picking off tape from “islands”.

Fans and air assist are simply easier though not as effective.

1 Like

With the new lasers, is the kerf adjustment still at 0.035" for both lasers? Or is there a different kerf width now?
I’m making a candle holder/box that I got the drawings off the net and the sides fit very loosely. So I plan to try to adjust the drawings or start from scratch via boxes.py or similar site.

Given the passage of time and variety of materials, I’d say “Who knows?!”
As with most laser projects, you need to do tests on your materials.
You can see an example of this in the picture here.

If you’d my Lightburn file that I use to determine proper offset then let me know.

I conducted a test today on paper-backed veneer: 0.1 mm was the proper kerf offset.