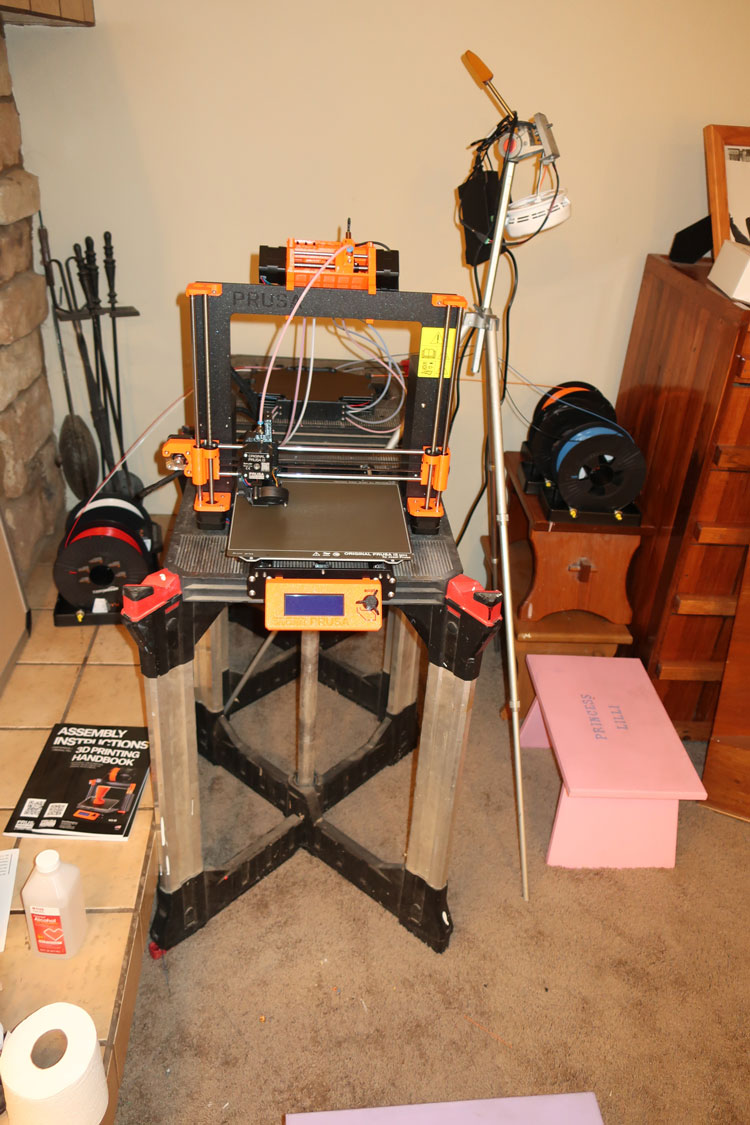
Putting the Mk3S+ together was fun, enjoyable. Had a bit of issue with the electronics images. Could have used a bit more contrast and size. Could have used more contrast on some of the parts assembly steps too!!
Added the MMU2S. The MMU2S assembly is a bit more challenging. If you do it, I would leave the printer alone for a while and put all of the parts not being immediately attached to the printer together first. This is actually most of the parts. My printer was down for two days because I started on something like Page 12 putting the MMU2S together and then stepped back a bit early to disable and disassemble the MK3S+. Get all the way to the end of the instructions, THEN go back and begin the instructions attaching the MMU2S to the printer and your printer, in my case / estimate, will be down for about 4 hours - estimate.
Really helps to have the instructions online - MMU2S assembly instructions are not printed, so you can expand the picture. The annoyance is my computers are not in a good location for small parts. Still worked out okay.
Clue, if you do it, using the head of a M3x20 or 30 to hold the hex nuts in place REALLY helps in numerous places.
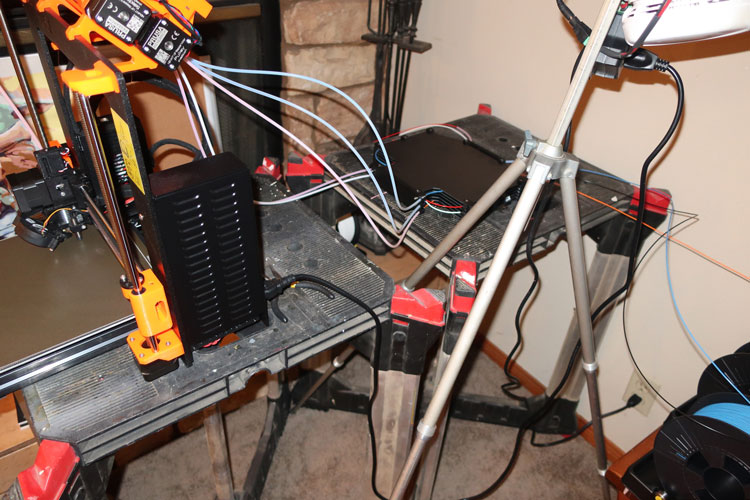
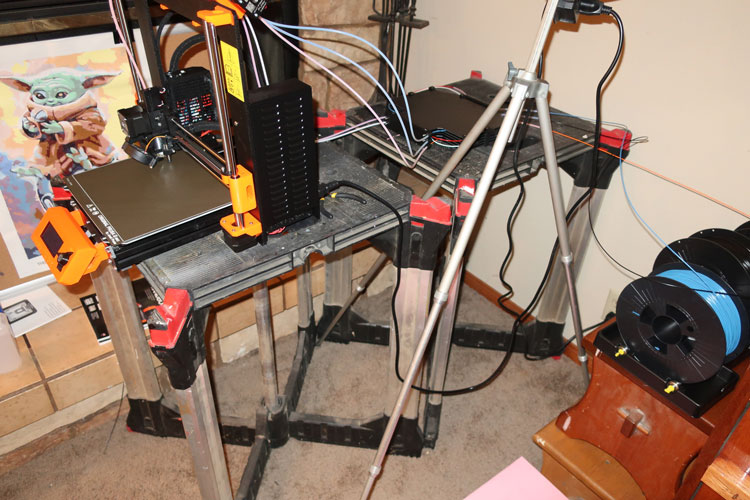
Dropped sets of diodes attached to instruction sheets for the smoke alarm at the shop the other day. If you need help with assembly, I am usually available. Comforting knowing that it is on the job. At the moment hanging on my camera tripod. I need to figure out a real estate / cabinet issue. I think I am going to use the lock lid box concept of the other posting. I am thinking about using roller bearing rollers rather than the PVC axle concept. That will allow removal of one spool at a time if needed.
Thanks,
Rex