I am now using Microsoft Edge as my browser. Something went haywire with Firefox and even uninstalling it and reinstalling it got me nowhere near usable again. As a result of Edge’s restrictions, when I click on Download All Files in Thingiverse nothing is downloaded. I have to click on the Thing Files button under the images so I no longer get the target as a zip file with the STL files, the images, the License, and Read Me files. A bit annoying.
My Wife found the (digital) Tulips, Thingiverse #1429882, and decided we are going to have a PLA bouquet. Without the Read Me files and not having read the comments, I printed the first two bulbs base down / blossom up and they both detached about 85% of the way through a print of about 2 hours and 16 minutes. Going back to the Read Me files or comments, it recommends printing the blossoms upside down. That works. However, I have two detached & incomplete blossoms with a fair amount of time involved.
Remembering one of the MANY YouTube videos about 3D printing I decided to try measuring the printed portion and using the PrusaSlicer Cut command to print the remaining, missing portion. I measured the heights of the detached blossoms, 35.9 mm and 36.8 mm, and using the Cut command made two files of the remainder of the blossom. With the Cut command you have two options, keep either the top or the bottom or both. Discarding the bottom left me with print times of about 18 minutes and 23 minutes for the final piece.
The question was, How nice would it turn out? The answer depends on the project and your range of acceptable.
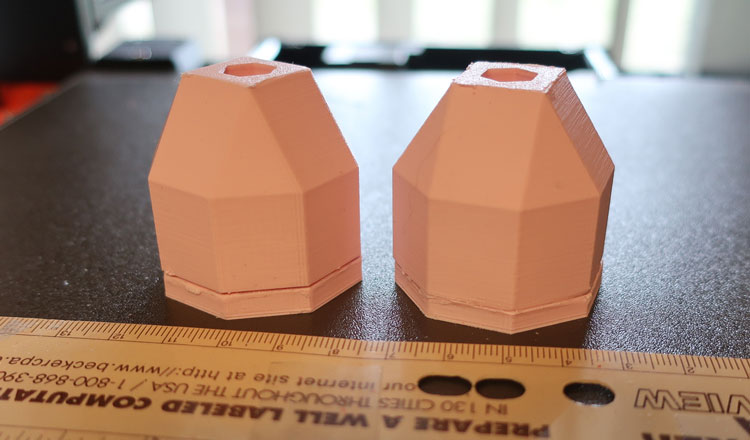
In the photo, the Cut command is in the red square, the left bulb was printed upside down, the center is the “to be glued together” detached print, and the right is a glued together detached print. I used Testors model glue on this. It seems to have worked well. There is a slight seam. Note on this Testors glue, the blue tube, it is labeled for plastic models. It melted some styrene structures I was building for my railroad layout and it failed to set on other styrene structures, obviously different something or another there.
Thanks,
Rex