
To any of those that have the Shapeoko Pro XXL, does the spindle come out enough so that you can make one of those fancy vertical clamping tables for joinery? I’m thinking of getting one, but looking at videos it doesn’t seem to come out as far as the non-pro models.
Peter,
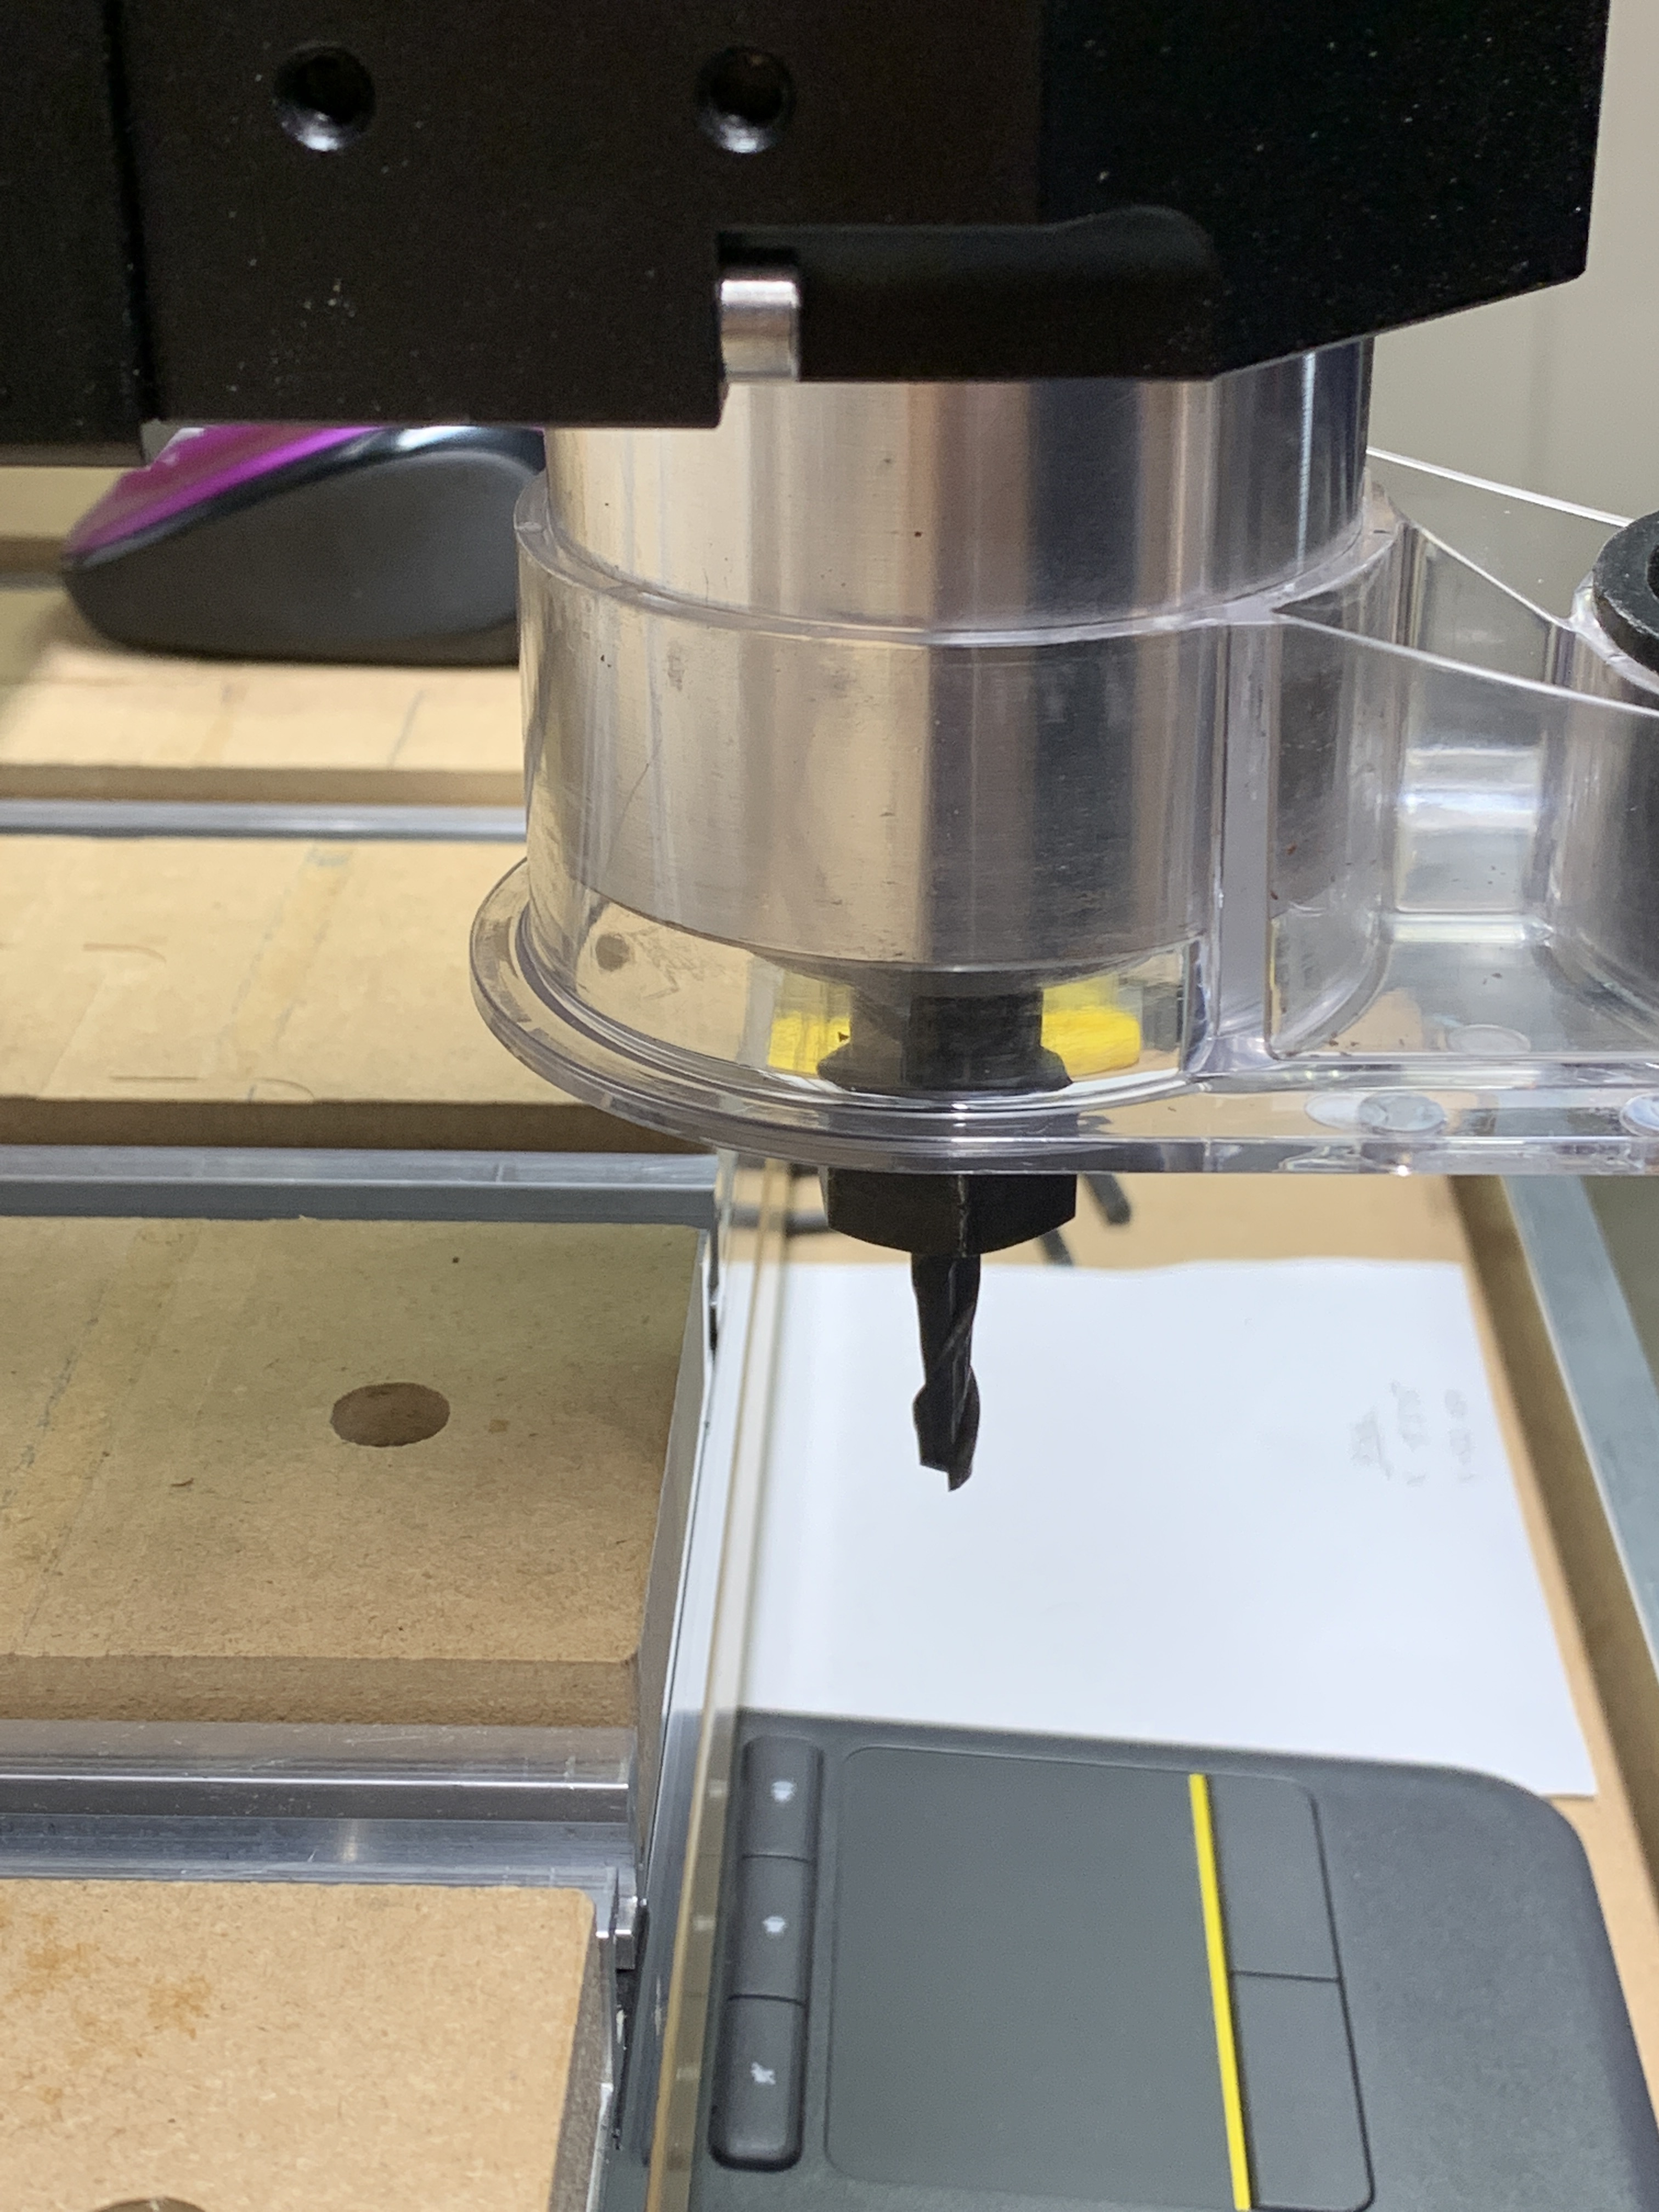
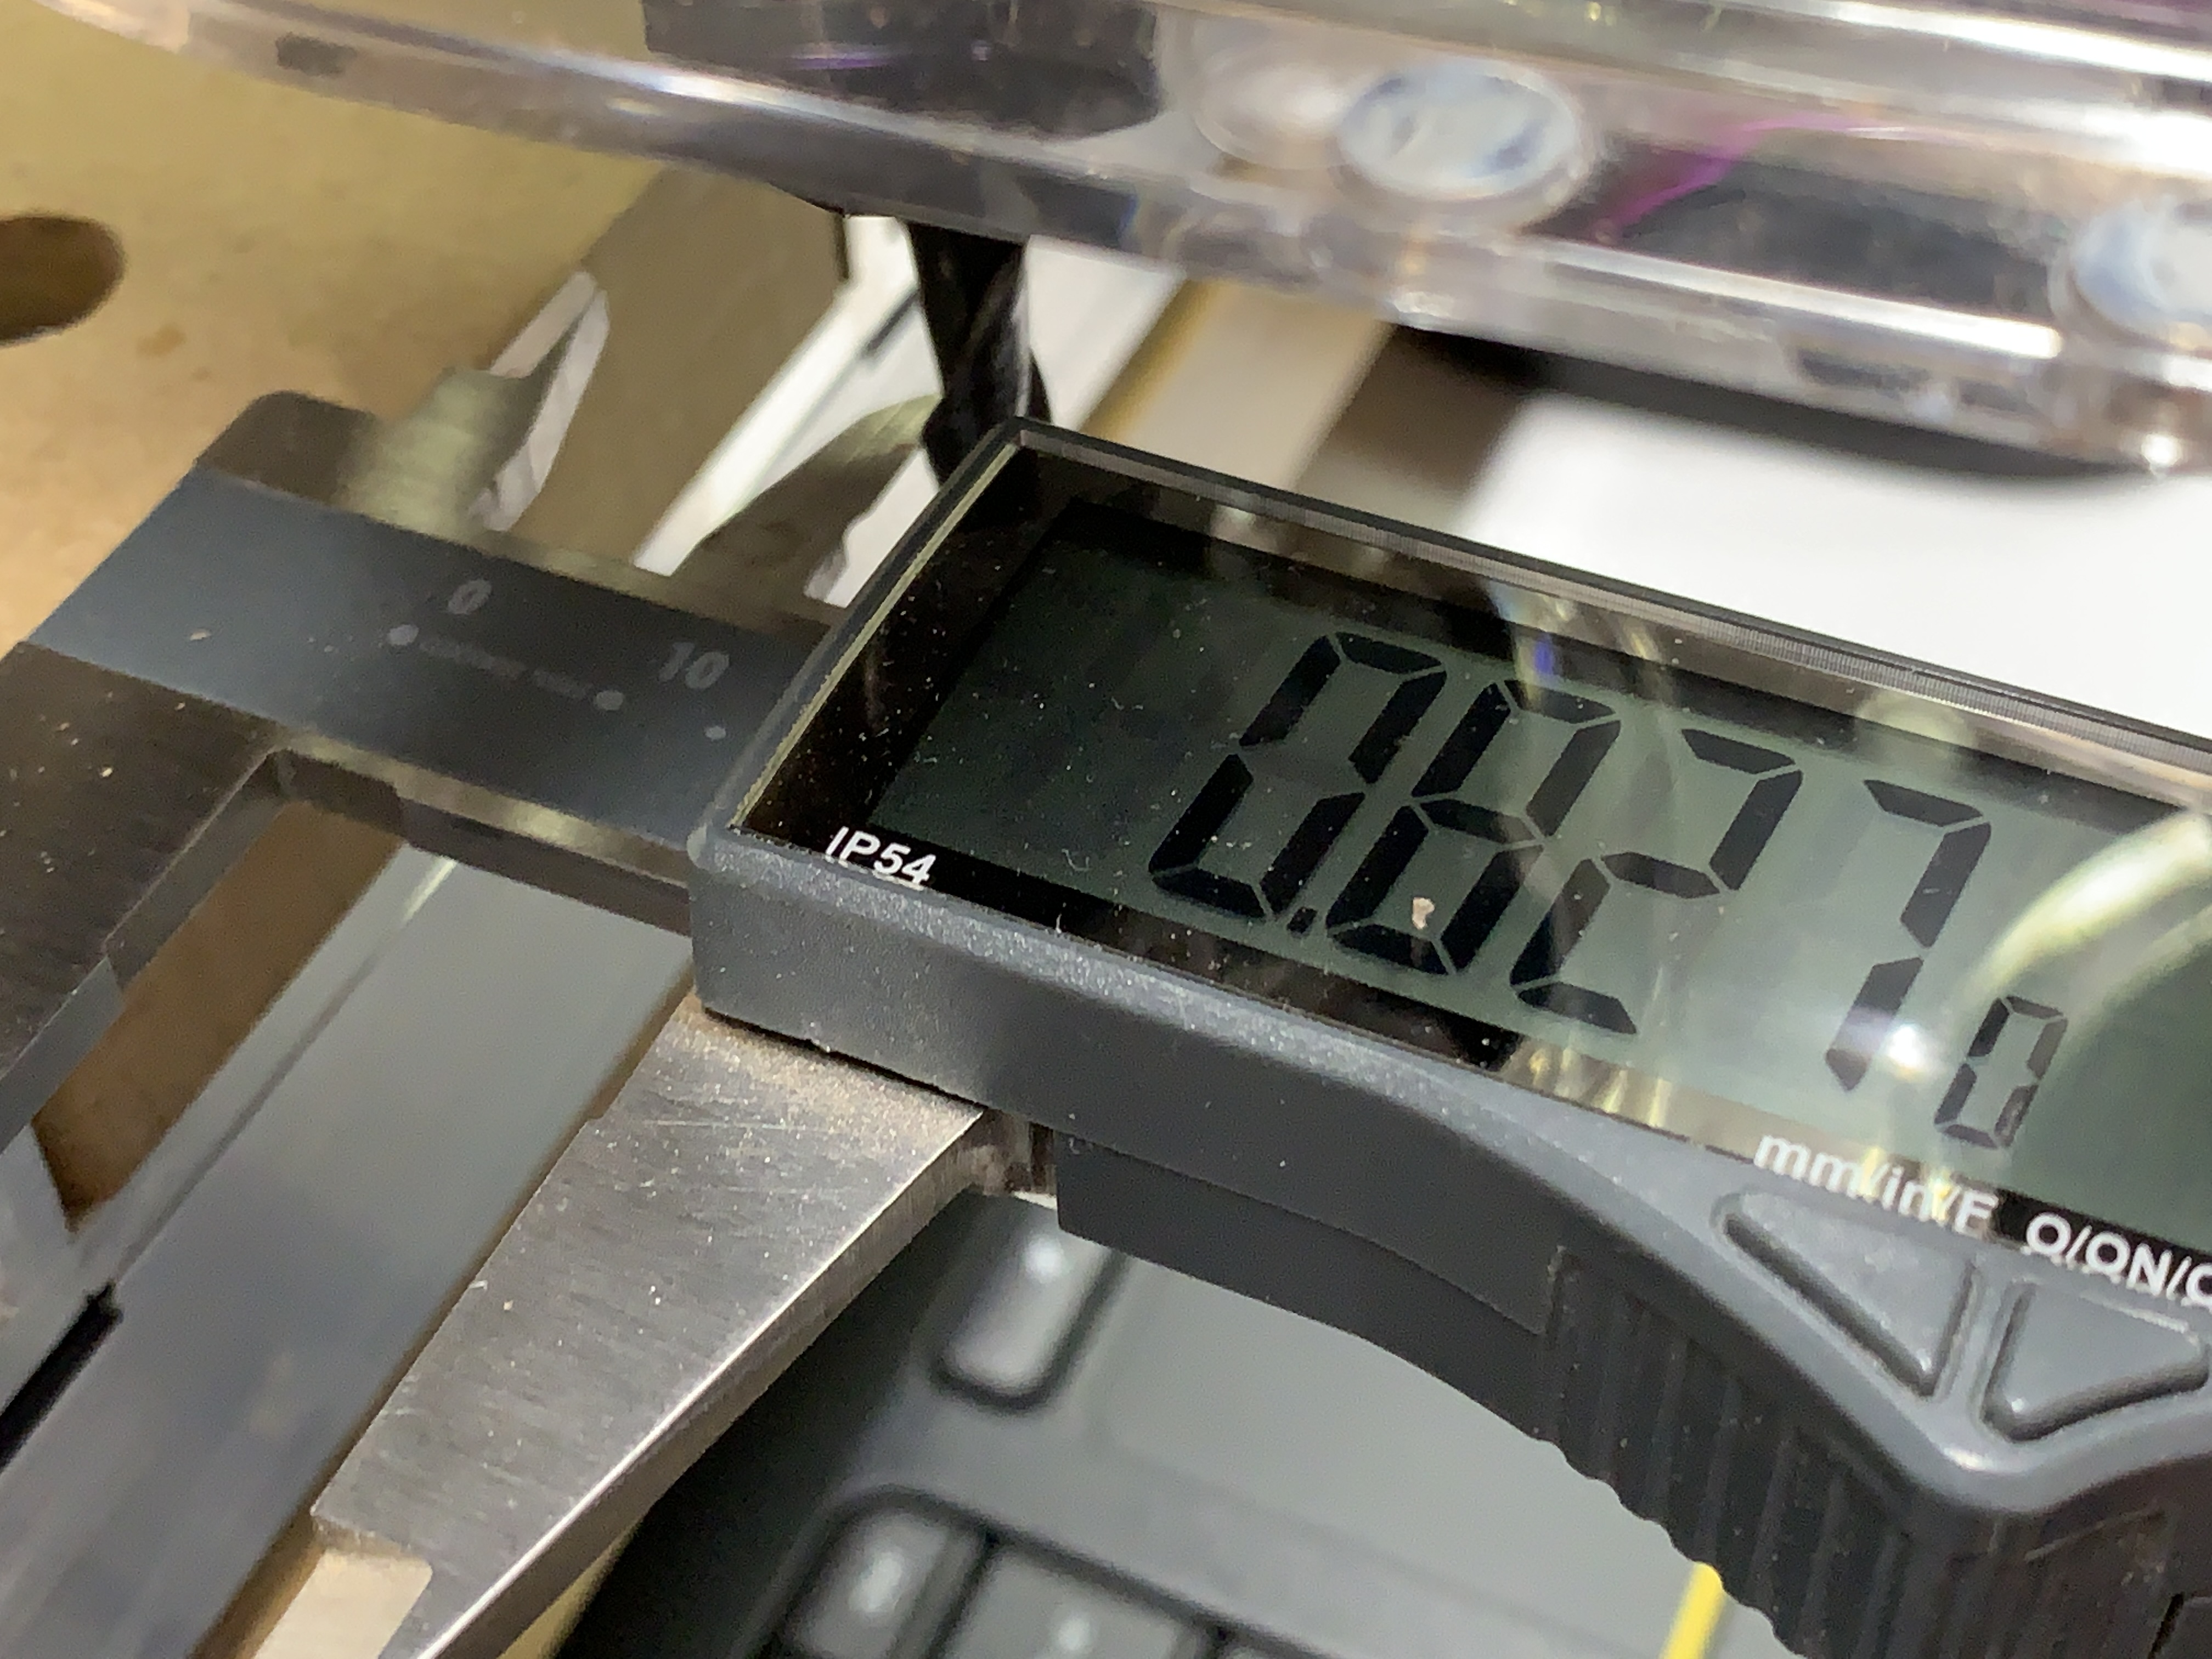
I’m sure there is enough room with the XXL Pro but Perry will let us know. He’s the one who built the fixture for the Shapeoko 3 at the Shop and has gone on to do amazing things. I think he was working with 1.5" overhang and I measure 0.827" overhang. The Shapeoko 3 is still available but will soon be replaced by the Shapeoko 4.
BTW, Perry presented at a CNC SIG on this very topic and it might be of interest.
Thanks Travis!
I was scared there would be no overhang with those beefy supports at the end of the y axes. That’s a good enough overhang for 90% of box joinery, so I think I’ll pull the trigger on purchasing. I loved the recent SIG where you guys went over the Pro and I’ll watch Perry’s next.
Remember, you need something to hold your workpiece vertical so a fixture will occupy some space in front. That said, given the construction of the Pro there are probably options not available on the Shapeoko 3. Certainly there are materials you could use that are thinner than we used.
Also note that my 0.825 was to the outer radius of a 0.25” end mill.
To center you can add back in the 0.125” getting you to 0.95”.
In the end I think your conclusion will prove correct.
Continuing the discussion from Shapeoko Pro XXL Joinery?:
I don’t recall the exact amount of overhang that I had, but it was enough to do a .75 thick board on my fixture. That said while I spent a lot of time designing the perfect uber complex fixture it was way more than what was needed. Jerry actually walked by and commented “Why don’t you just fasten the board to the front of the table?”. I was really insulted! How could such a simple solution beat my elegant fixture!?! Well as it turns out he was quite correct. Attached is a pic of my home setup. A simple fence with 2 clamps to hole the material. The aluminum “base” is 8020 extruded alum, but you could accomplish the same with t-traks embedded in MDF or other alum extrusion with embedded t-tracks.
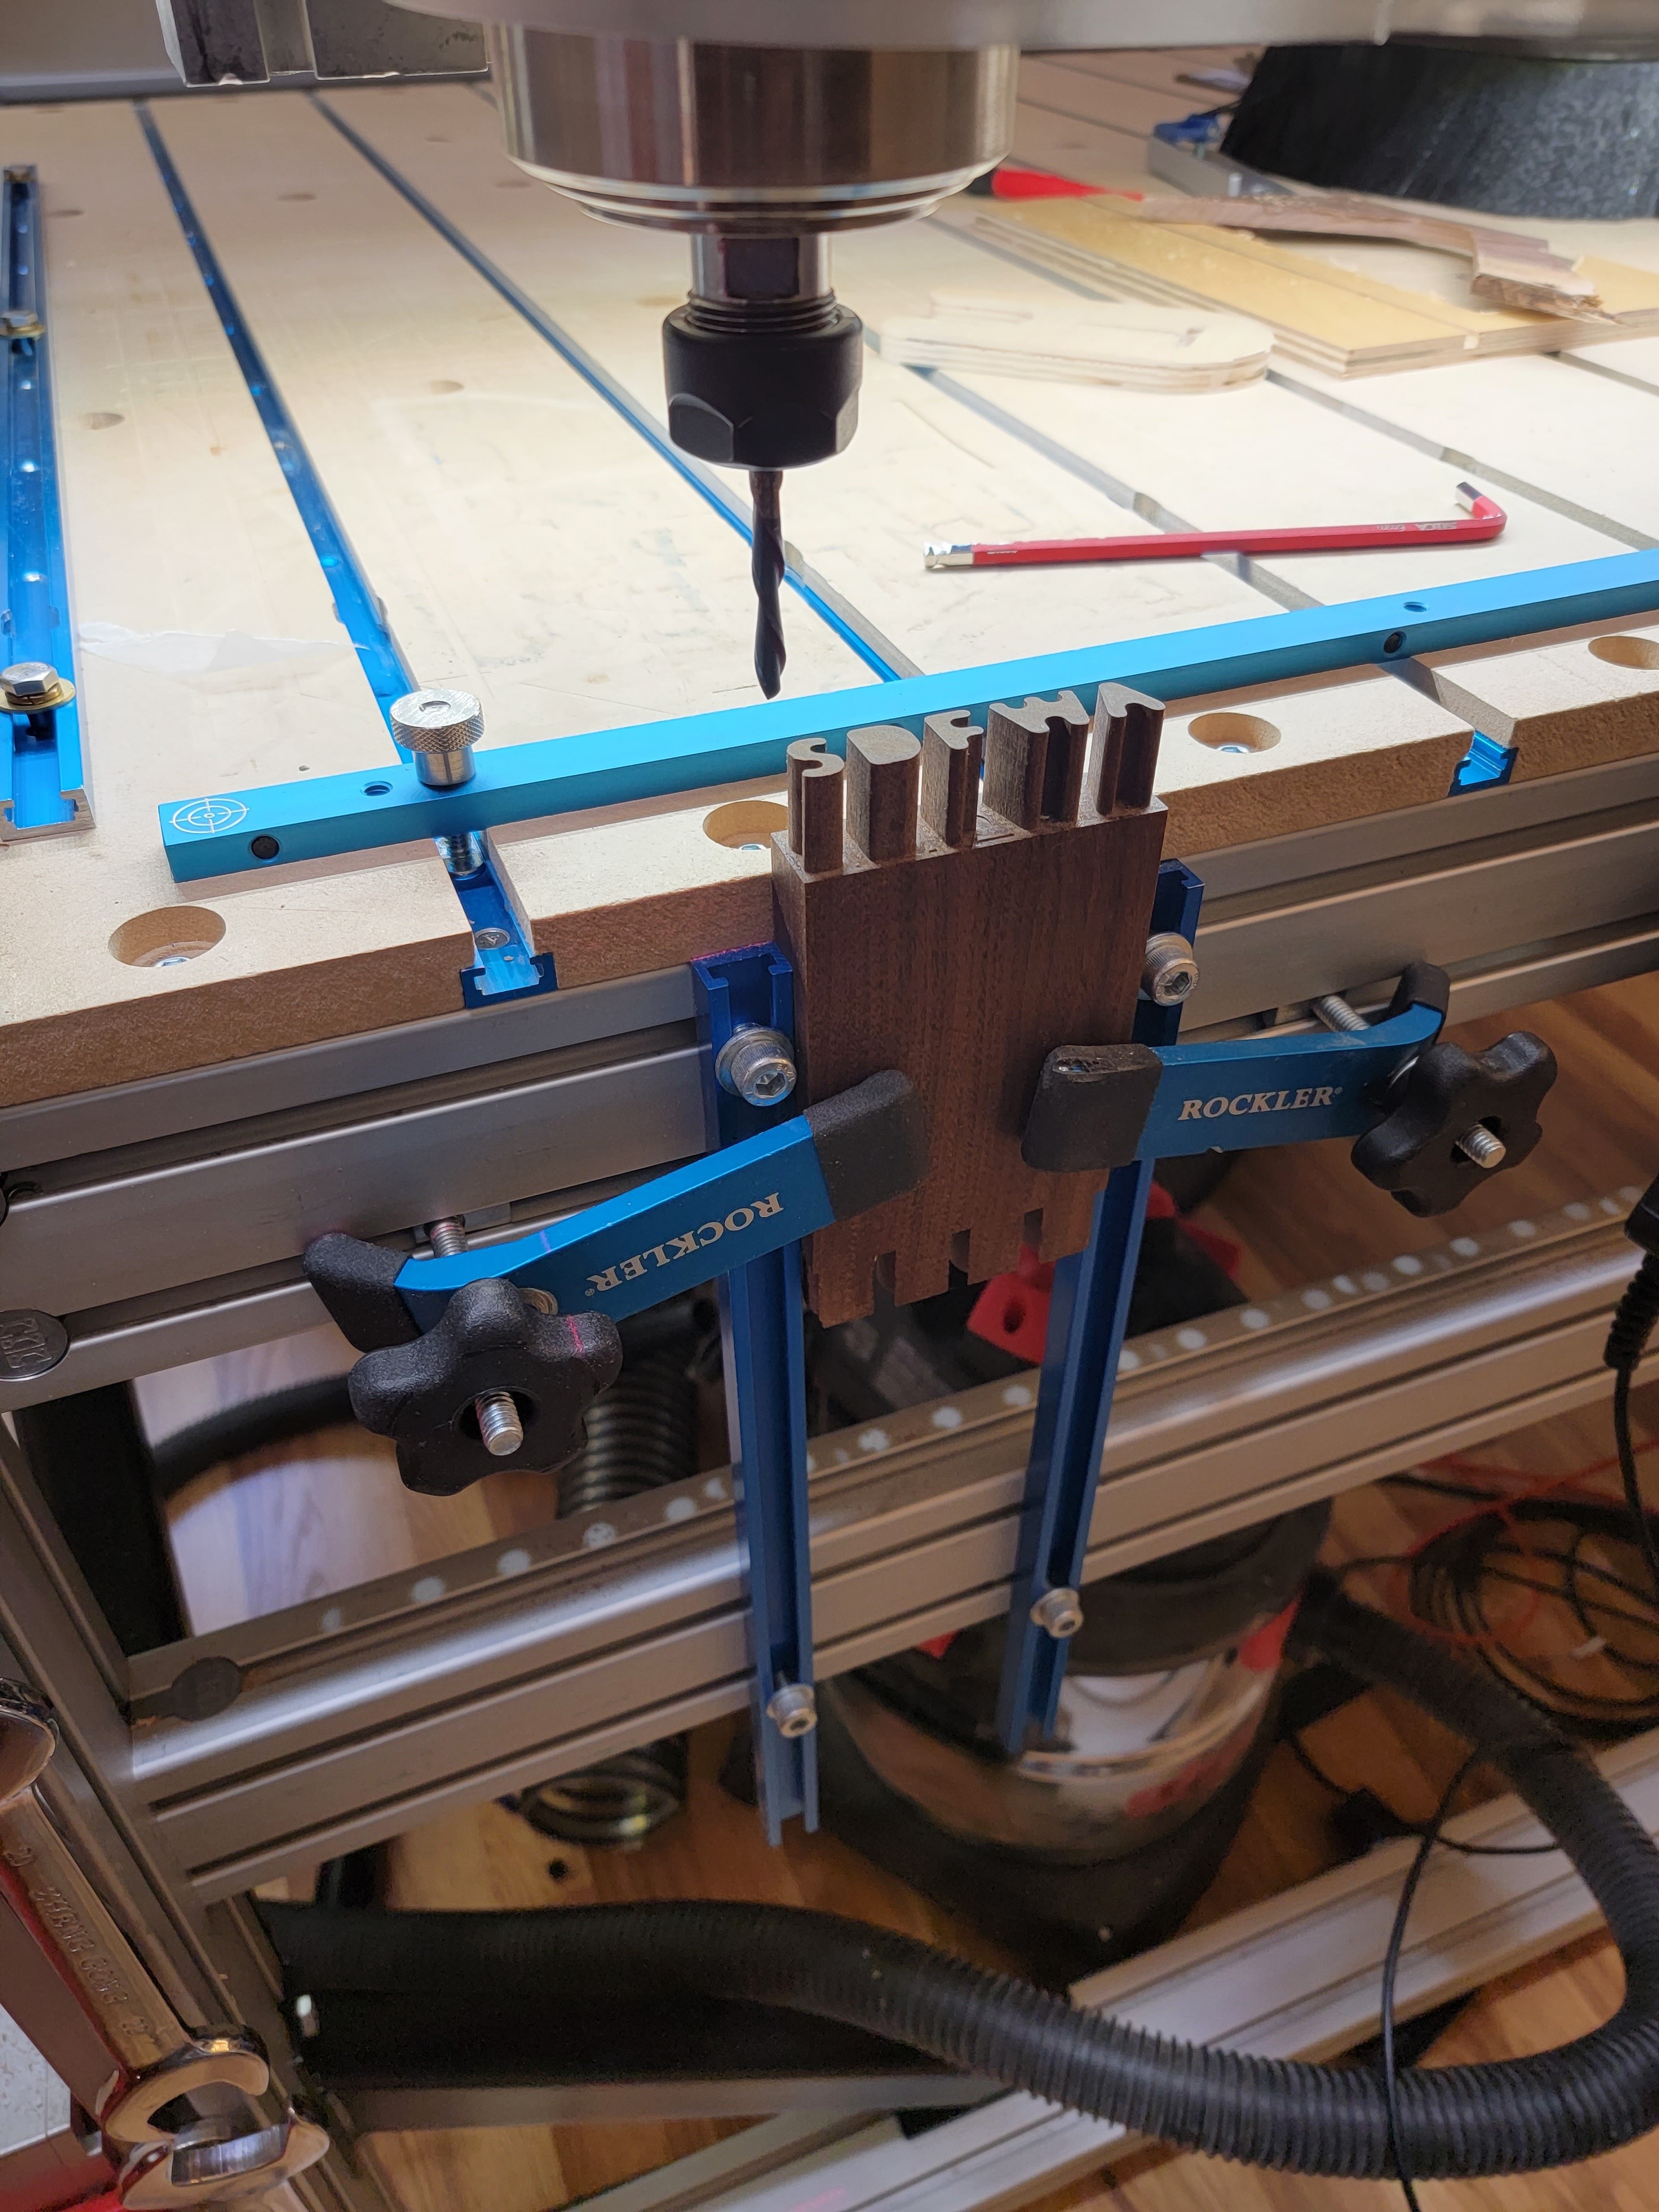
Note that my cuts are above the table so no vertical spoilboard needed. Also, the bit in the pic is located in the upper left of the board, my material origin.
Let me know if you have questions,
Perry
PS: Geeze don’t tell Jerry that I said that he was right. Will never hear the end of it!!!
2 Likes
That’s sleek, Perry!
You’re down to zero Y-depth for a fixture backplane.
I’ll have to figure out how to implement that with a Shaoepoko XL.
BTW, the combination I use for end joinery now is the Shaper Origin with its Workstation. The combo is perfect for mortise and tenon joints, dovetails, etc. It’s also great for inlays on anything and for 2D cuts on large sheets of ply.
Here’s a video showing it in action:

Just in case anyone is interested, Shaper has bi-weekly real time demo events called Shaper Sessions. By happy chance, this week on Thursday at 4:00 they’re covering how to do box joints, the topic of end joinery that Peter originally raised. If you’d like to watch then the event will be held at:
If you’re not sure what this is all about but you’re curious then watch this. The Basic Box Joint feature is an on-tool app for designing and cutting box joints. You can see it in action in this video which was released when the feature was available in a software update to the Shaper Origin.
