
I just want to draw your attention to a rich source of insight.
LightBurn Software has a high quality support community.
Check out what they have to say on the words “fire button”.
1 Like
fill and line. If the text is on a curved path it might look better. I think the 6 size is small enough to fit on a pen
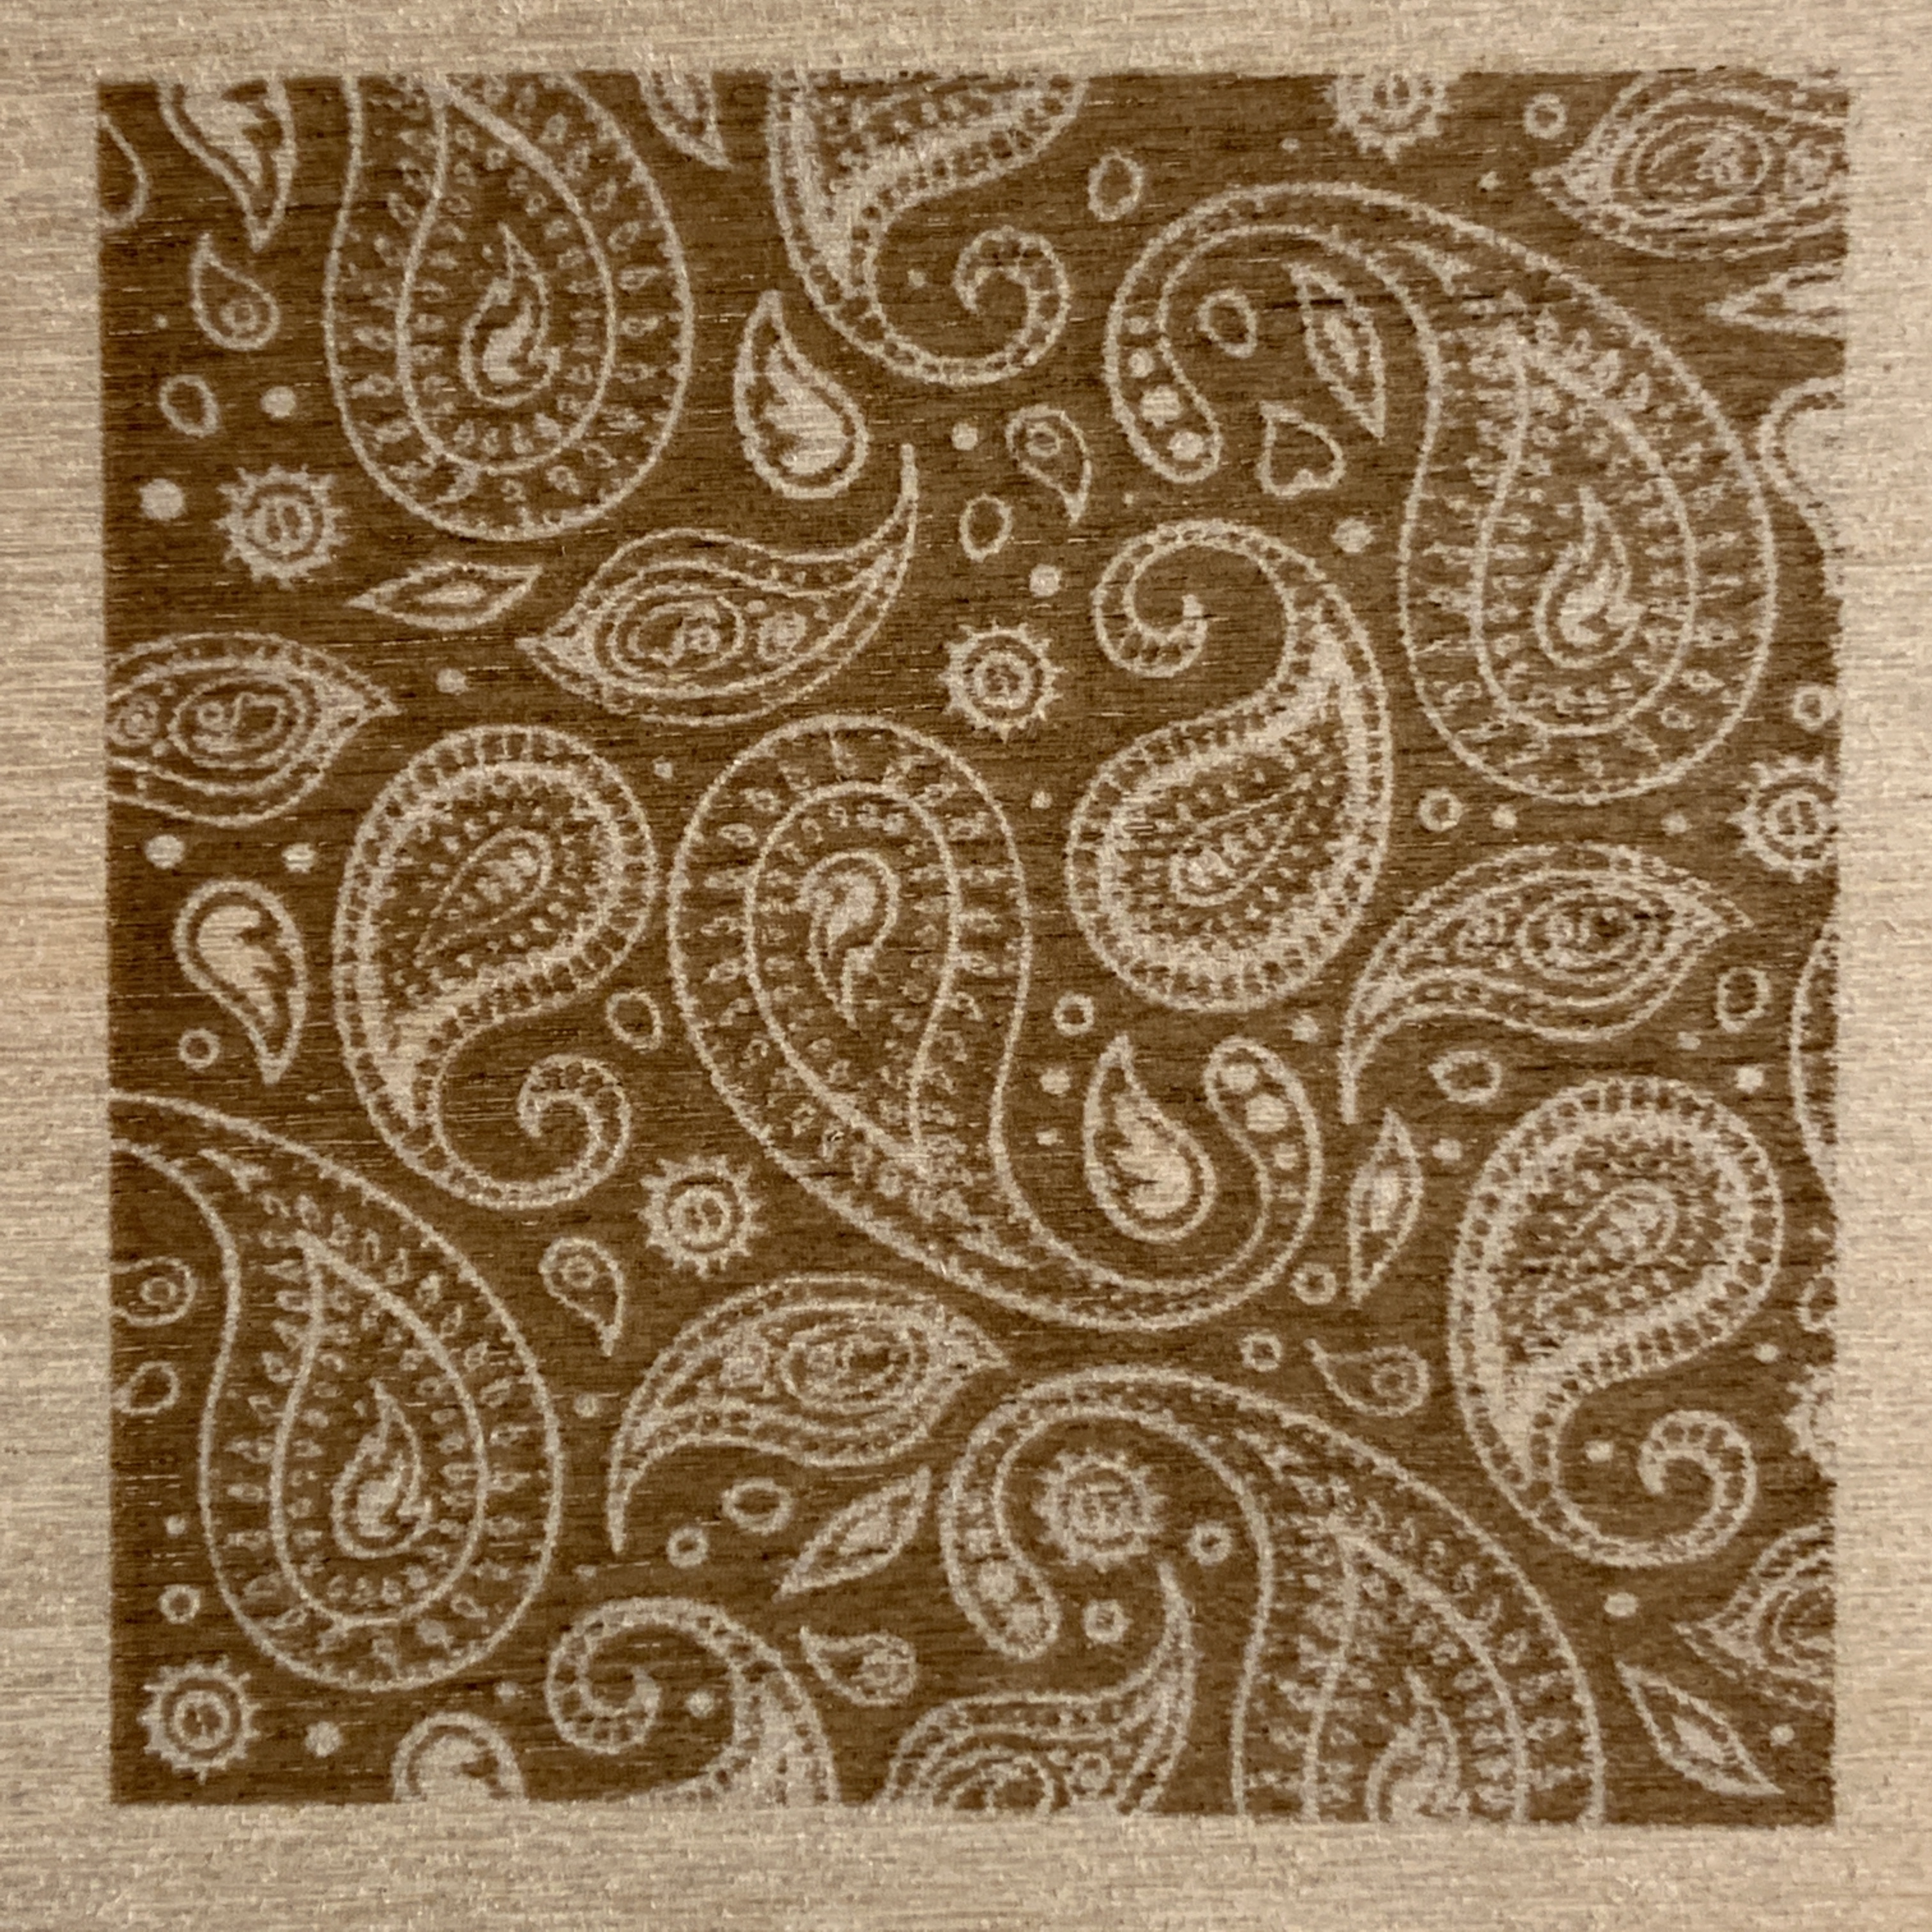
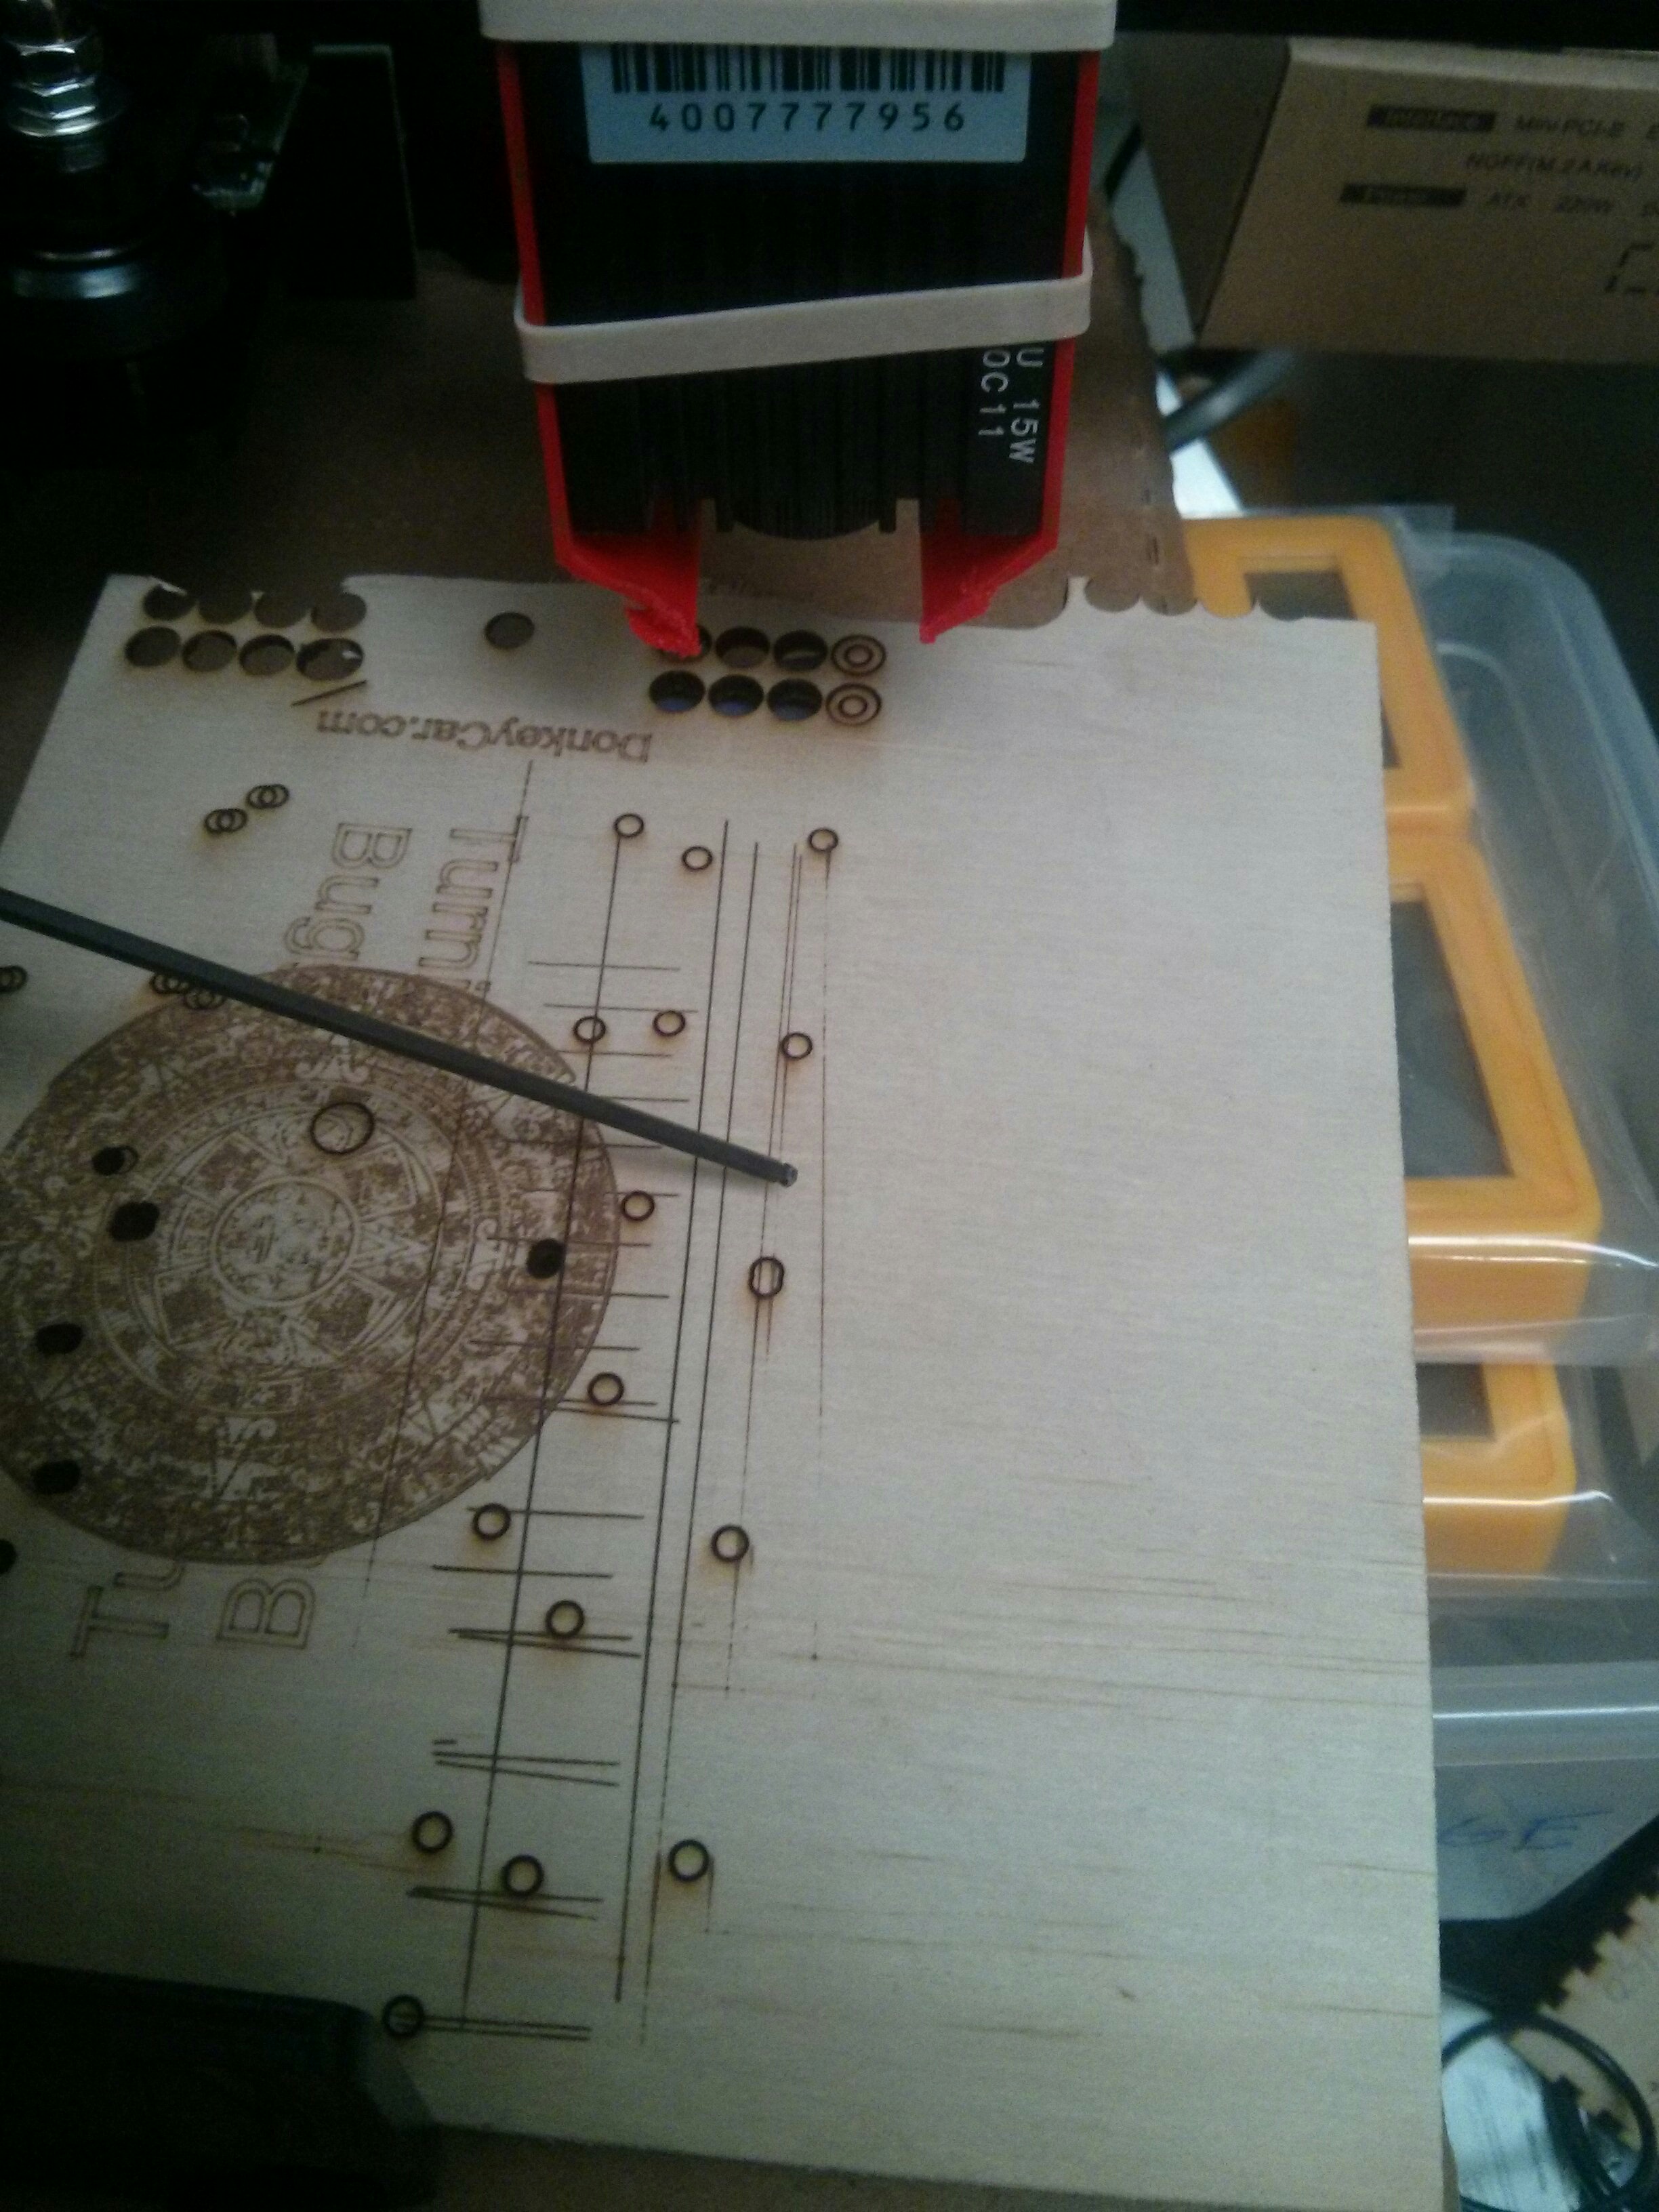
A fun little score 5" x 3.9" which took 10 minutes and 22 seconds.
Was moving along at 15 mm/second and should have been slower.
You can see where there are some lines which don’t appear solid.
Travis, the 1/40’” veneer, you state 4/100 x3 I’m assuming that is 100% power, 3 passes, but is that 4” or 4’mm per minute for speed?
Thank you!
Speed: I’m a metric-kind-a-guy.
I did some testing yesterday and found out that if you jog the machine outside of it’s working area it will
send out ALARM:2 error and require resetting. That includes being at HOME and jogging to the left or forward. It will also occur if you jot beyond the 160x150 range of it’s working area.
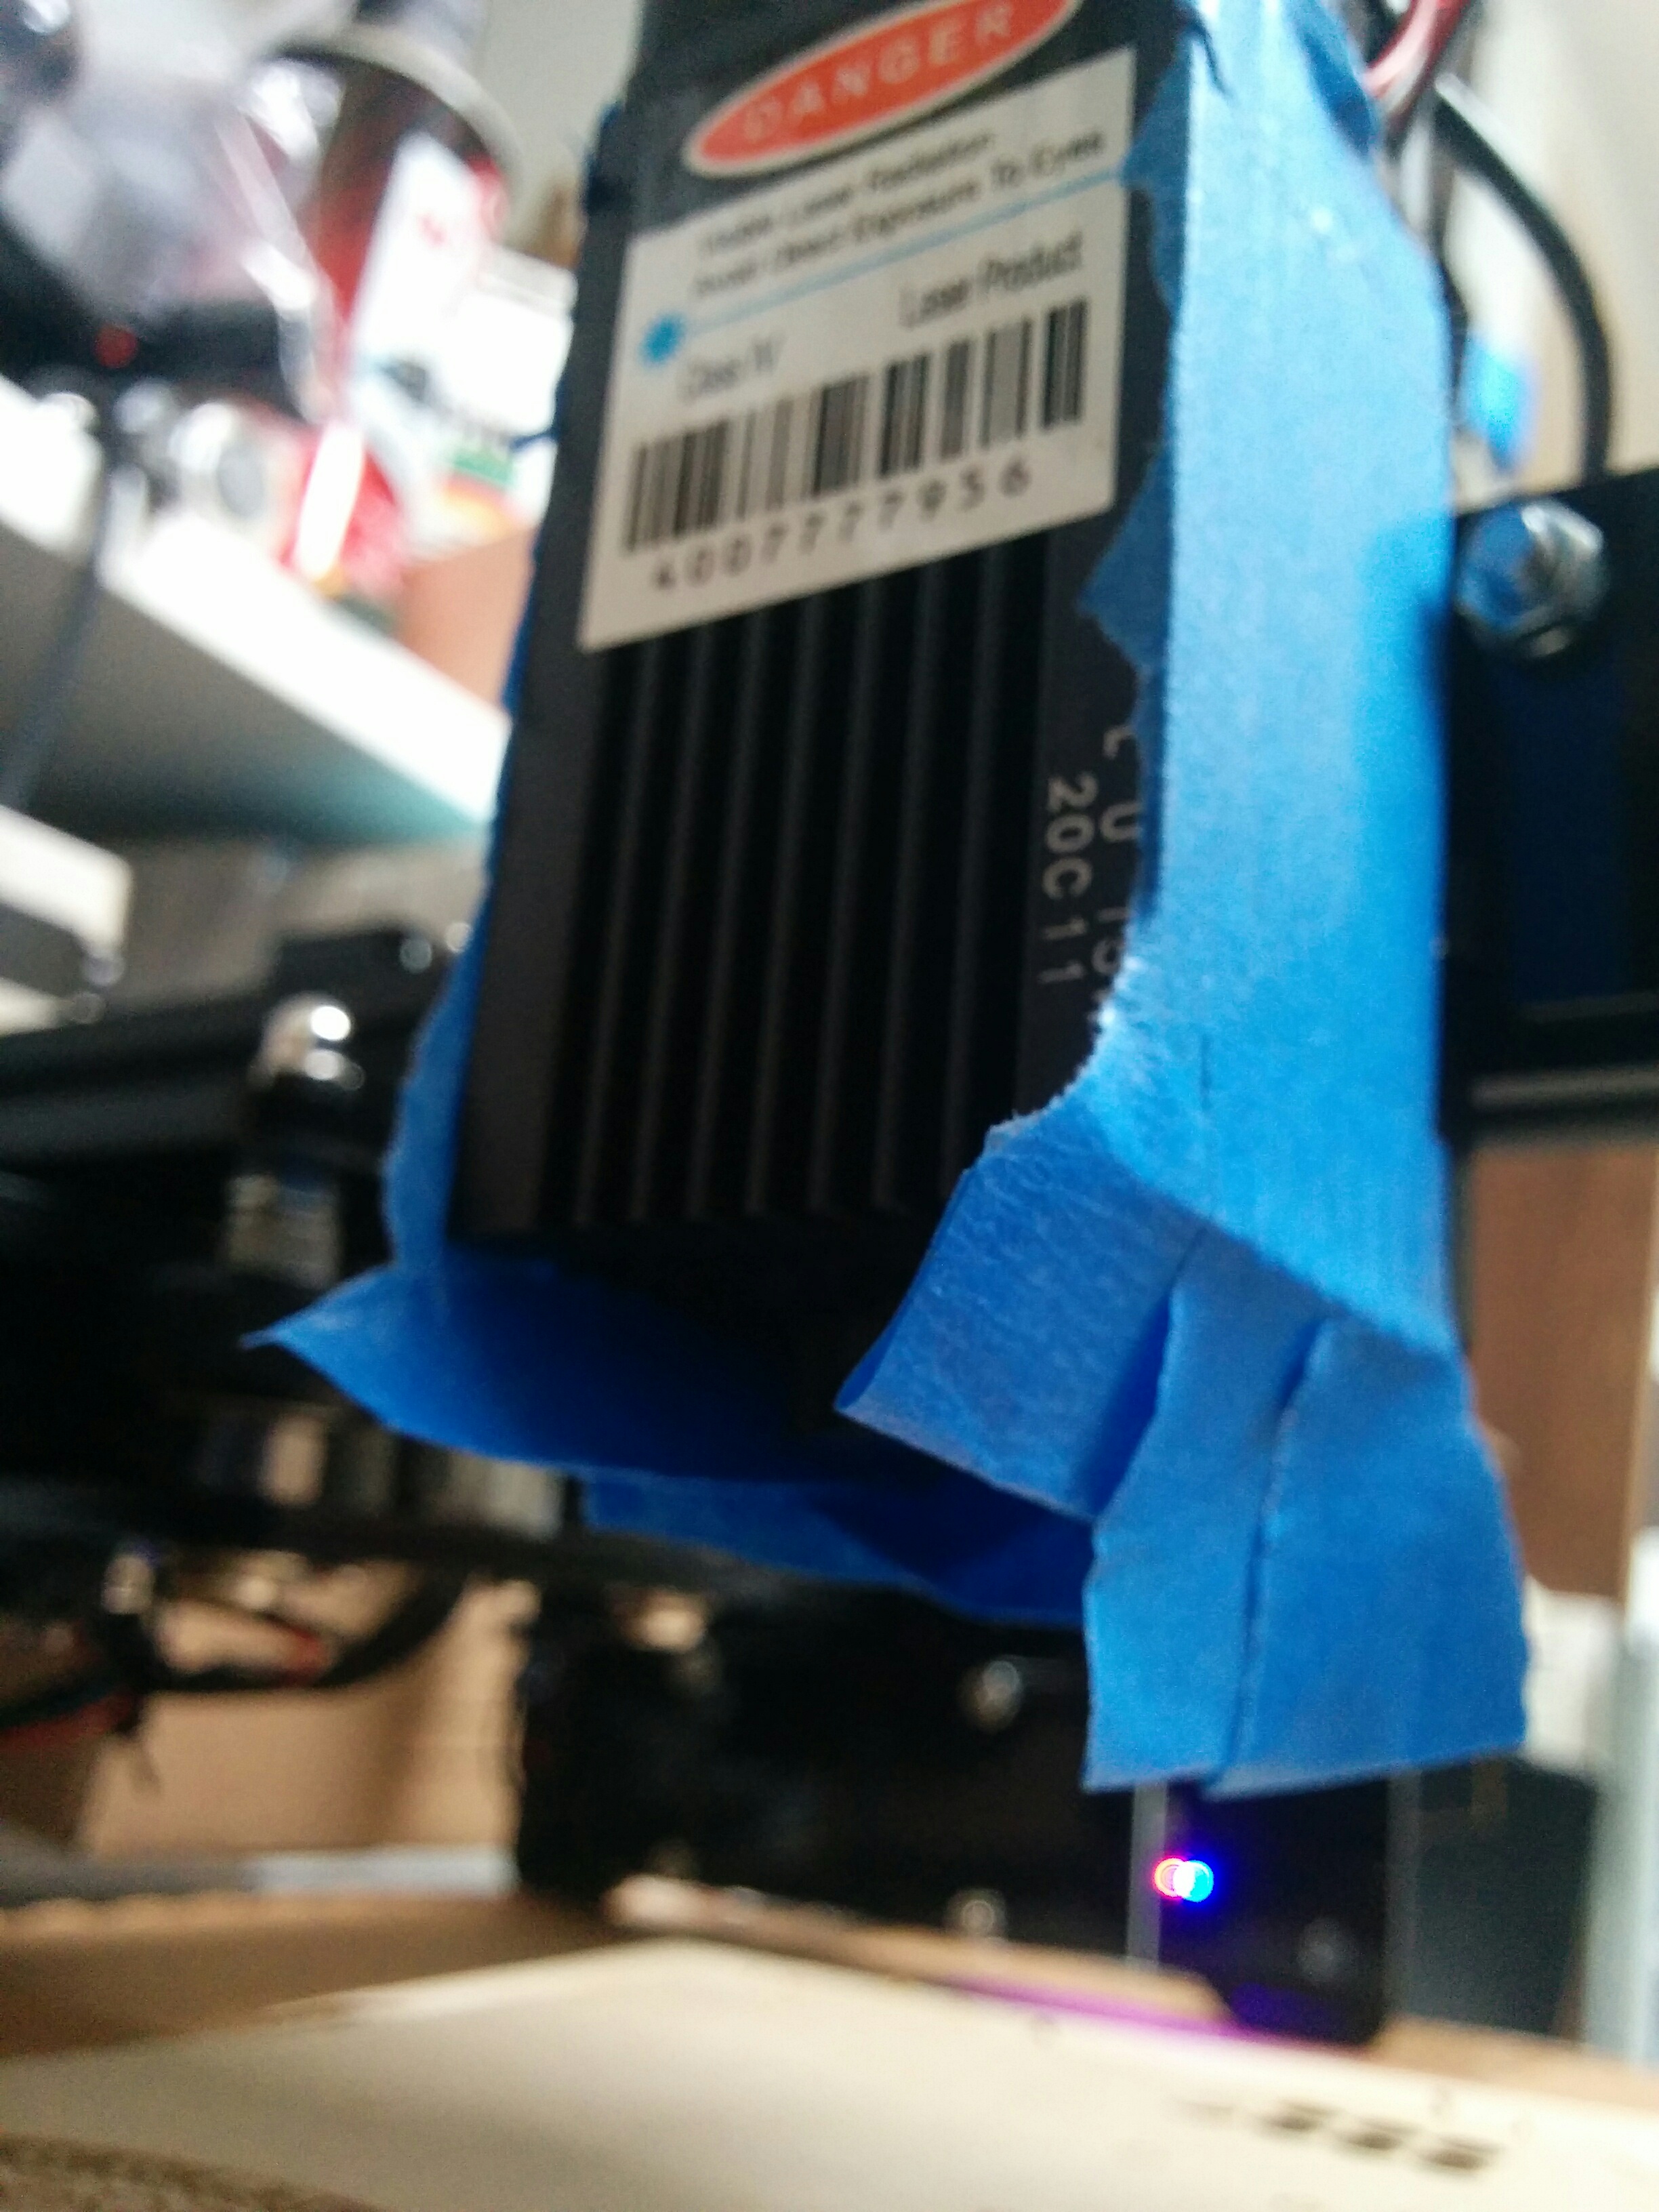
2nd thing I noticed was that while there is a Laser heatsink cooling fan which blows DOWN through the heatsink and past the laser lens it throttles the fan speed based on the power used and is not sufficient to keep smoke off the laser lens.
Hacks:
First, I used a small 12V computer fan to blow across the work space. I could have added a connector so it pulls power from the 12V input power but did a better hack.
I moved the fan power(red) wire from it’s current position to the 12V input pin of the laser head power connector. Now the fan stays on fully and adding tape to the sides of the heatsink forced the air down to the bottom and keeps most of the smoke away from the lens. Two small deflectors at the bottom would encourage the air flow to move to one side more than all sides and enhance the effect. 3D printing project.
I was able to increase the cooling airflow significantly by swapping the large and small spacers at the top of the laser head. I could not tighten fully the 2 screws opposite the power input connector since the large metal can on the circuit board is about ~1mm taller than the spacers. The fan was definitely starved for air in its original design.

Pictures! We need pictures!
Help us to more easily understand.
Sounds like a hack worth considering, thanks!
1 Like


So, raise the fan for better intake and downward air pressure.
Then slap sides on the fins so the air gets routed straight down.
Lastly, place fins at the bottom so that air is channeled to the cut.
You’ve basically taken cooling and turned it into a compressed air source.
Pretty nifty. Care to post your STL files on our Google Drive so others can replicate?
1 Like
That’s basically it and the purpose is to try and keep the laser lens clean by blowing the smoke away and without adding anything but a few light plastic parts. I took the simple route of making one side which when mirrored forms the opposite side. Simply use rubber bands to hold the two air guiding deflectors onto the Diode Laser.
Also, I used some nippers to notch one side for the laser power wires. Another option would be to heat a nail or something and just push a little dent in it.
1 Like
Has anyone figured out how to see what version of GRBL is installed on the laser?
I could not find any gcode commands to do this but if I download the free Universal GCode Sender application( Windows, Linux and I figure Apple since it’s Java based ) then when I connect it shows the version.
https://winder.github.io/ugs_website/download/
from the console window after disconnecting and then reconnecting:
**** Connection closed ****
**** Connected to ttyACM0 @ 115200 baud ****
Ortur Laser Ready!
Grbl 1.1f [’$’ for help]
$$
$0 = 20 (Step pulse time, microseconds)
$1 = 50 (Step idle delay, milliseconds)
BTW, I found out there is something called a Soft Reset which can be used to get control of the machine back after an ALARM event locks the firmware. I tried “unlock” in Universal GCode Sender but that didn’t work. Soft Reset does give control back. Maybe Oz can add this to Lightburn.
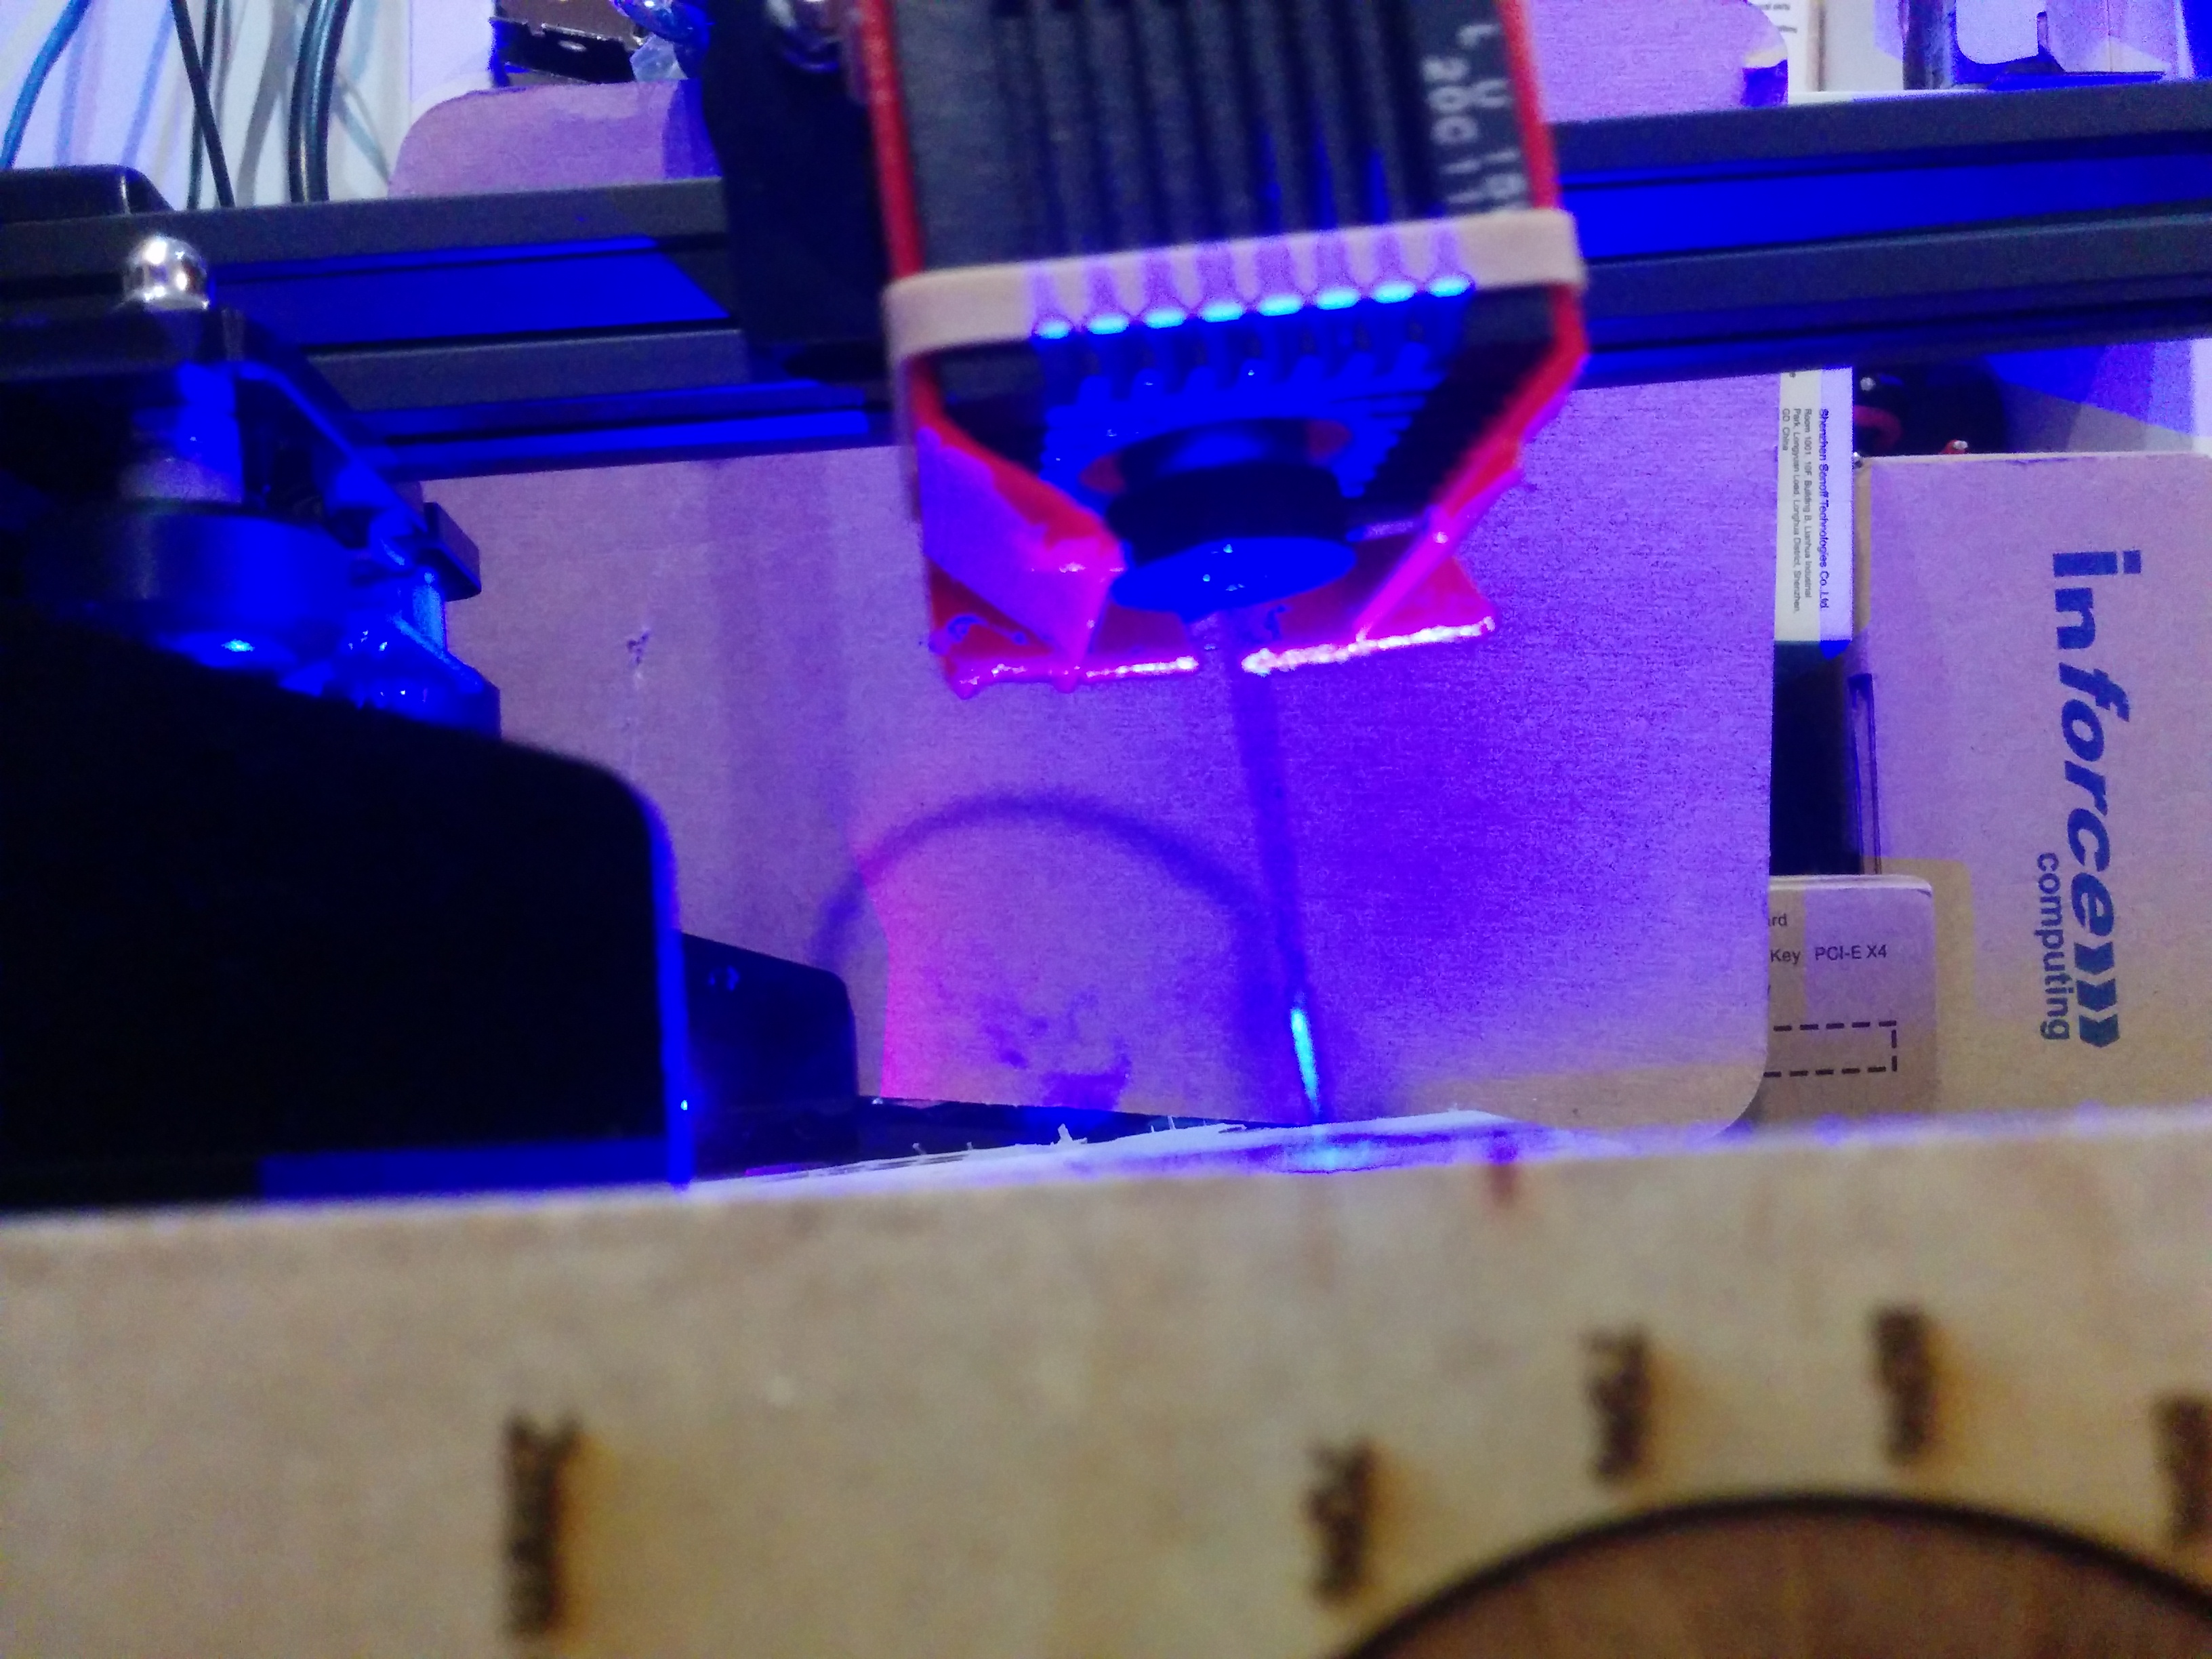
This thing is a bugger to focus. Unlike the focus on the CO2 laser where the beam diverges quickly, this hardly diverges at all.
Besides my bi-focal glasses, I needed a magnifying glass to see the dot( .8% fire ) well enough to get a good guess at the focus.
Besides my bi-focal glasses, I needed a magnifying glass to see the dot( .8% fire ) well enough to get a good guess at the focus.
I then did a ramp test at 12mm/s and 15% power. The ramp was 16mm high and 16cm long. Then I could see it was mostly mark-less at the top and bottom of the ramp and maybe 3cm of a dark line near the middle
The center of that darker line, the darkest area seems to match the distance of a CC(53.9mm) vs the 54.5mm wood samples provided.
Also, if going way off focus there is a definite line, but at focus I can’t see a line at all.
I just noticed my laser is mounted at a slight angle. Measures 8.2mm at the top and 10.3mm at the bottom of its mount. I’ll be installing large washers on the inside now to see if that fixes this.
-due to the split lock-washers I installed. Such short thread insertion it must have effected the angle of the screw. Either way, I removed the split washer and installed a small flat washer on the laser standoff side.
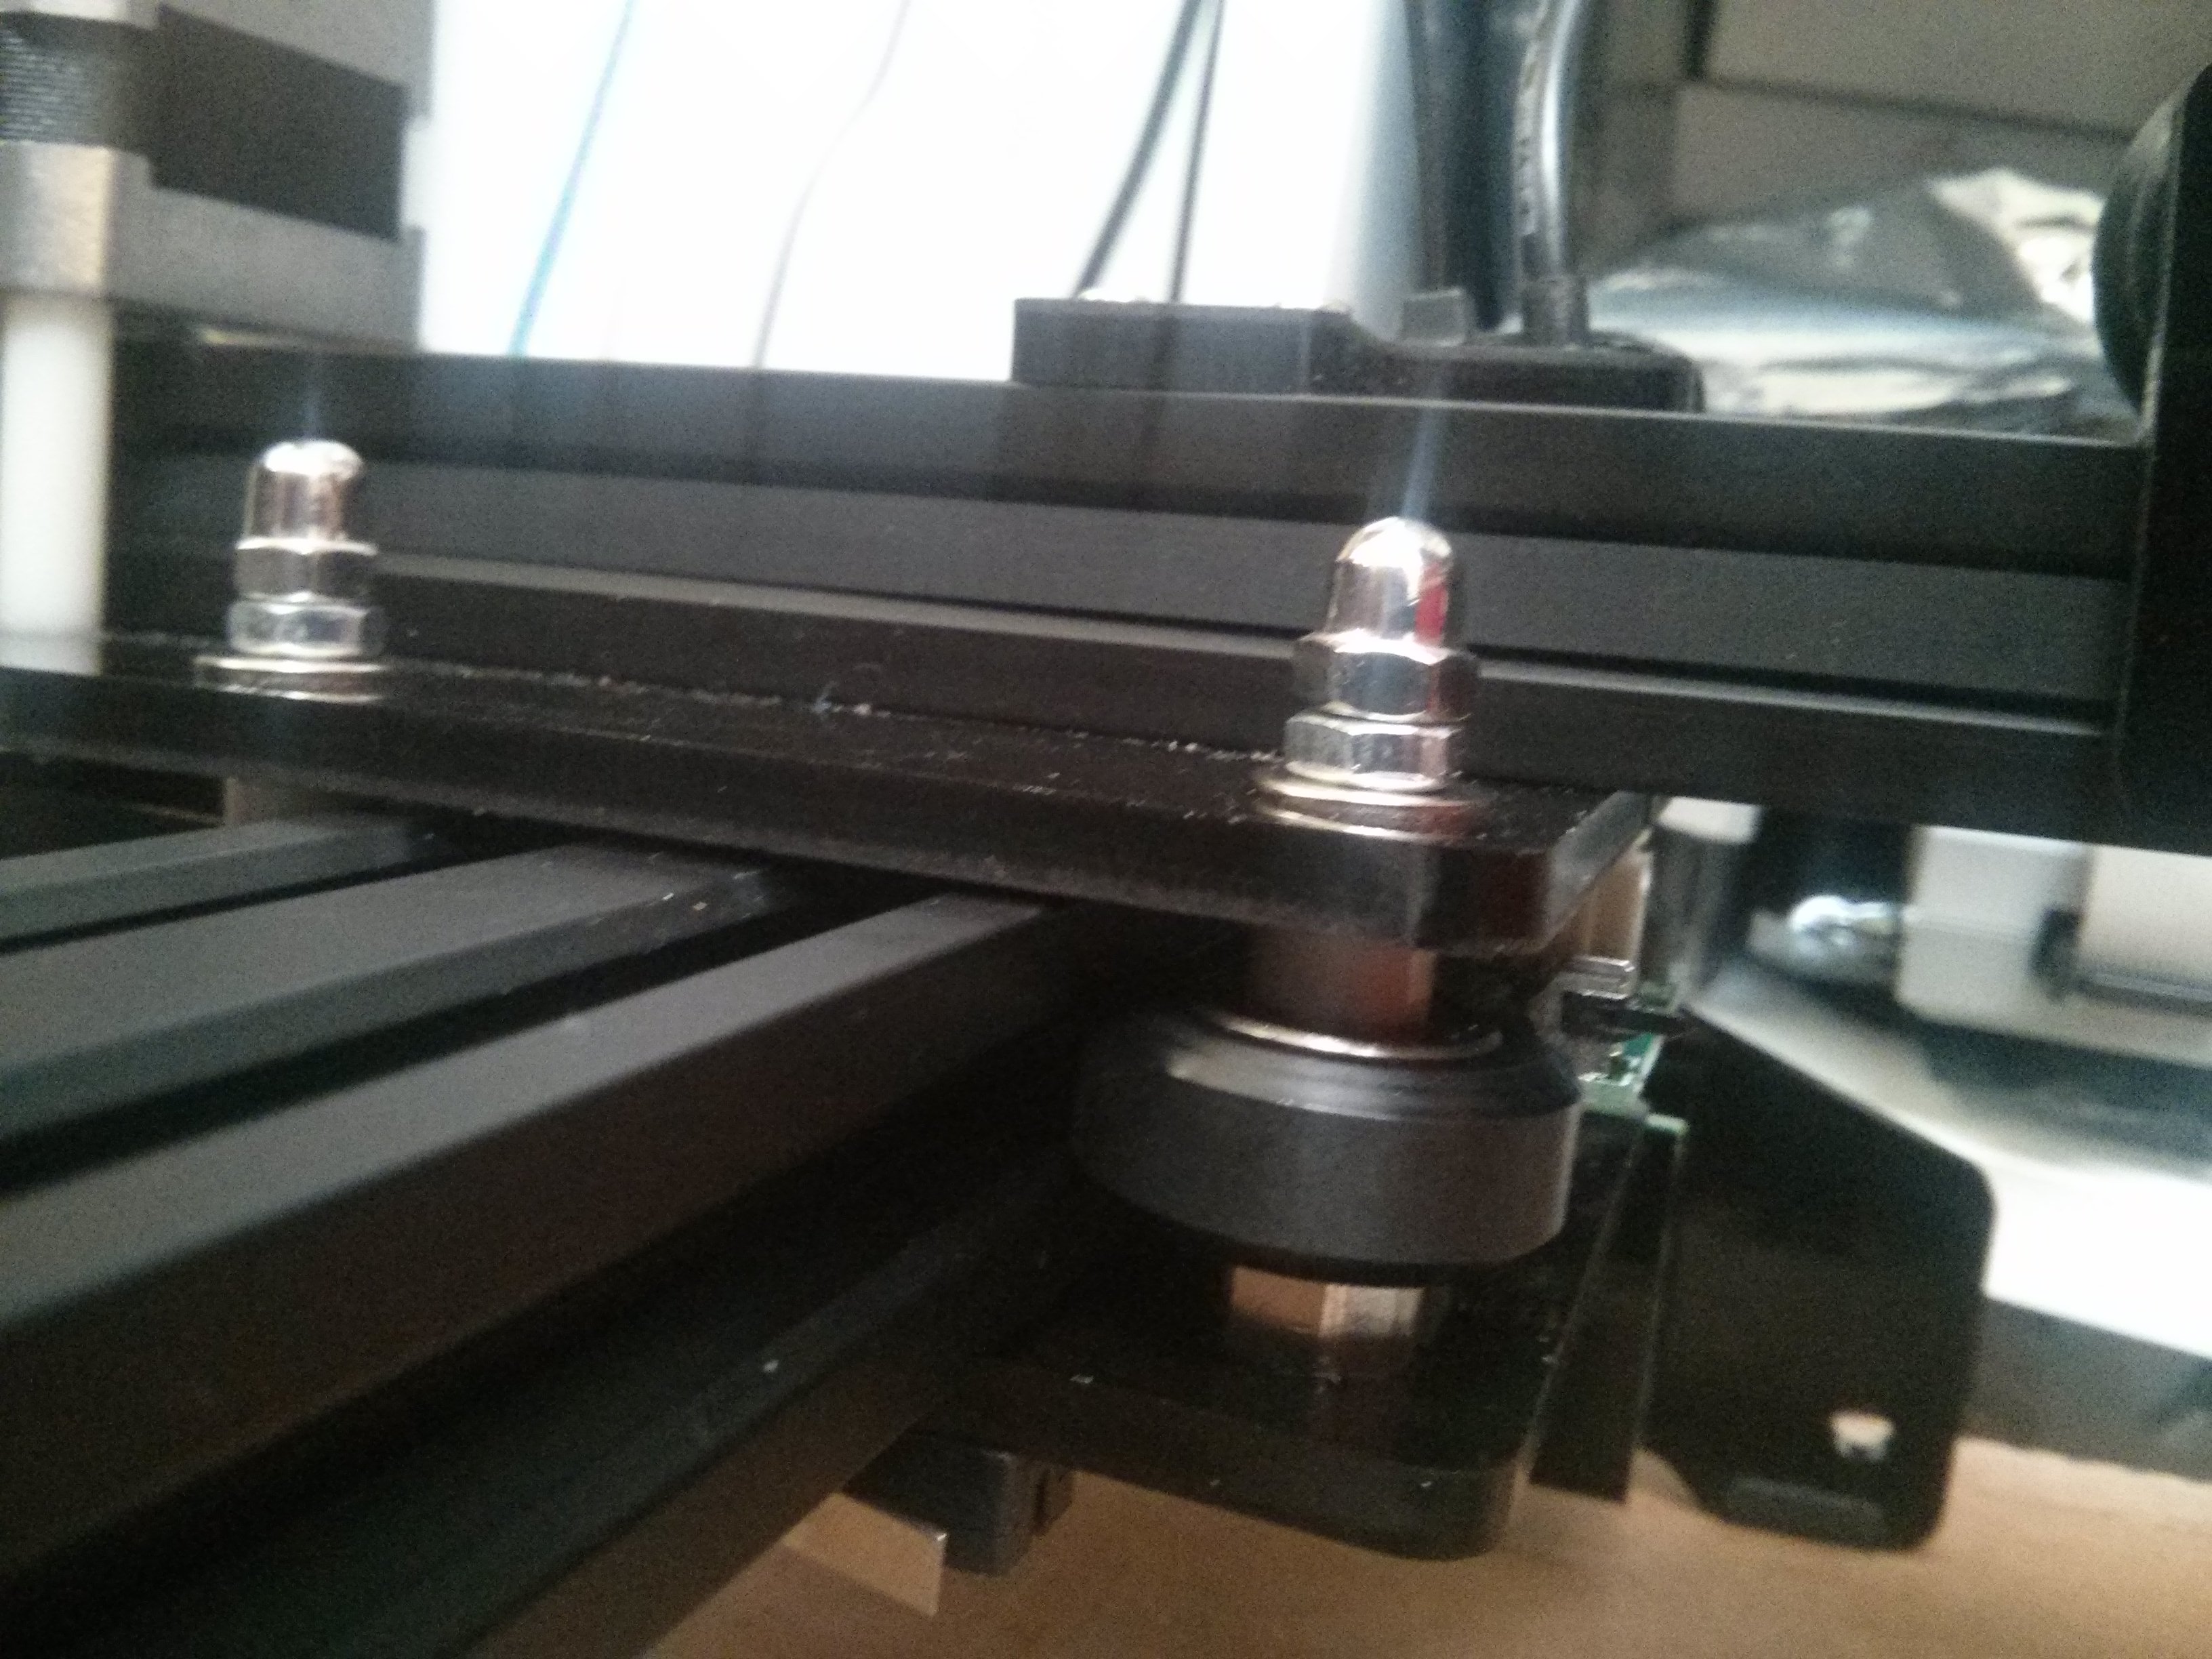
For those wanting to get the laser closer to the base level, it is possible to move the nuts on the Y axis rollers from below the top late to above the top plate. This lowers the laser head focus point to just 5mm above the work surface.
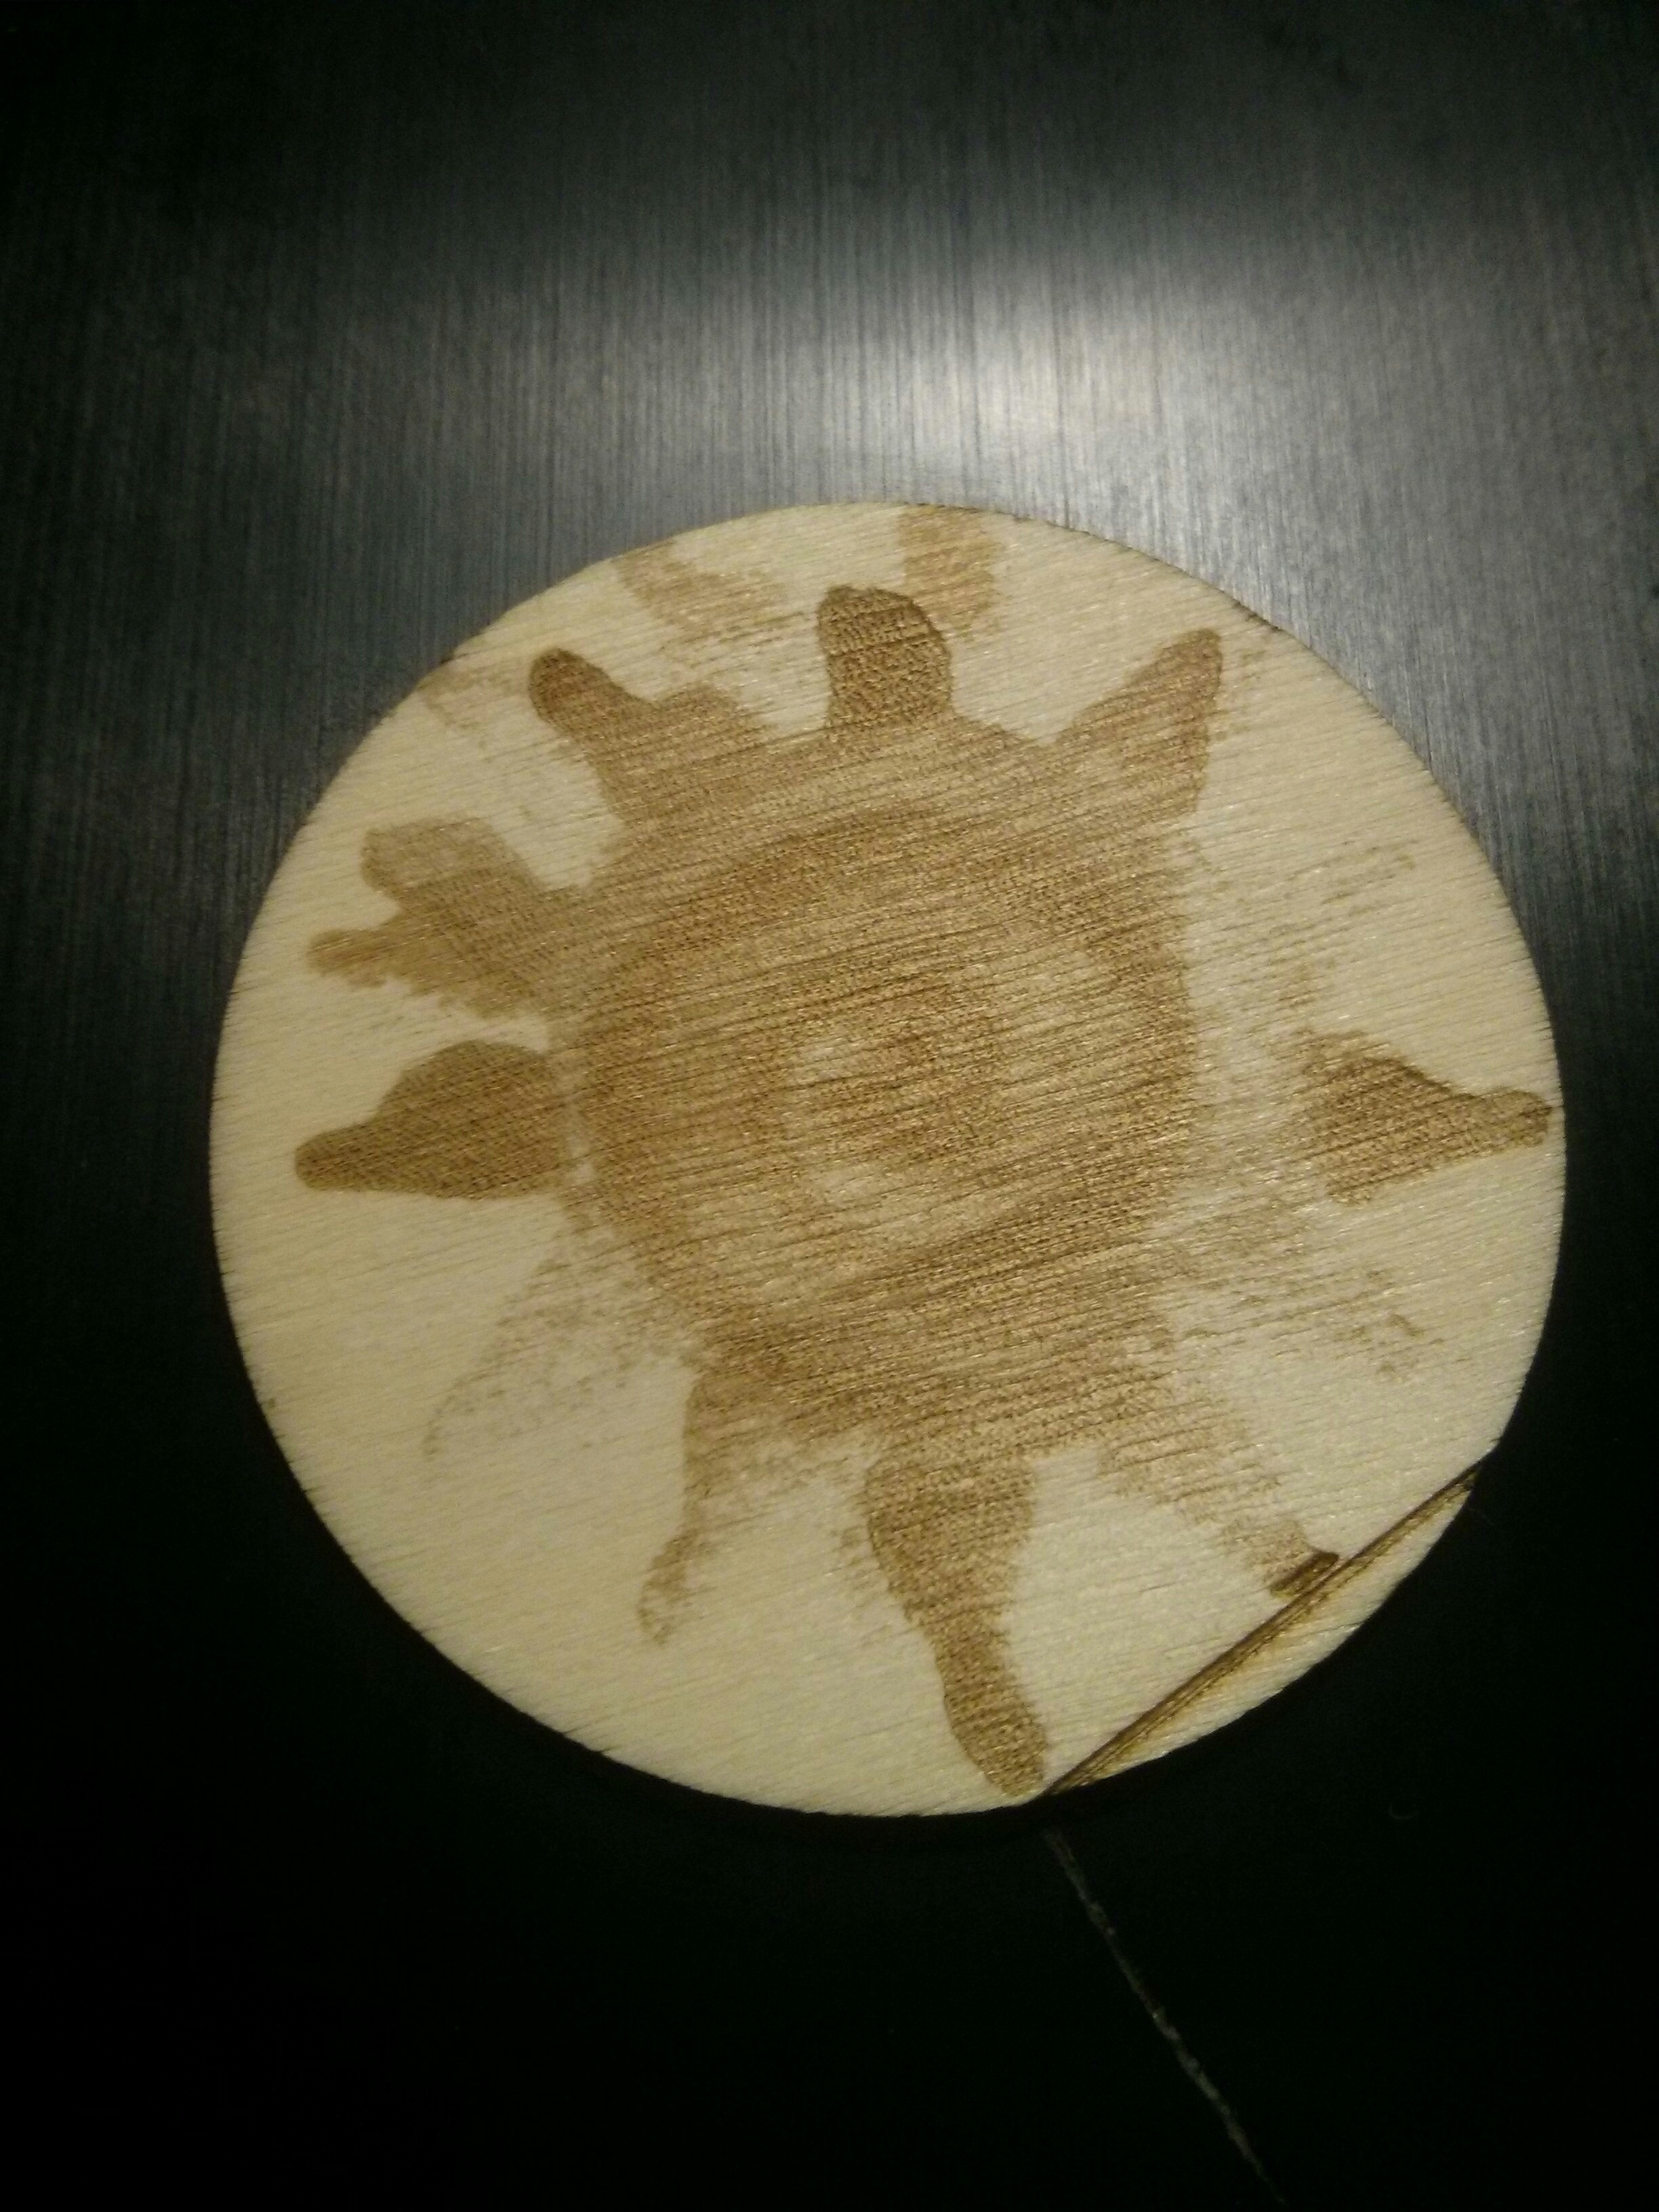
What are we looking at, Doug?
that’s a 2" wooden disc purchased off Amazon. I tried taking a sun design my daughter draw, converted to grayscale and etched on Ortur. The sun rays are all pretty consistent color but as you can see, the wood texture seems to vary on this even though the color was a smooth white looking color.
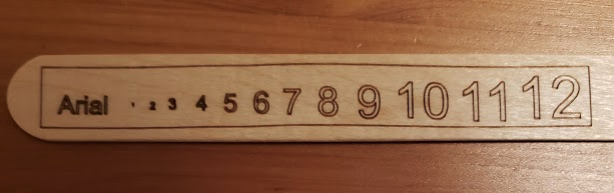
I etched some text onto wooden popsicle stick to label my tomato varieties. It came out pretty crisp. I found that with Arial 5, it was best to just do the outline as the burn was wide enough to have a fill-in effect at that size.

Where I am at with the Ortur 20W:
- tightened up both X and Y axis belts to get rid of slop
- put a spacer between the laser and its mount to make it more perpendicular
** when you do these, you need to be careful that the belt stops and laser don’t interfere with the device properly hitting the home limit switches - Instead of a 55mm focal length per the manual, I am using about 15-20mm. This way I can focus to a smaller “bar”. It seems to etch well and be more precise this way.
I concur that the fan seems to be a bit less that adequate for smoke removal, and was a bit concerned about whether my moving the laser closer to the workpiece would risk contaminating the lens. Fortunately, if I open doors at either end of my garage, I tend to get a really good breeze go through. Otherwise I would consider an extra fan.
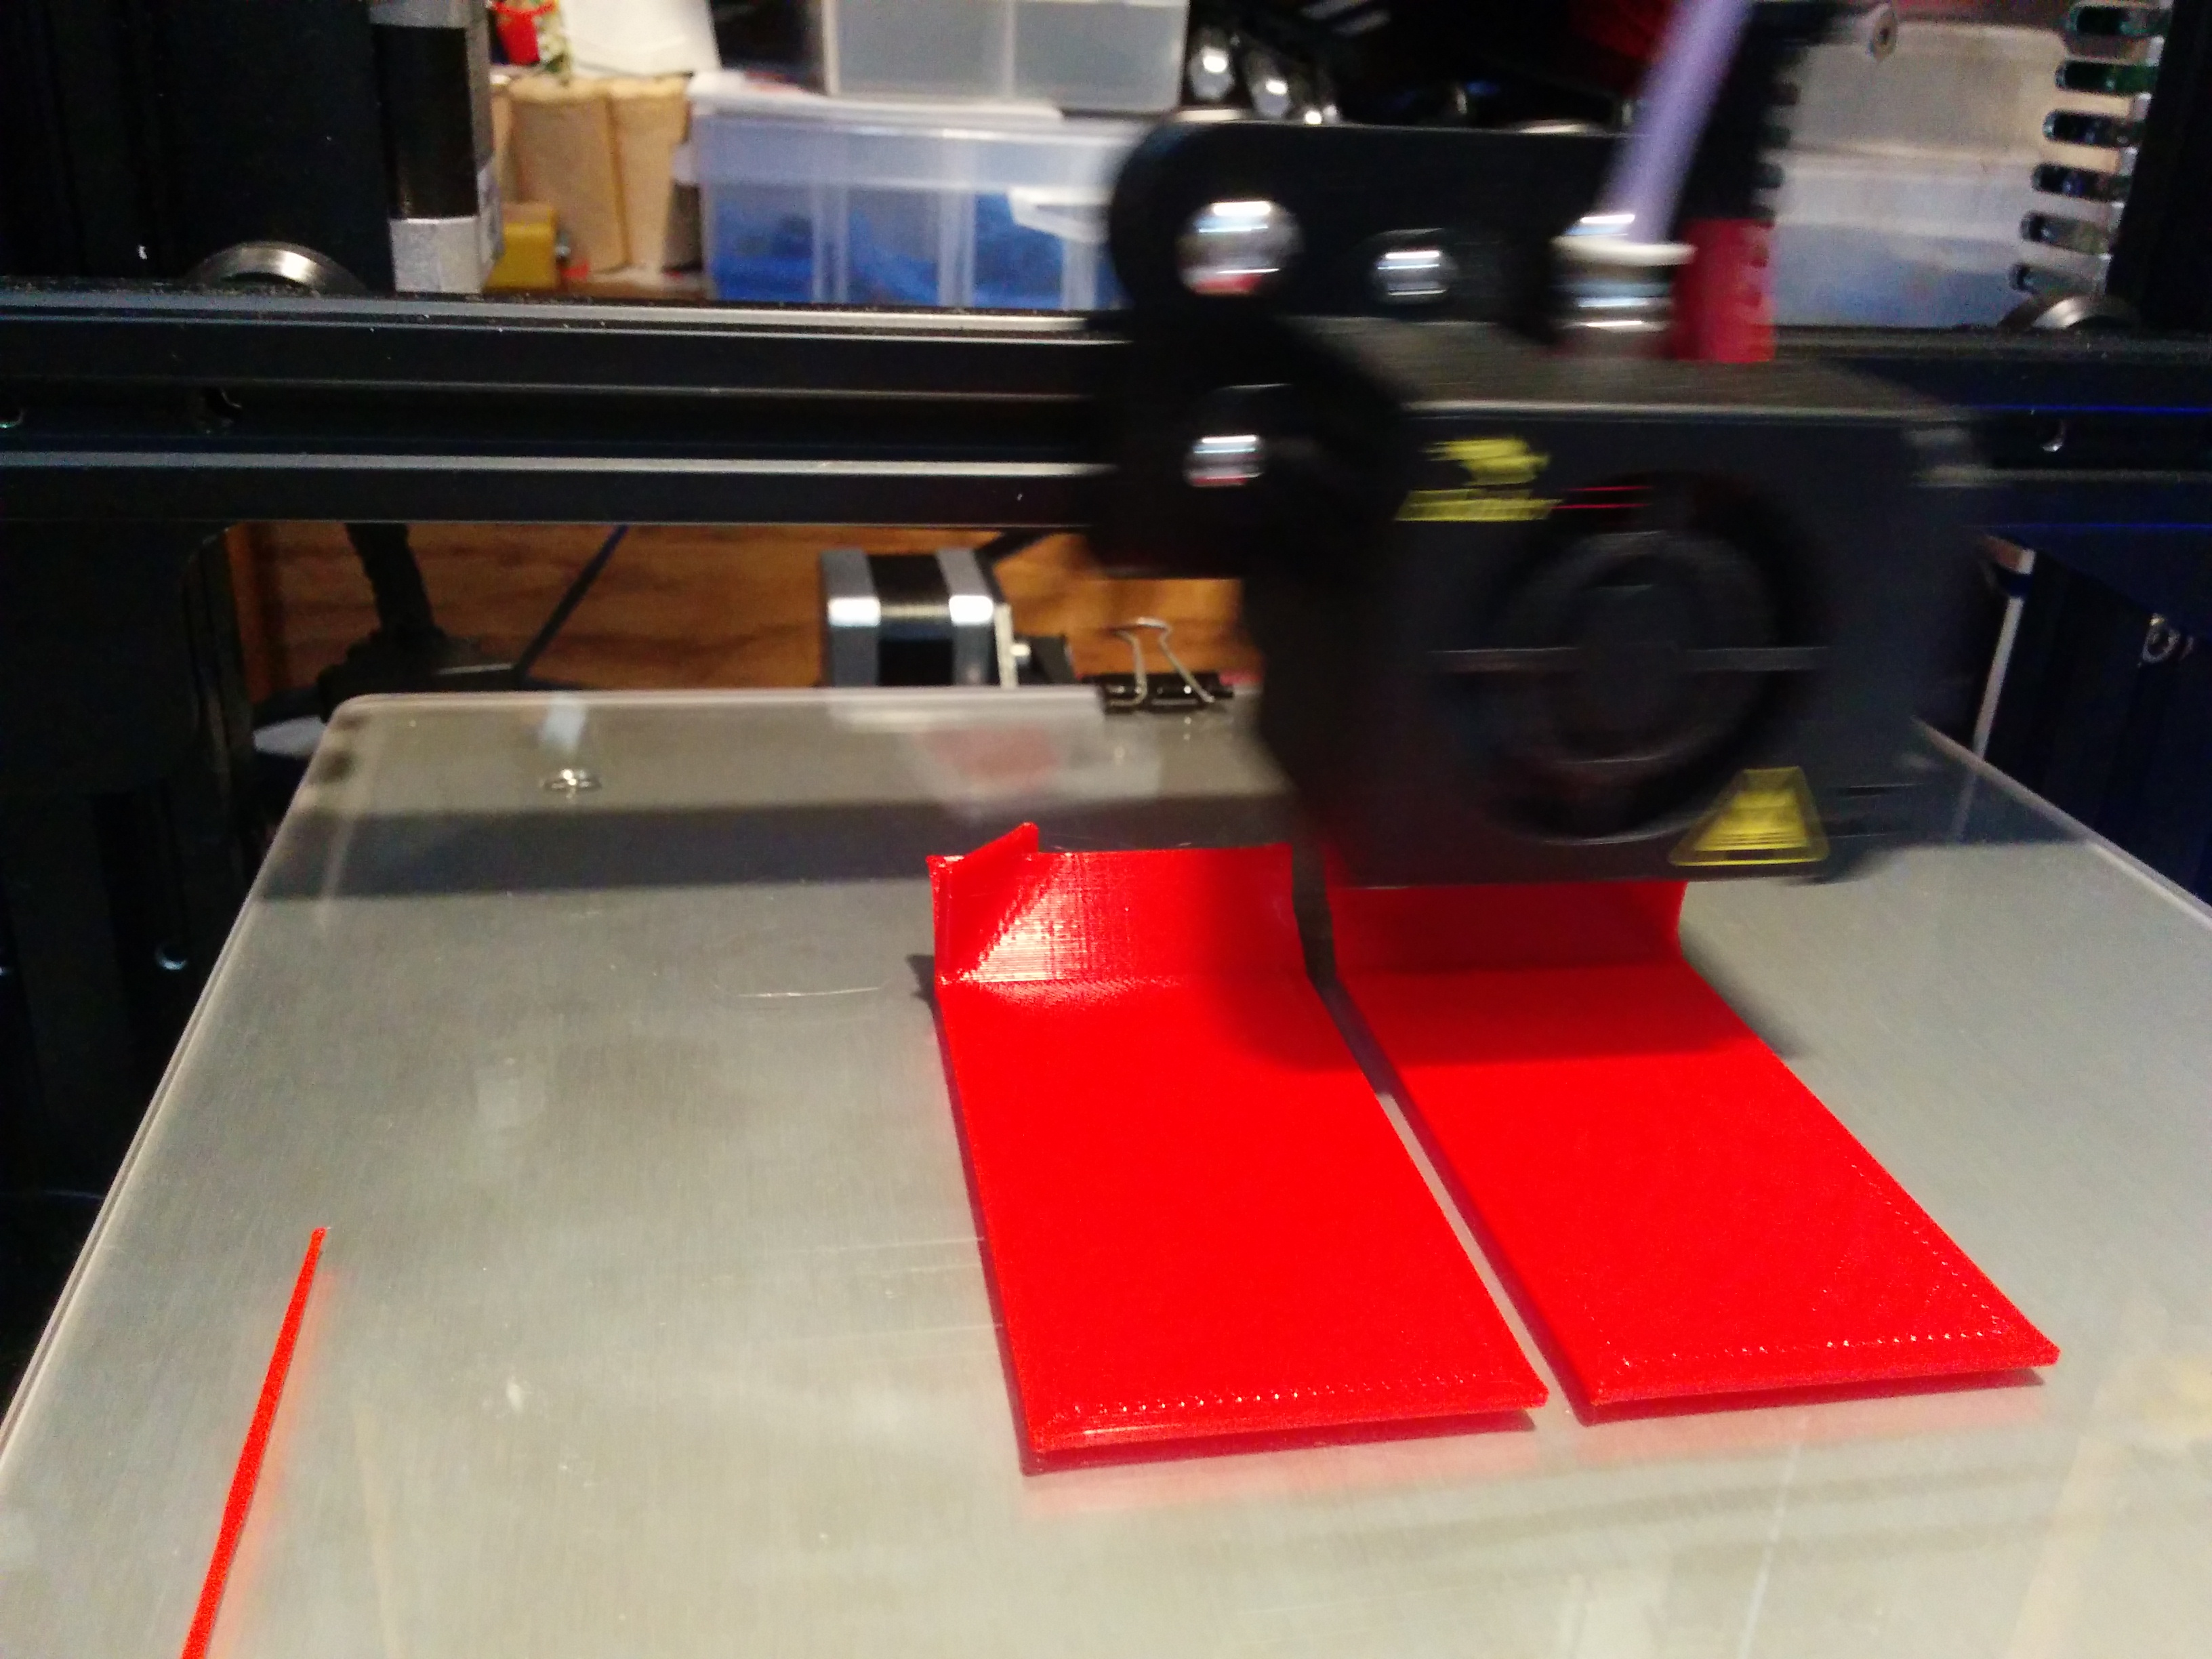
I’m still not getting totally straight lines, which I haven’t figured out yet. Below is another test I ran. It looks like I had a better focus this time as the center is visible even down to the 4mm size of Arial. The consistent wander in the long line of the rectangle might partly be the fact that the popsicle stick wasn’t completely flat. But with the more vertical mounting of the laser, I’m surprised in this result. I will need to investigate the linearity issue further.
2 Likes
“Dwarf Wild Spudleaf” eh? 
From the fact that both top and bottom lines shift in unison I’d guess the root cause to be either material warp or irregular axis travel. An easy way to rule one out is to etch that rectangle on something that’s perfectly flat.
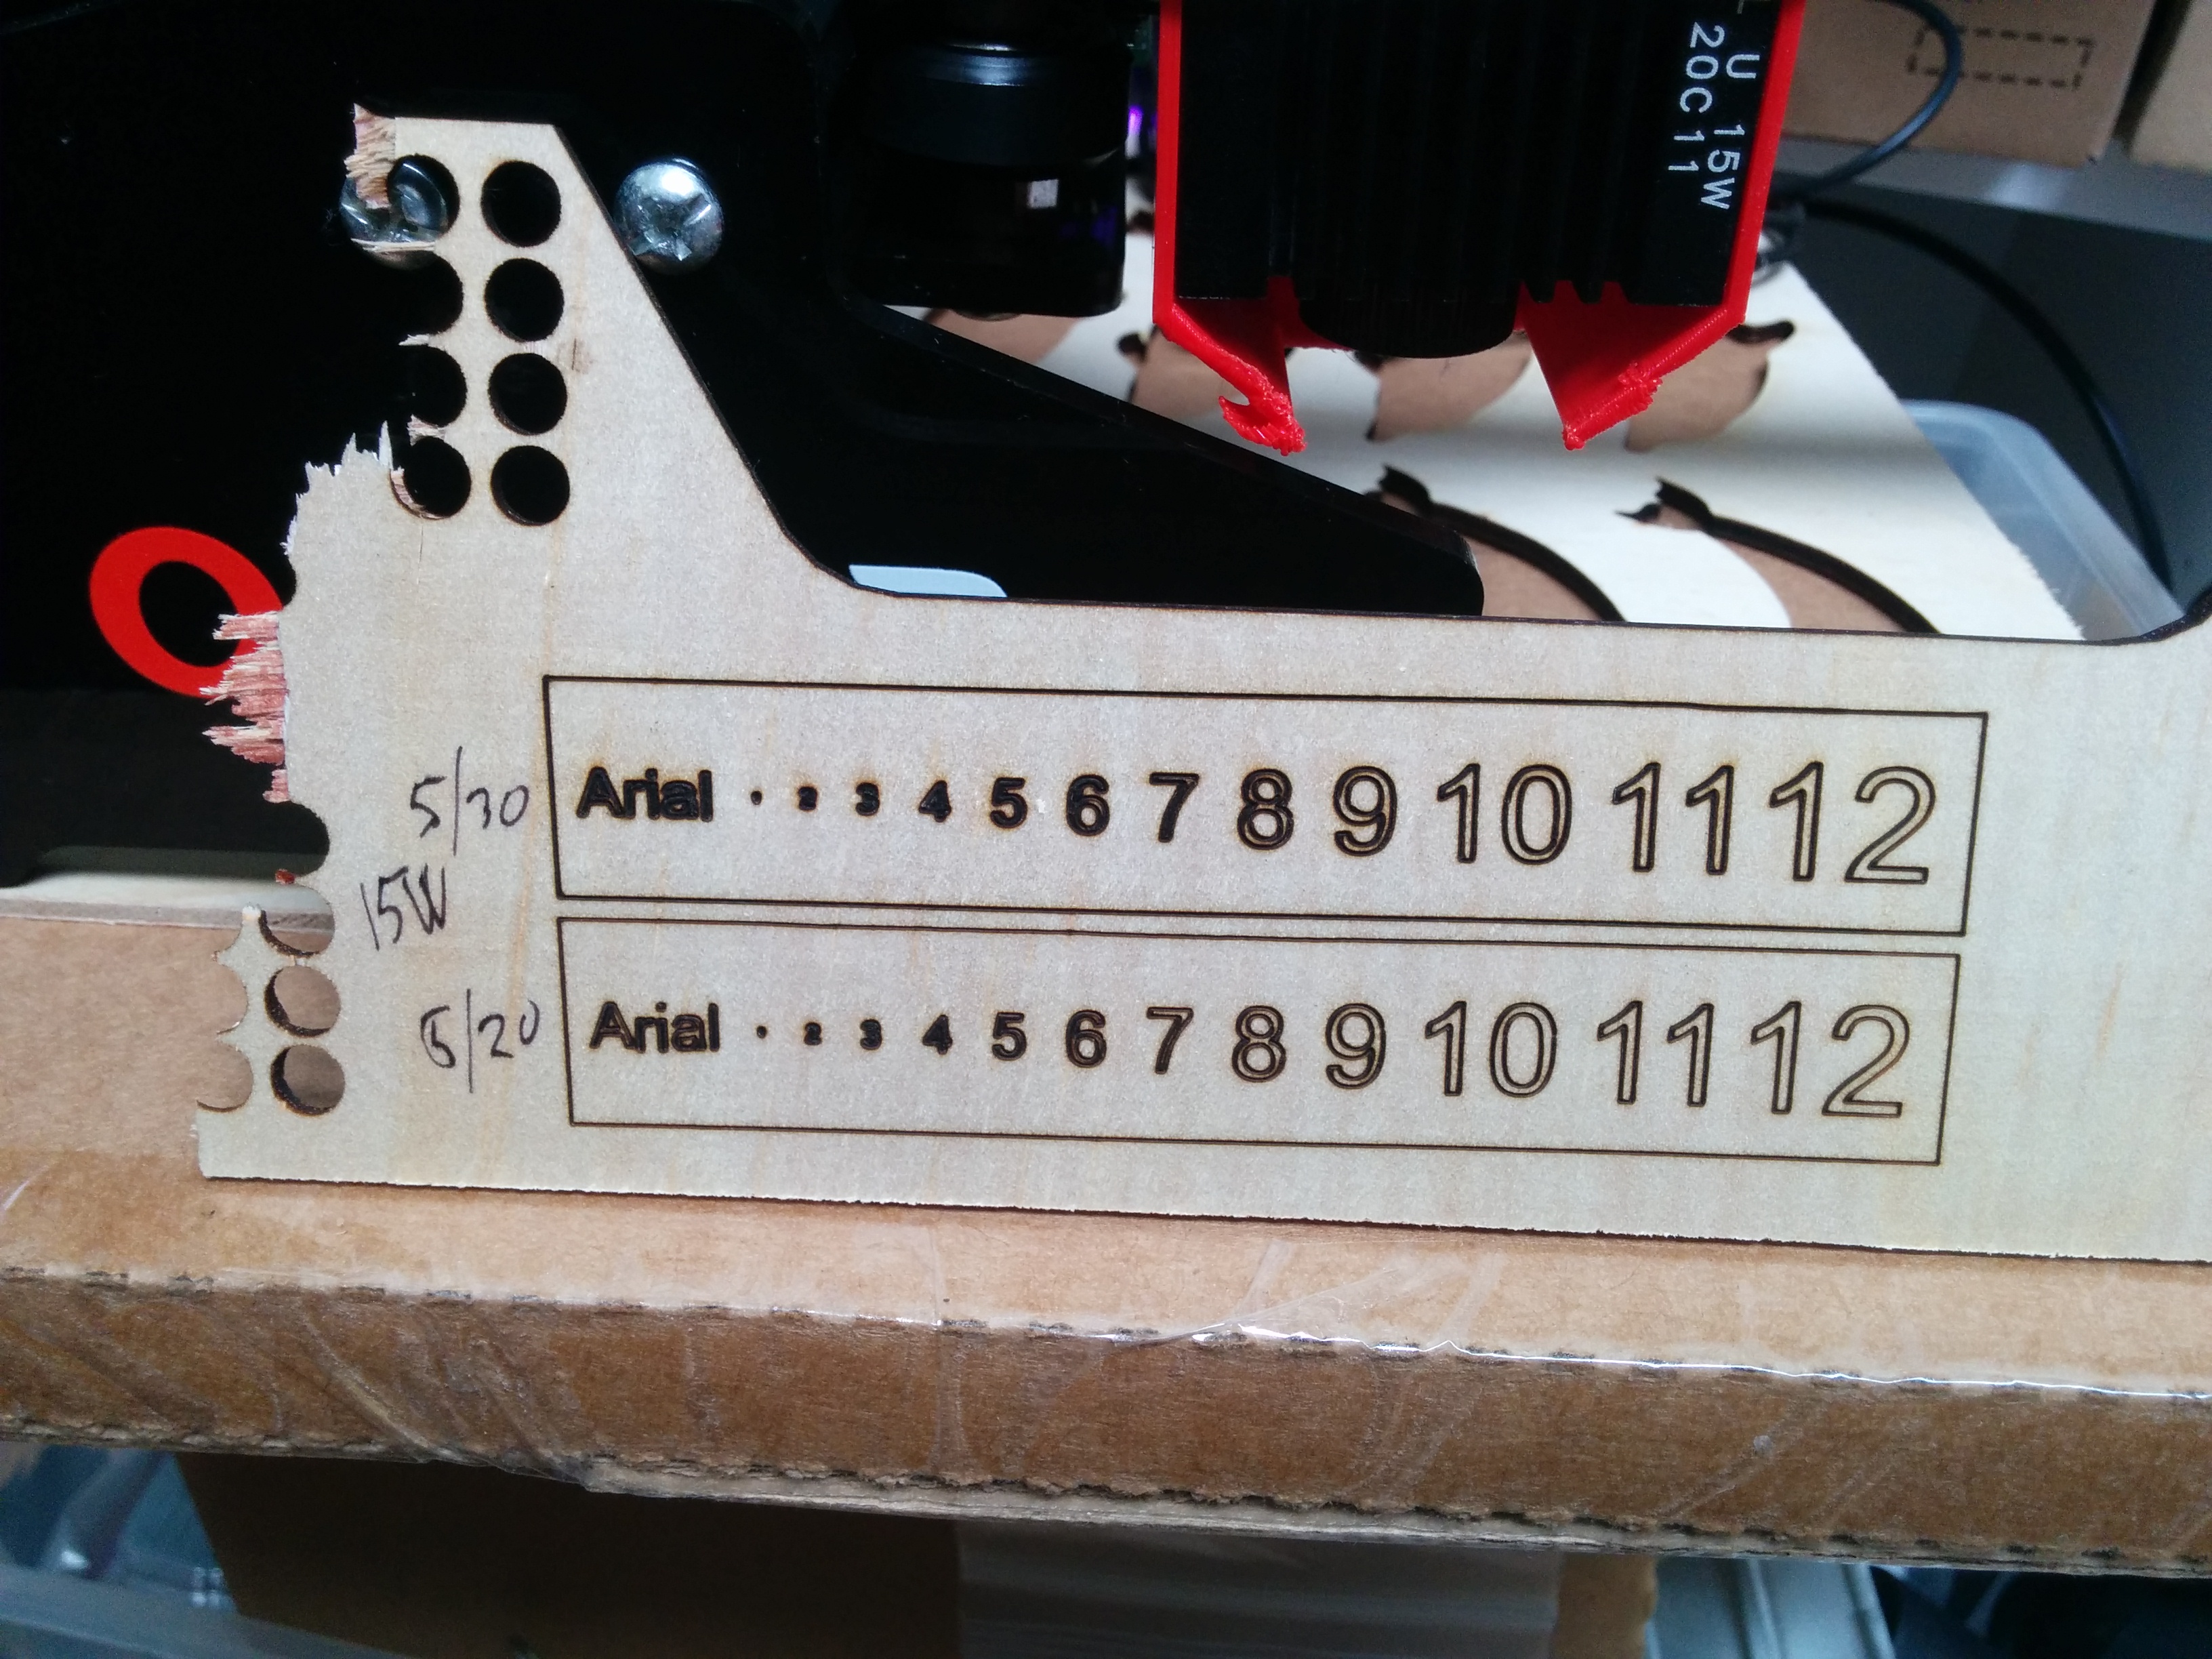
Here is what I got on my 15W at differing power levels, same 5mm/s speed.
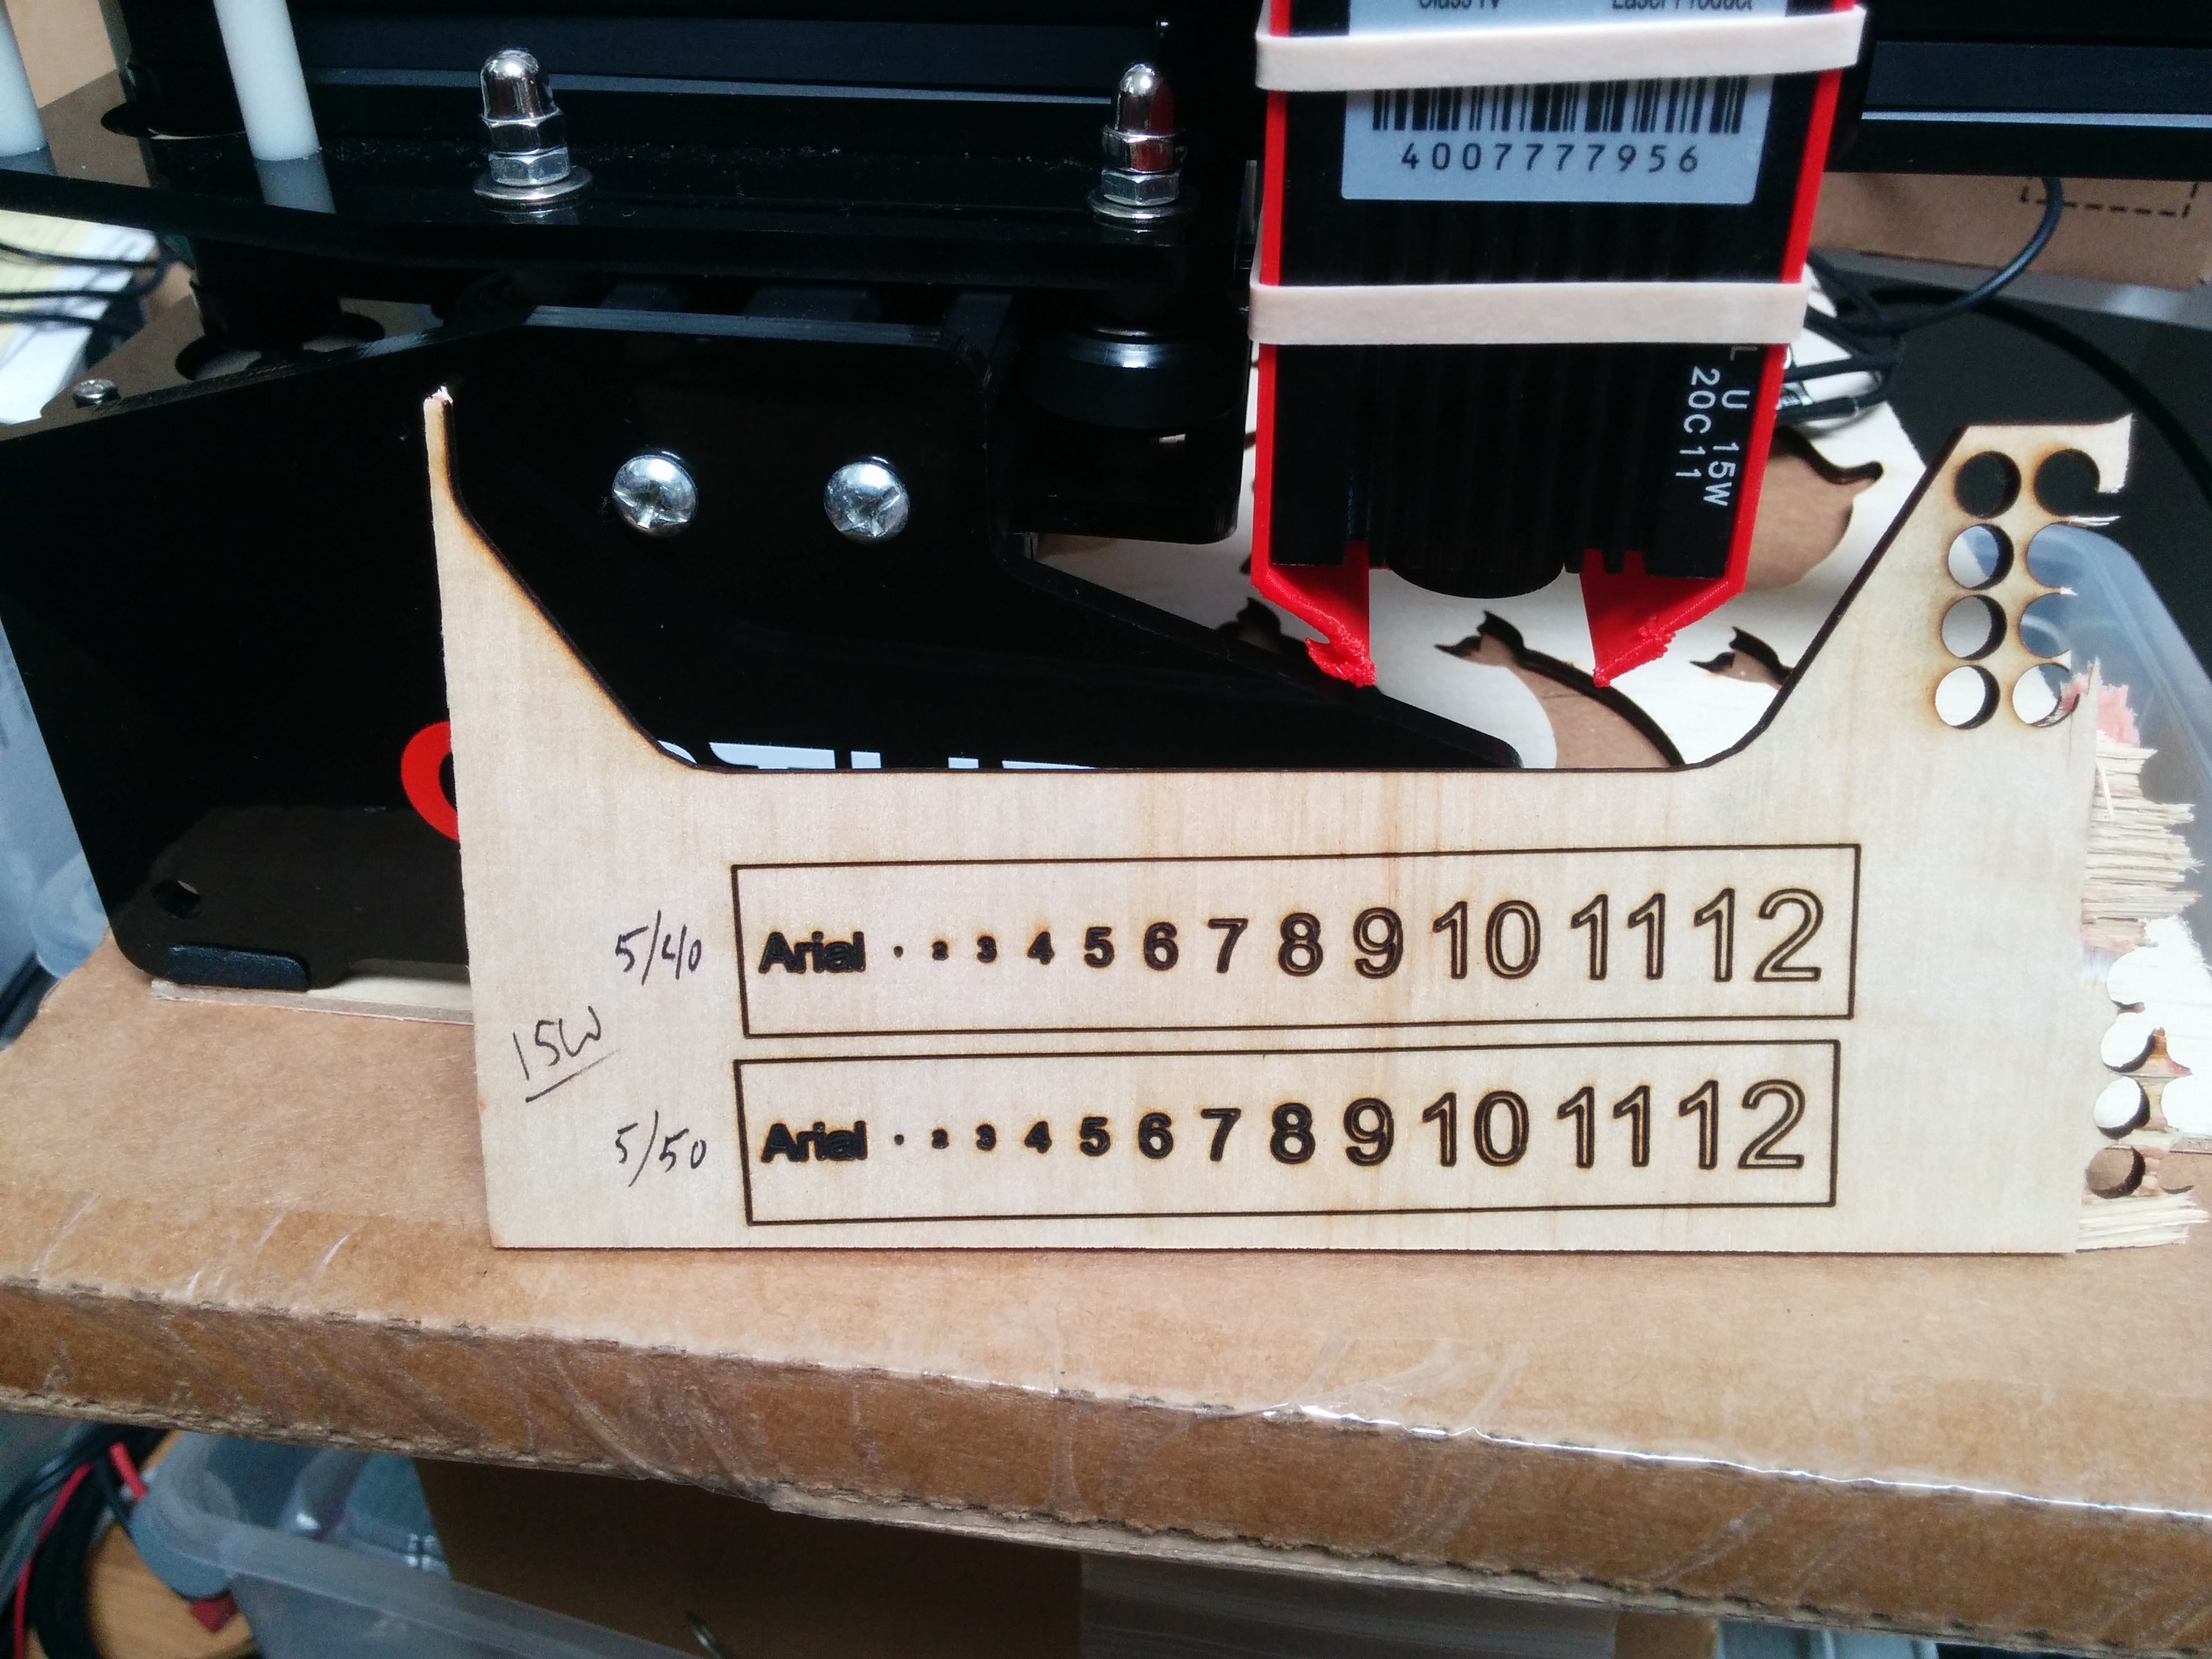
file used, it’s Lightburn so just change the extension if needed.arial-fontSizeTest.pdf (24.6 KB) :
It’s all about how much power/wattage is applied to a spot of wood to change its properties. You can see at 5mm/s it’s burning too much at 50,40,30 and probably 20% power. So I would not be surprised to get better results with 10 or 15mm/s at 20% power or maybe 50mm/s at 30% power.
Very cool that we can change the focal length so much by just adjusting the focus. NOT an optics guy.
Bad news on the crooked lines. At least 2 of the 3 bearing wheels on the x axis don’t track true. Not sure how I’m going to repair this…